I needed a wrist rest for my keyboard and mouse but was too
cheap resourceful to spend too much on them. So, I did some research and made my own DIY keyboard and mouse wrist rests.
Pretty easy if you ask me. Most of the resources I saw used rice as the filler, which was my plan since I had an abundance, being Asian and all (ha!). However, that plan changed when I was telling my cousin about my upcoming project. She had mentioned one time that she found an old bag of unopened rice in their pantry and noticed wormy things worming amongst the rice grains. Wormy and maggotty like. Ew. No thanks. So, I (we) decided that beans might be a better option (I hope).
 |
| sans protective cover |
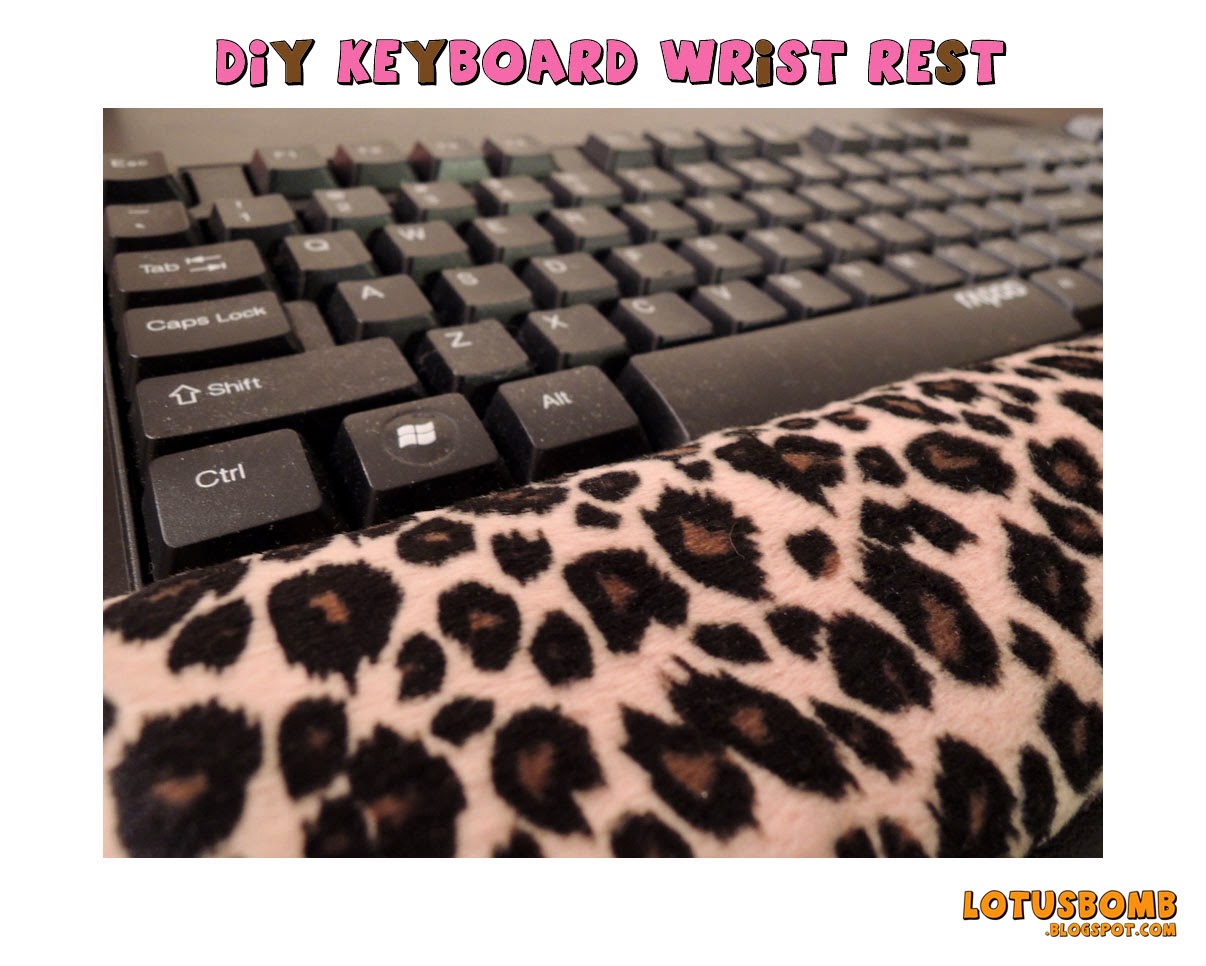
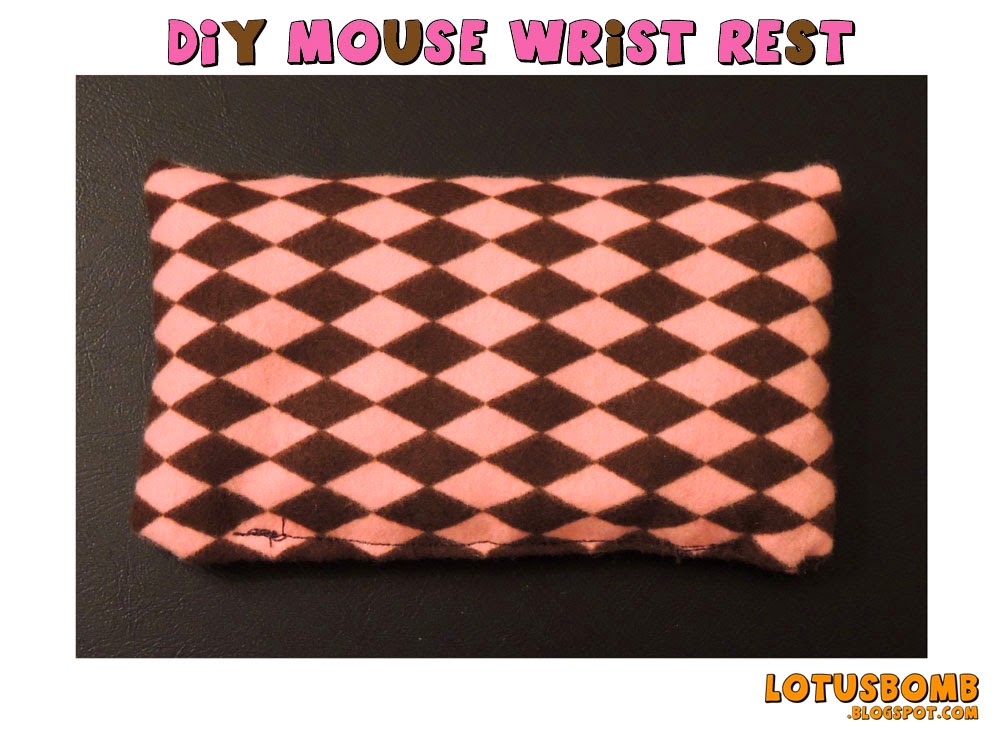
I also made protective cover for the bean filled wrist rests so they can be tossed into the washer to be cleaned. My wrist rests tend to get jenky over time and needed some deep cleaning from time to time and you can't exactly toss the squishy ones into the washer.
 |
| With the sexy leopard print protective cover |
Materials:
Beans of your choice - a 2lb bag was more than enough (I used pinto cause they were the cheapest)
Fabric the length of your keyboard (mine was 18") and 5 inches wide
Fabric about 5 inches long and 5 inches wide
Optional if you want the protective covers:
Fabric the same length and width as the one used for your keyboard and mouse wrist rests plus 1 inch to the length and width
Trim of your choice if you want it (I used black ric rac)
The How To:
For each of the wrist rests, fold your fabric in half lengthwise (so you have a tube) so the printed side is touching. You should only have two sides to sew: one end of the short side and the remaining long side using a straight stitch. Turn the fabric inside out (the printed fabric should be outside now and raw edges inside) and you now have a long tube for the keyboard rest and short tube for the mouse rest.
Fill with the beans (or the rice if you're brave and not squeamish) about 2/3 full. You don't want to fill the tubes with too much beans as you want the beans to have space to spread out. Sew the open end closed.
For the protective covers, if you are using any trim, sew your trim onto one end of the short side. Again, fold your fabric in half lengthwise (so you have a tube) with the printed side inside and sew up the short end (not the side with the trim ;) and the remaining long side. Flip the tube inside out and shimmy the bean filled rests into the covers. Your covers should be a tad bigger than the rests so they can go into the covers easily.
All in all, last I saw on Amazon, the keyboard wrist I saw was approximately $12 and the one for the mouse was about $4. The beans cost me about $2.50 from Walmart and the fabrics were my stash. So, for under $5, I now have my very own DIY wrist rests with easy to clean protective covers.