Read more: http://thehandmadeforum.boards.net/thread/619/handmade-forum-christmas-sale-brochure?page=3#ixzz3Hhaj5AXn

Thursday, October 30, 2014
Handmade Forum's 2014 Christmas Sale
I am participating in The Handmade Forum's Christmas Sale on Nov. 8th where every shop is offering a discount. The Healing Garden will be offering a 15% sale on Nov. 8th only with coupon code SALE2014. The coupon code can be used in any participating shop during this sale. Percentage savings vary with each shop. Click on the interactive brochure to start shopping. To see what each shop offers and the discount each is offering, click on the shop name. Check us out and thank you for supporting handmade!
Read more: http://thehandmadeforum.boards.net/thread/619/handmade-forum-christmas-sale-brochure?page=3#ixzz3Hhaj5AXn
Read more: http://thehandmadeforum.boards.net/thread/619/handmade-forum-christmas-sale-brochure?page=3#ixzz3Hhaj5AXn
Wednesday, September 17, 2014
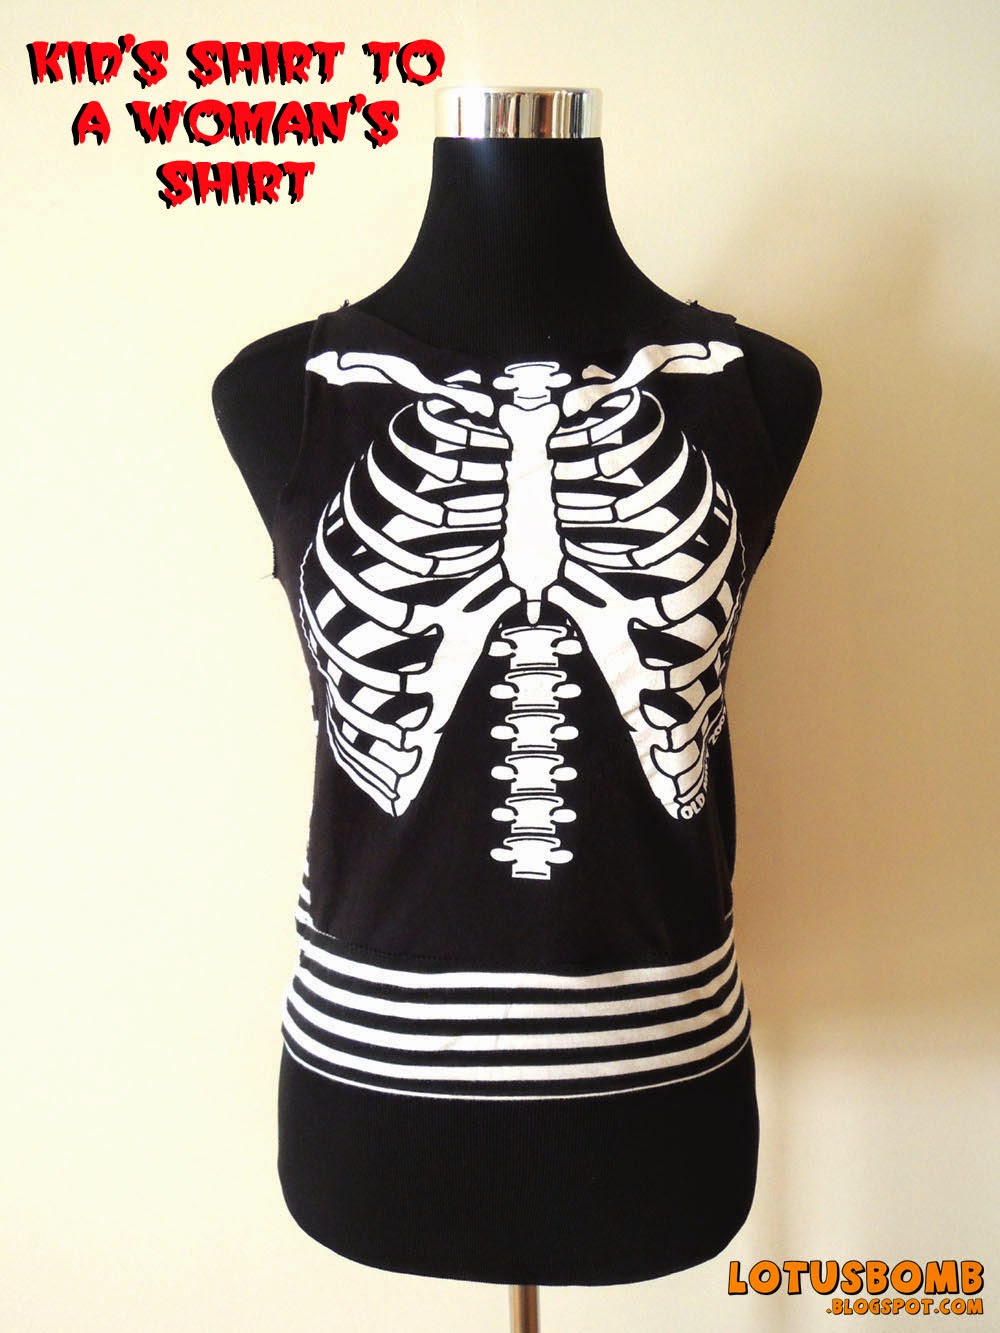
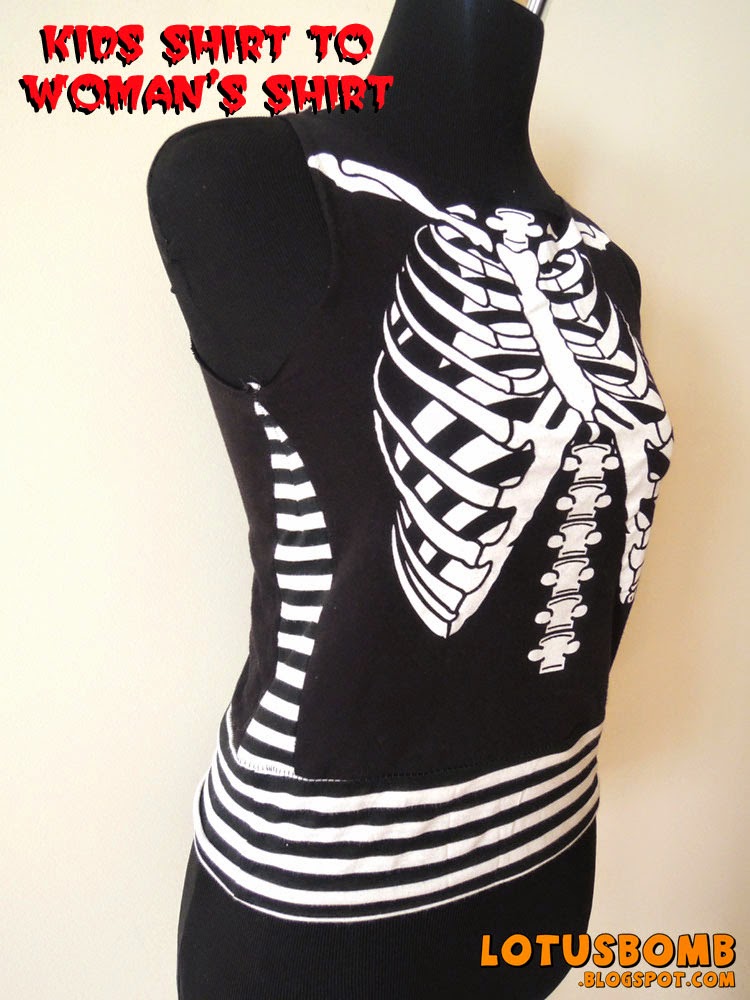
T-Shirt Refashion: From a Kid's Shirt to a Woman's Shirt
How many times have you gone shopping for a kid and see a pattern or design you like and thought "I wish I could wear this"? With a some sewing skills (or a friend with sewing skills), you can covert a kid's shirt to one you can wear :)
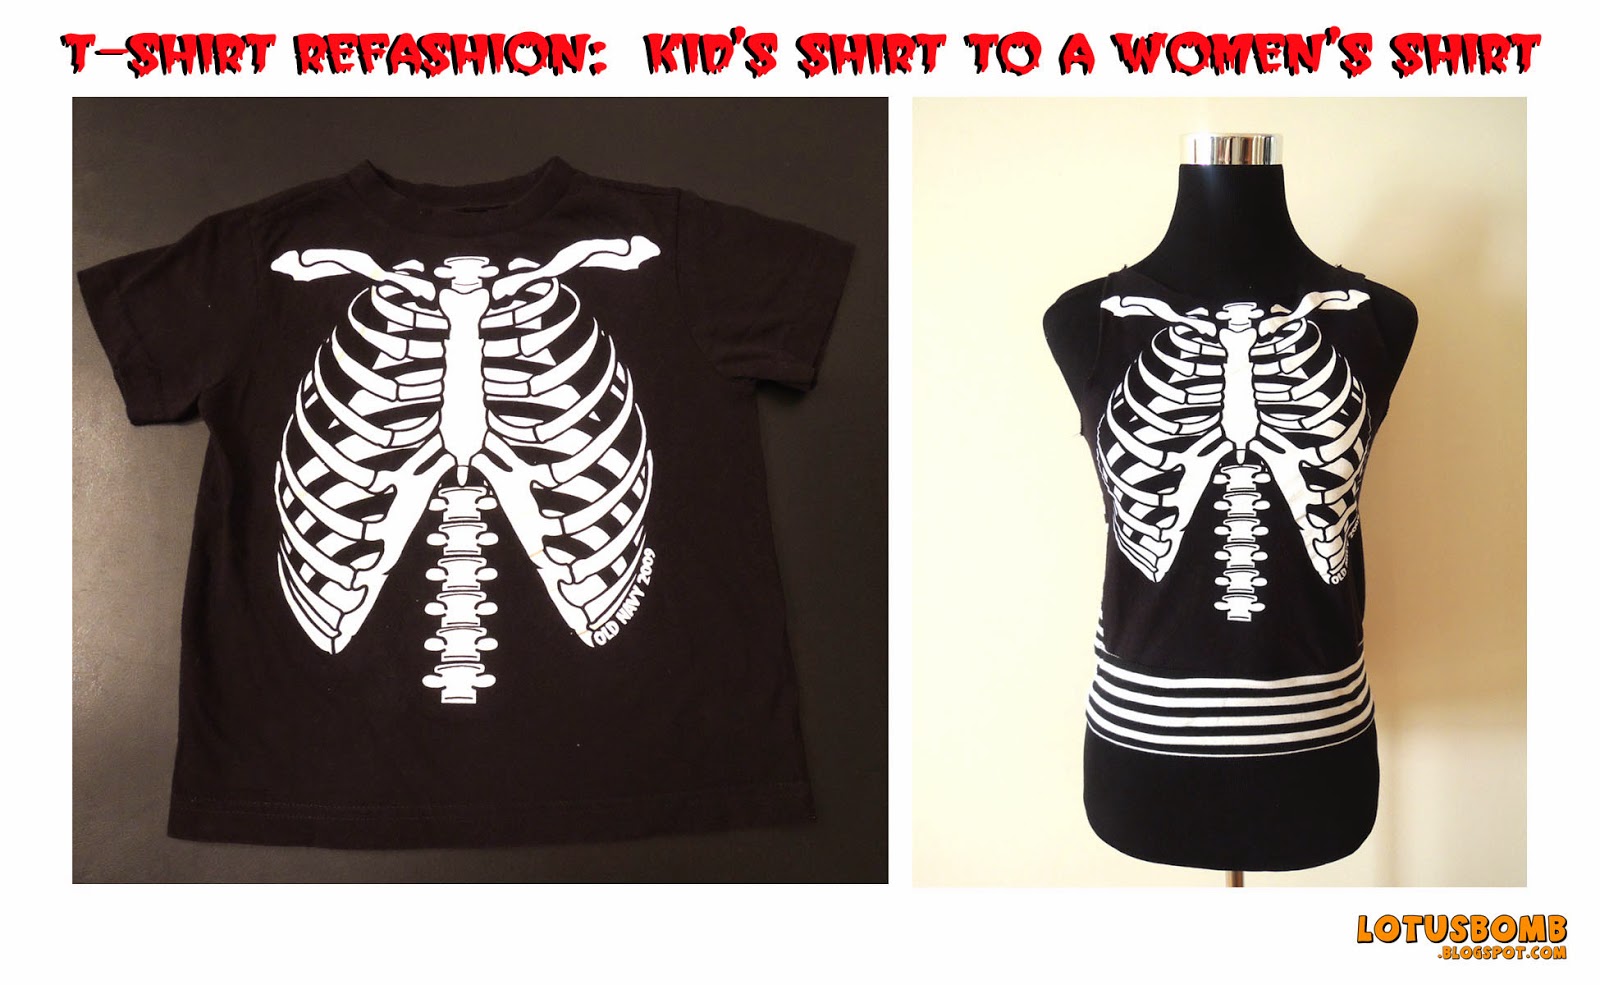 My cousin gave me this shirt that her 6 year old son outgrew so I did stuff to it so that *I* can wear it. Humerously (see what I did there? haha), after the redo, the ribcage on the shirt seemed to line up perfectly on my body.
I cut off the sleeves and the collar, added side panels to widen the shirt and a band on the bottom to lengthen. I kept the edges from the cut collar and sleeve holes raw.


 | |
| Sixe 5 Kids Shirt |


Tuesday, September 16, 2014
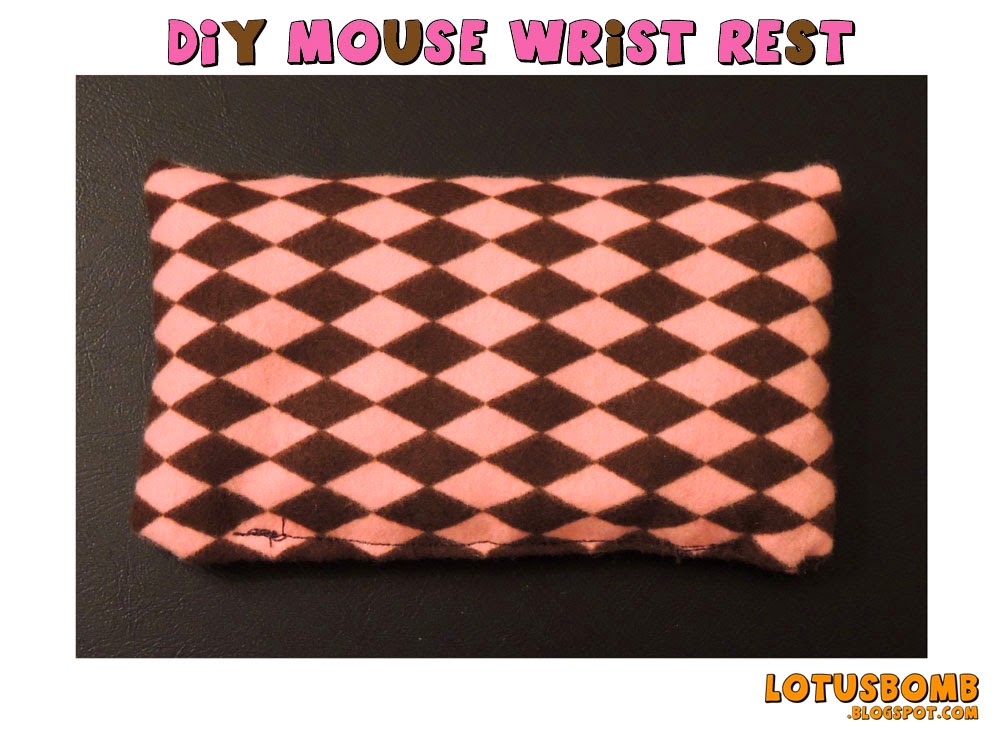
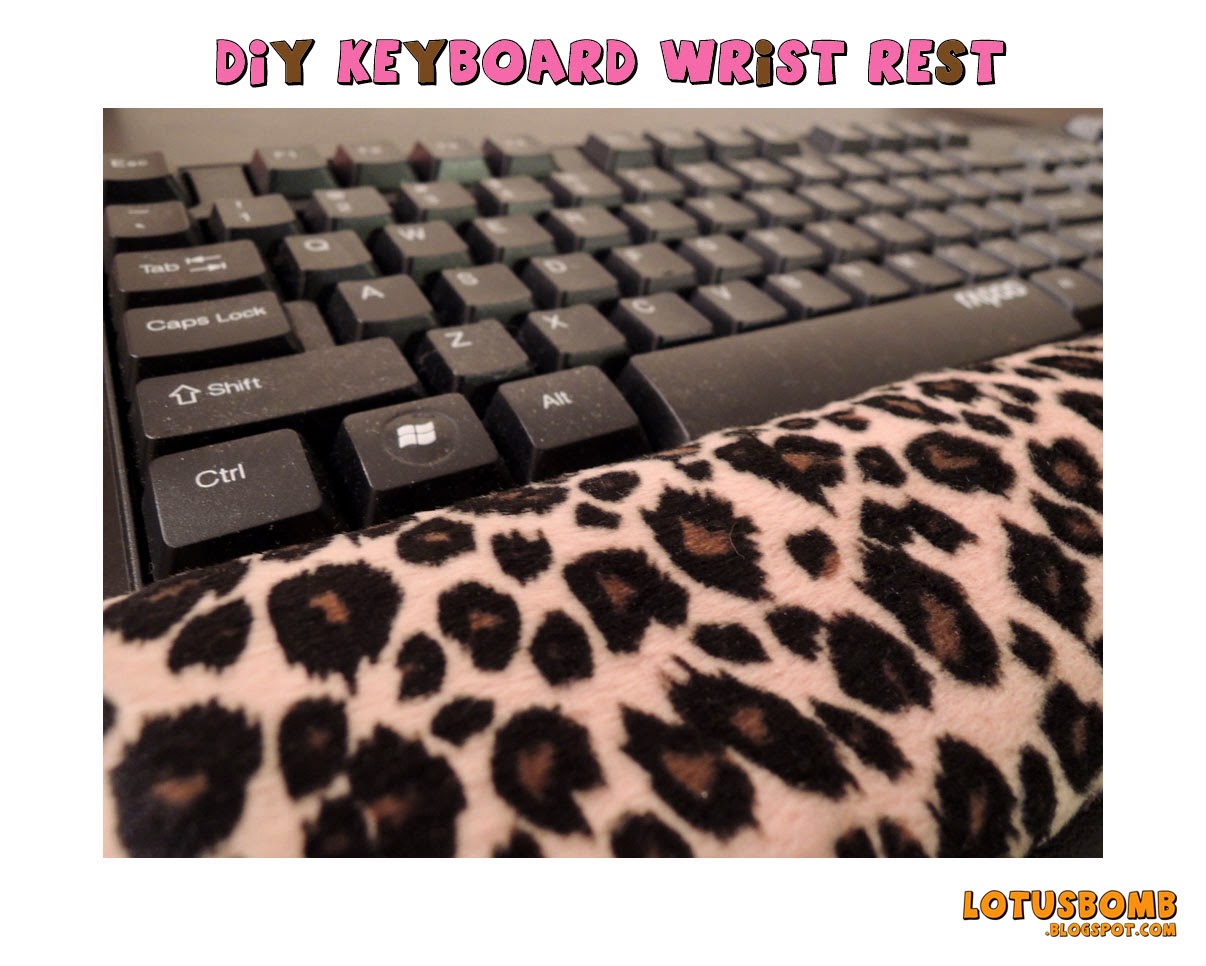
Easy DIY Keyboard and Mouse Wrist Rests for under $5 (Tutuorial)
I needed a wrist rest for my keyboard and mouse but was too

Pretty easy if you ask me. Most of the resources I saw used rice as the filler, which was my plan since I had an abundance, being Asian and all (ha!). However, that plan changed when I was telling my cousin about my upcoming project. She had mentioned one time that she found an old bag of unopened rice in their pantry and noticed wormy things worming amongst the rice grains. Wormy and maggotty like. Ew. No thanks. So, I (we) decided that beans might be a better option (I hope).
 |
| sans protective cover |
I also made protective cover for the bean filled wrist rests so they can be tossed into the washer to be cleaned. My wrist rests tend to get jenky over time and needed some deep cleaning from time to time and you can't exactly toss the squishy ones into the washer.
 |
| With the sexy leopard print protective cover |
Materials:
Beans of your choice - a 2lb bag was more than enough (I used pinto cause they were the cheapest)
Fabric the length of your keyboard (mine was 18") and 5 inches wide
Fabric about 5 inches long and 5 inches wide
Optional if you want the protective covers:
Fabric the same length and width as the one used for your keyboard and mouse wrist rests plus 1 inch to the length and width
Trim of your choice if you want it (I used black ric rac)
The How To:
For each of the wrist rests, fold your fabric in half lengthwise (so you have a tube) so the printed side is touching. You should only have two sides to sew: one end of the short side and the remaining long side using a straight stitch. Turn the fabric inside out (the printed fabric should be outside now and raw edges inside) and you now have a long tube for the keyboard rest and short tube for the mouse rest.
Fill with the beans (or the rice if you're brave and not squeamish) about 2/3 full. You don't want to fill the tubes with too much beans as you want the beans to have space to spread out. Sew the open end closed.

For the protective covers, if you are using any trim, sew your trim onto one end of the short side. Again, fold your fabric in half lengthwise (so you have a tube) with the printed side inside and sew up the short end (not the side with the trim ;) and the remaining long side. Flip the tube inside out and shimmy the bean filled rests into the covers. Your covers should be a tad bigger than the rests so they can go into the covers easily.
Wednesday, June 4, 2014
Using Peanut Butter To Take Off Sticky Residue
I just found the best tip ever on how to remove the annoying sticky glue from labels on mugs, cups, plates, etc. PEANUT BUTTER.
 | |
| See the label peeping out from the left near the rim? |
I bought a cherry blossom mug from Chinatown today and was annoyed the label didn't come off entirely so I took to the 'net to find a solution. I saw this post from Milehimama about using peanut butter. I tried her easy and quick method and it worked. No scrubbing, peeling, or scratching involved. Just spread the PB over the residue, wait a few mins and then gently scrape off with a plastic bread tie.
If you're allergic to PB, I guess this won't work for you :(


Wednesday, May 28, 2014
The Mavericks Refashion
I just love transforming regular t-shirts and making them into something different. This is The Mavericks shirt I redid that I got at the last show I saw them at in L.A in April.
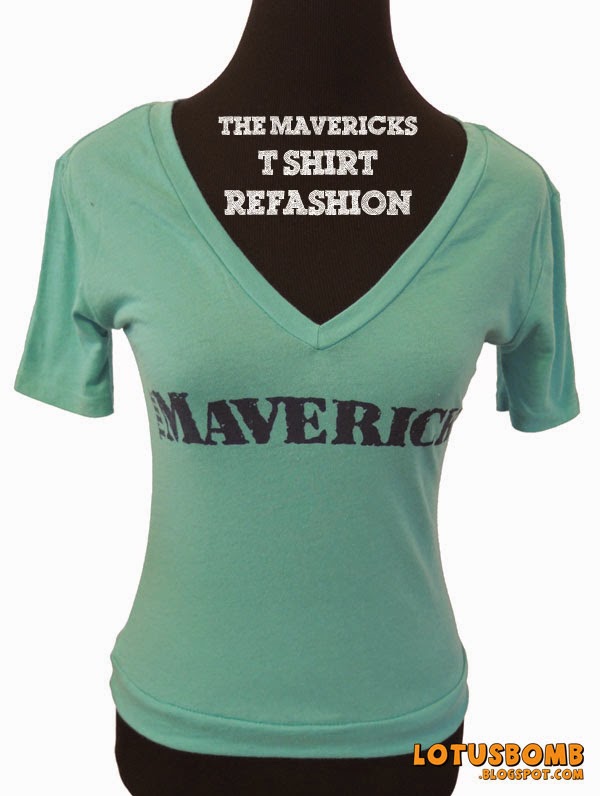
Here's another quick redo I did with this Mavericks shirt. My original plan was to turn this around so the V was on the back but I liked how it looked better in the front as it is supposed to be. Just a simple refashion where I took in the sides and added in the banded bottom. I kept the sleeves on and took it in a little to give the shirt a more feminine feel .

Here's another quick redo I did with this Mavericks shirt. My original plan was to turn this around so the V was on the back but I liked how it looked better in the front as it is supposed to be. Just a simple refashion where I took in the sides and added in the banded bottom. I kept the sleeves on and took it in a little to give the shirt a more feminine feel .
 |
| Before the redo. |
 |
| The back of the shirt |
Thursday, May 22, 2014
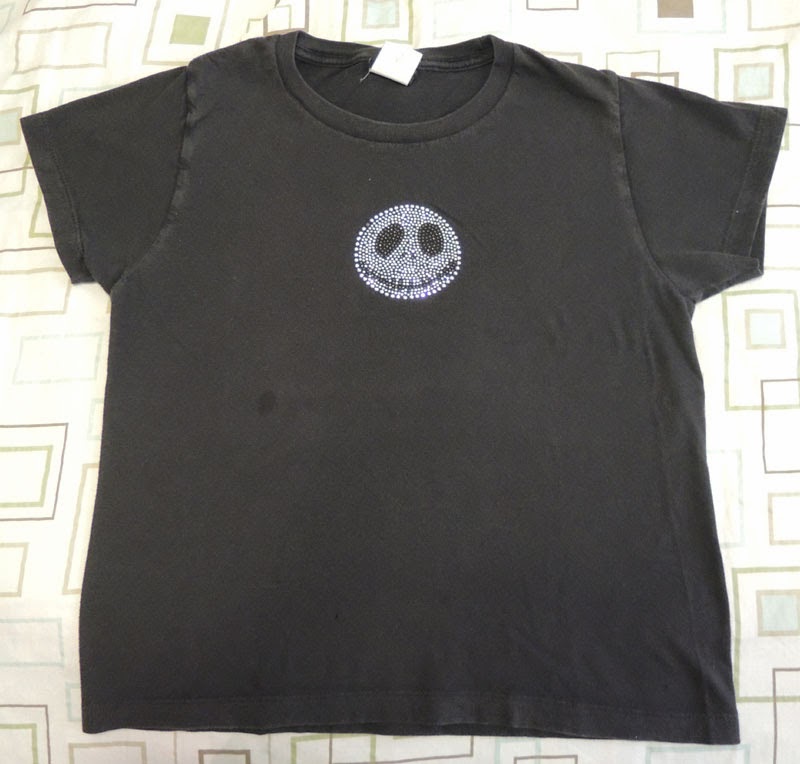
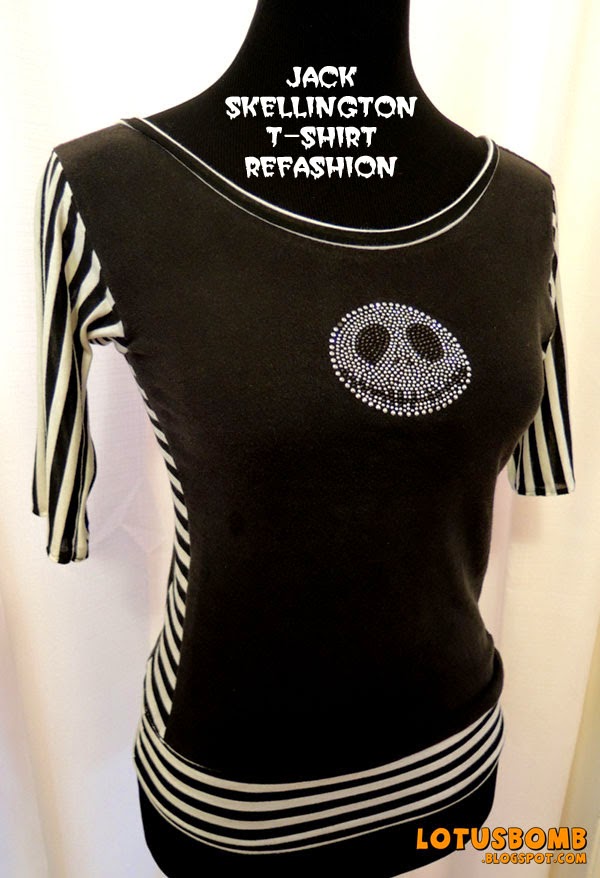
I Didn't Mean To Make This: Jack Skellington Refashion Tee

I totally did not intend for this recon shirt to come out the way it did. Originally, it was supposed to be a simple resizing recon. The original shirt was given to me by one of my best friends years ago and I wore the heck out of it. Color fading, a hole in the shirt and a stain is an indication of how much I love shirt. However, over time, I wore it less and less because I didn't like how short it had become or how boxy it was (although I still wore it occasionally).
My plan was to take in the sides and sleeves and to lengthen it. Well, I did all I had planned except the sleeves ended up being too tight so I ended up taking out the sleeves but still wasn't happy with it. I wanted to make something different from what I normally make. So I went back to my computer to do some research on how to add sleeves. Like zippers, adding in made-from-scratch sleeves intimidated me. But intimidate no more. Like putting in zippers, once i got the hang of it, it was easy peasy. In fact, putting in sleeves is a lot easier than putting in a zipper.
This simple recon ended up taking a few hours because of the sleeves and the collar hem. Not to mention, the striped fabric was being ornery. In the end, I won. I shall now be wearing this shirt until the sleeves fall out.
Here are some more pics...

 | |
| This shows how boxy and short the original shirt was. |
Monday, May 5, 2014
"Frozen" Inspired Elsa Dress

I would not have attempted to make a Frozen inspired Elsa dress if my friend hadn't asked me to make one for her almost 4 year old daughter. And when I agreed, I already started constructing it in my head even though I haven't seen the movie yet. Once again, I've surprised myself. There's definitely some improvements I can make, but overall, I think this came out pretty darn cute and I think the said little girl will like her new dress.
The dress had many components. Normally, I would be intimidated but I didn't really think about it and just dove right in. (It did help that there was a little girl on the opposite of the country waiting as patiently as she could for her dress). I couldn't find anything with snowflakes on it (very surprised by the lack of considering how big Frozen is right now) but I did manage to find some sparkly material for the cape and snowflake buttons that I sewed in by hand. I also added in a sparkly tulle overlay to make the dress more Princess (er, Queen) like. To top it, I found a very inexpensive blue crown that happened to match so I glued on some extra snowflake buttons to make it more snow queen-ish.
 |
| The back of the dress with attached cape. |

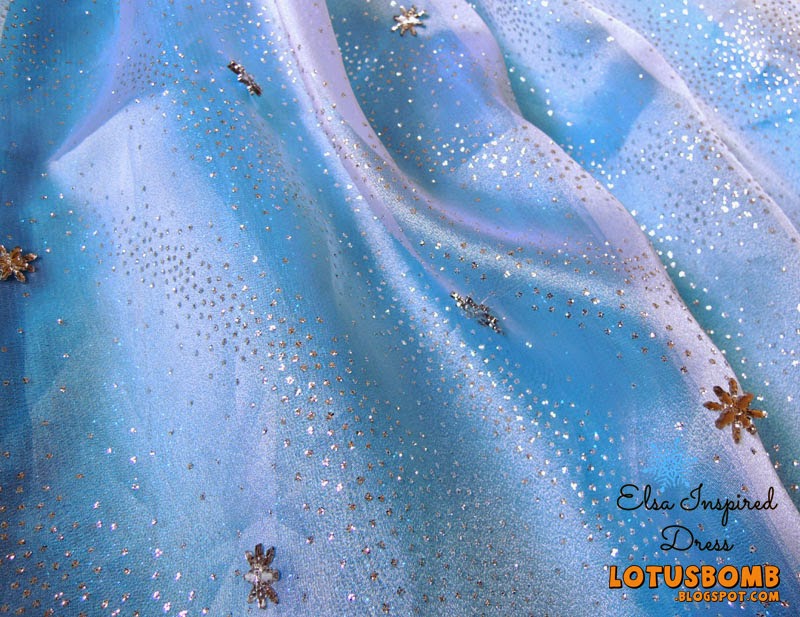 |
| The snowflakes were sewn by hand. |


 |
| The Queen is not complete without her crown |
Subscribe to:
Posts (Atom)