Showing posts with label sewing crafts. Show all posts

Thursday, May 22, 2014

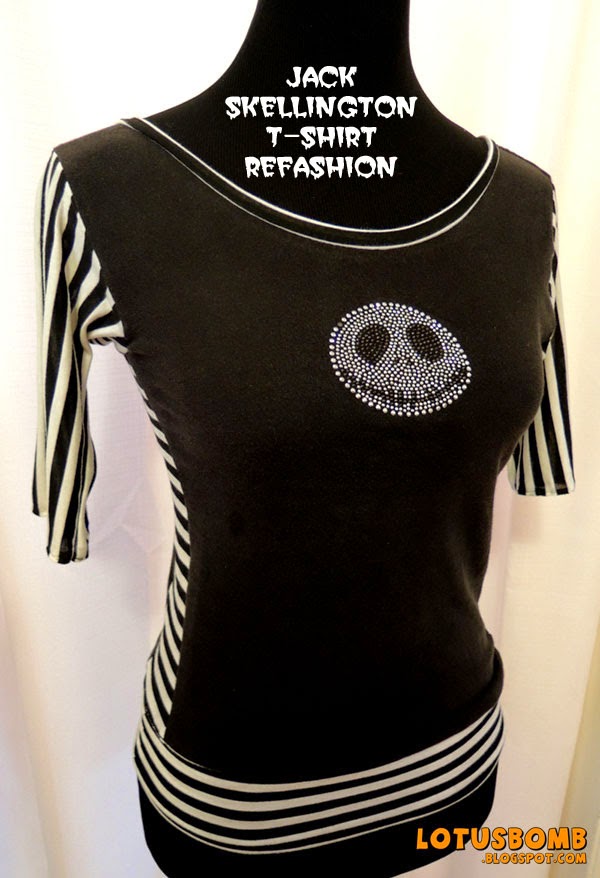
I Didn't Mean To Make This: Jack Skellington Refashion Tee


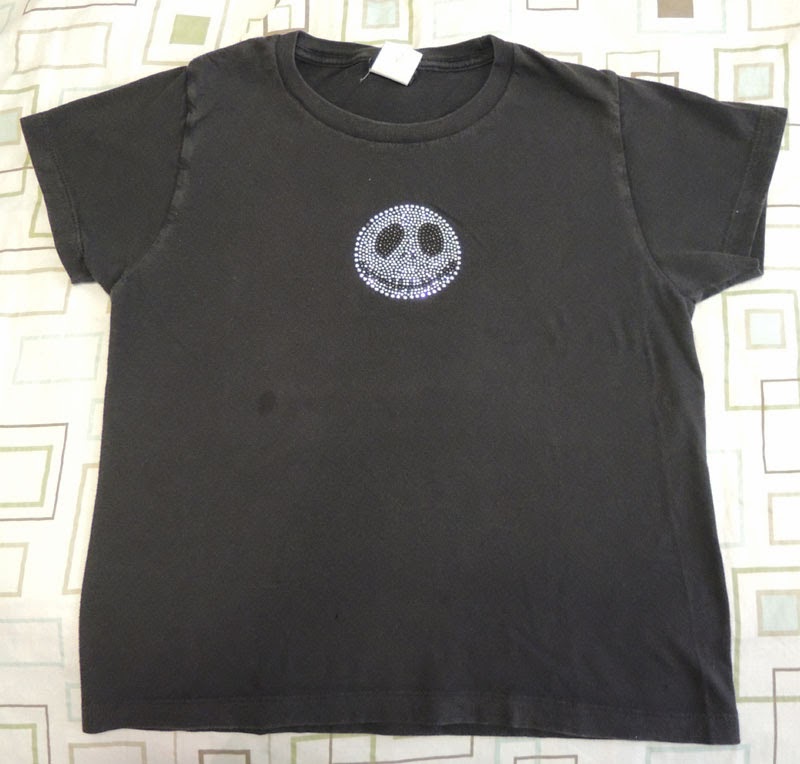
I totally did not intend for this recon shirt to come out the way it did.  Originally, it was supposed to be a simple resizing recon.  The original shirt was given to me by one of my best friends years ago and I wore the heck out of it.  Color fading, a hole in the shirt and a stain is an indication of how much I love shirt.  However, over time, I wore it less and less because I didn't like how short it had become or how boxy it was (although I still wore it occasionally).

My plan was to take in the sides and sleeves and to lengthen it.  Well, I did all I had planned except the sleeves ended up being too tight so I ended up taking out the sleeves but still wasn't happy with it.  I wanted to make something different from what I normally make.  So I went back to my computer to do some research on how to add sleeves.  Like zippers, adding in made-from-scratch sleeves intimidated me.  But intimidate no more.  Like putting in zippers, once i got the hang of it, it was easy peasy.   In fact, putting in sleeves is a lot easier than putting in a zipper. 

This simple recon ended up taking a few hours because of the sleeves and the collar hem.  Not to mention, the striped fabric was being ornery.  In the end, I won.  I shall now be wearing this shirt until the sleeves fall out.

Here are some more pics...


This shows how boxy and short the original shirt was.


Pin It

Wednesday, January 22, 2014

Social Distortion Refashion Tee


This is officially my new deconstructed refashion men's t-shirt.  I've been wanting to incorporate fabric into a remake but never really had the time to figure it out.  I love Social D and love how this came out.  I used a black and white striped jersey knit for the side panels and the band.  As always, I cut off the crew to make the shirt more feminine and added elastic to the inside top of the sleeveless part to make it shirred.  Yay for a new shirt!


Pin It

Thursday, January 9, 2014

Dual Tone Infinity Scarf


Infinity scarves aren't really my thing but I wanted to make one for my friend for Christmas.  Her favorite color is gray and teal so I made one for her in those colors.  They are really easy to make and do not take much time at all.  Guess what y'all are getting for your birthday?  ;) 


Pin It

Tuesday, September 24, 2013

Panda Pincushion Wristlet


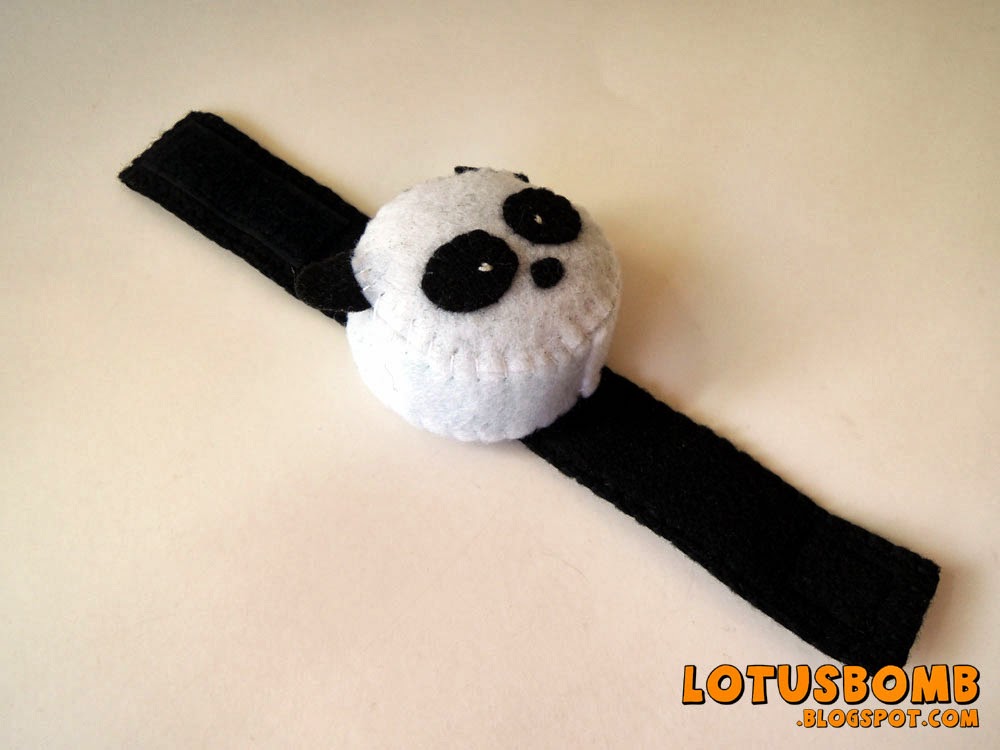
What time is it?  It's Panda Time!  Well, sort of.  I had a custom request the other day for a panda pin cushion similar to the magnets I made but to be worn on the wrist.  It turned out might cute if I do say so myself!  


Pin It

Thursday, August 15, 2013

Before and After: Botched Pencil Dress to Gorgeous Wiggle Dress

Something must have "clicked" over the last few months when I started sewing clothes again.  This is the second dress I've made within a 7 day period from start to finish with little mistakes.  The latest finished dress is a rockabilly style wiggle dress.  I attempted to make one last year but didn't exactly follow directions and tried to wing it and it came out bad.  Like really bad.  So I put it away and out of sight, out of mind.  I decided to pull it back out a few days ago and try to salvage it.  There's nothing worse than wasting large amounts of fabric on something not finished.  So, armed with patience and a whole lot more knowledge, I have a gorgeous wiggle dress that I can't wait to wear out!

The original disaster dress that didn't fit right because I tried to wing it.
 I didn't like how I made the bodice on the original dress so I used the skirt part to make a new one.  I originally intended for the bodice to look more like the one I made on this dress last week but I ended up changing it into a boatneck.  The scoop neck wasn't working for this dress.  I knew I wanted a wiggle dress of some sort so I did a lot of research on Modcloth and Pin Up Girl Clothing to find as inspiration.  In the end, I used black twill fabric to make the skirt portion.

The gorgeous redo.
I'm so happy with how this turned out.  It's definitely a confidence booster knowing that I can make garments that fit well. 


Pin It

Tuesday, August 13, 2013

Mod Circles Dress


This dress started out as a sheath dress and I just didn't like it how it turned out.  Since I had a little bit of fabric left over, I decided to transform it into a 1/2 circle dress.   I found the fabric a few months ago at Joann's in the their Calico cotton section.  It's a dark brown background with circles in various shades of blues.

I pretty much winged it and didn't use a pattern although I did draft my own for the skirt portion.  For the top, I cut out the fabric in a "T" shape, added a couple of panels in the front bodice and added a zipper in the back. Adding darts in the front and back helped to make it more fitted. 

For the first time since I started sewing, I made a full dress with very little mistakes and an incredible amount of patience that I have no idea where it came it from.  It's still a little shorter than I like but I worked with what I had left and I absolutely love how this came out!


Pin It

Friday, August 9, 2013

DIY Tunic Top

During my sewing spree the other day, I whipped up this shirt in about an hour with this fantastic shiny, fancy fabric I found for $5 at Michael Levine.  I love that I can wear this two different ways:  belted or loose.  It looks great either way.


Pin It

New Tshirt Refashions

I figured out how to set up an in-home photography studio in the tiny apartment I call home.  I now no longer have to wait for a friend to take my picture nor will I need to lay down my latest creation flat to show it off.  It's amazing what white fabric hung up, a step stool, a tabletop tripod and the timer on my camera can do.  Add in Photoshop to clean up the pictures and voila!  I have some very professional looking photos.  Well, as professional as it is to me since I'm just mostly a point and shoot picture taker.  With all that being said...here are some of the t-shirts I remade recently.  These are all made from either a Mens L or XL shirt. 

Rock Steady Tee I found in Phoenix

The XX
Chris Isaak tour shirt with 3/4 length sleeves. 

Same shirt as above but I decided to cut off the sleeves.  I like this version much better.

Pin It

Friday, June 21, 2013

Fabric Basket - Pinterest Craft Challenge


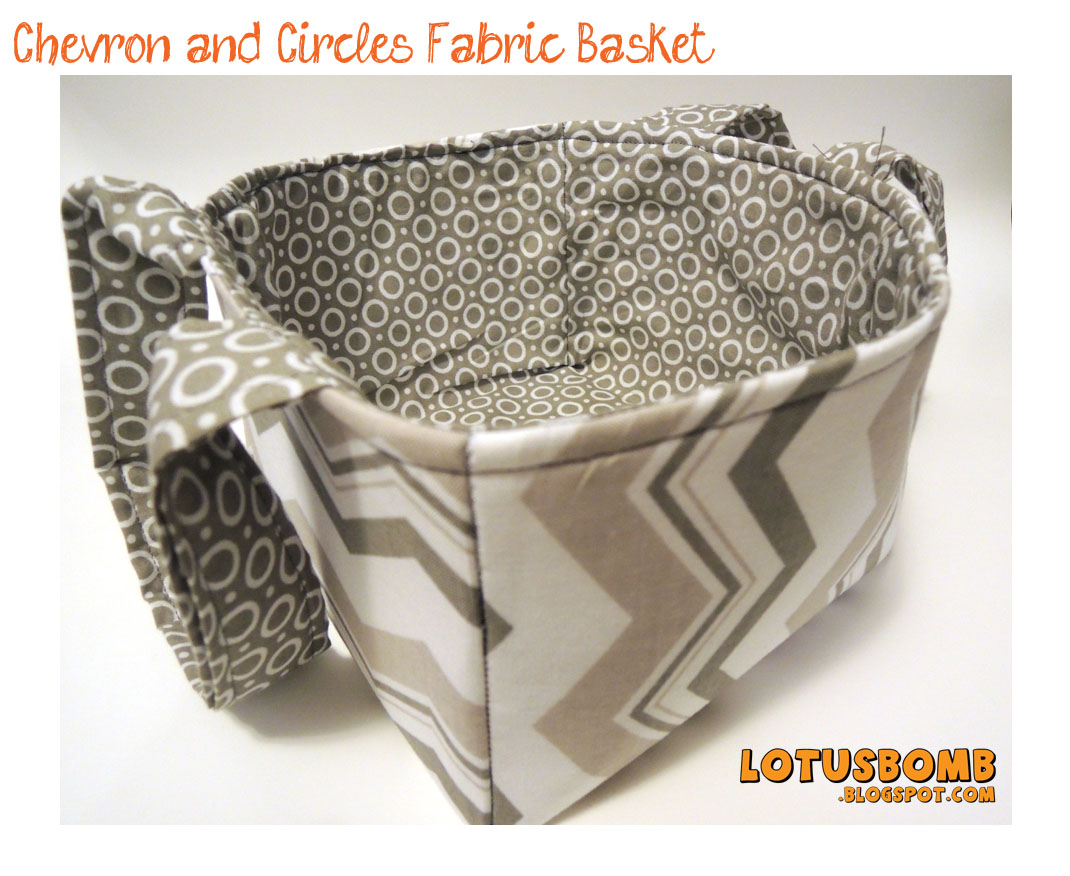
I found this fabulous fabric basket tutorial months ago on Pinterest and didn't have a chance to tackle the project until my friend mentioned she wanted one.  She just happened to have a birthday around the same time she mentioned it so I decided to make her one as a surprise (along with some fabric napkins and fabric kitchen towels we were trading services for).  This is the pin of the website I saw and the directions are fantastically easy.  I found some awesome gray and white chevron fabric and matching geometric circles at Joann's.   

Here are some pics from different angles of the basket.  In one of the pics, I filled the basket with the napkins I made for her.  I'll have a separate post for the napkins later.


Pin It

Thursday, June 20, 2013

DIY Boatneck Shirt from Scratch!


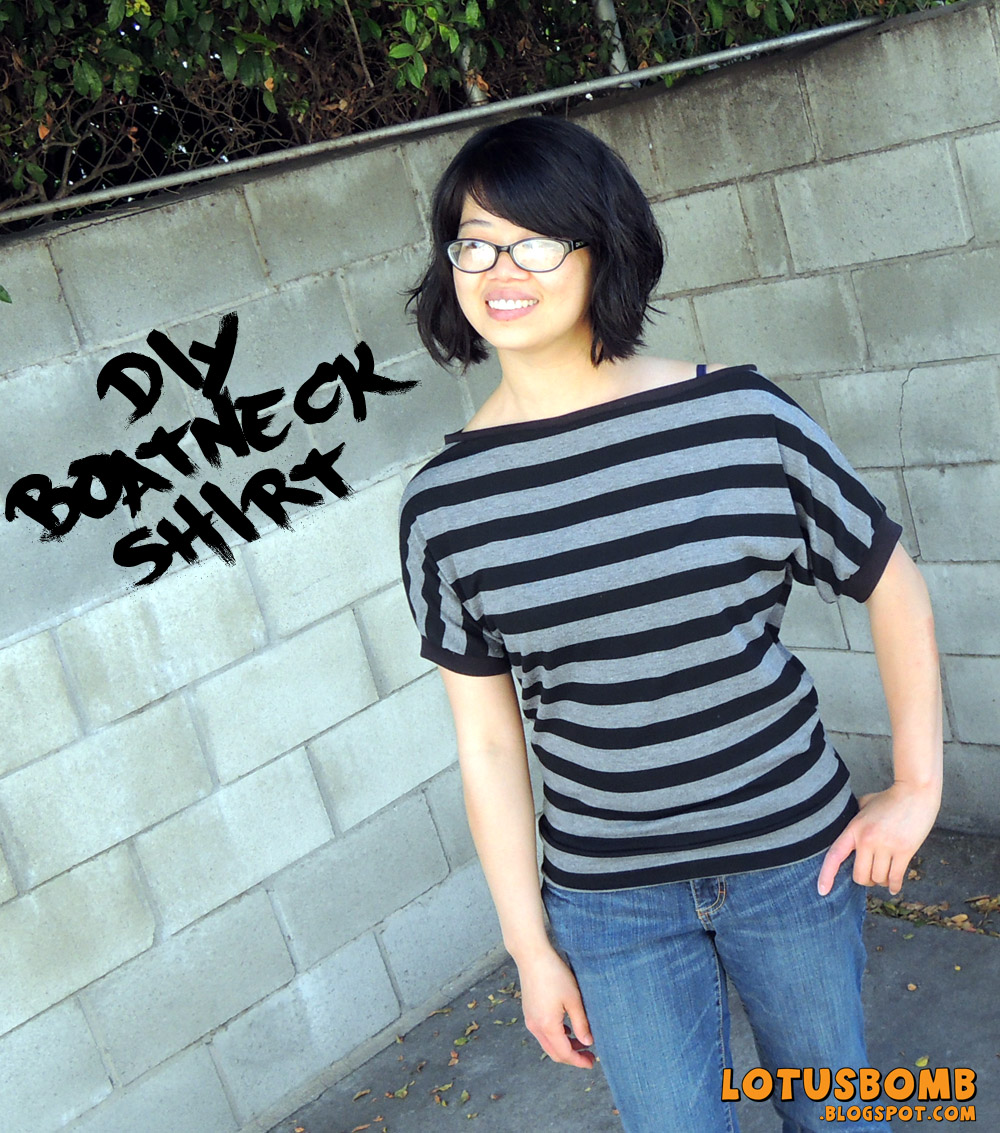
A couple of weeks ago, I decided that I wanted to make a shirt from scratch.  Using one of my XL t-shirts that I sleep in, I basically cut out  a "T" from this awesome gray and black striped knit fabric that I got from Michael Levine in downtown L.A.  Using the same method as when I'm refashioning my concert shirts, I opted for a boatneck and banded bottom (what can I say?!  I just love this style!).  I also added cuffs to the sleeves and added a hem to the collar to give it a cleaner look.  Once again, I'm very pleased with the outcome and the knit shirt is so incredibly comfortable.


Pin It

Thursday, June 13, 2013

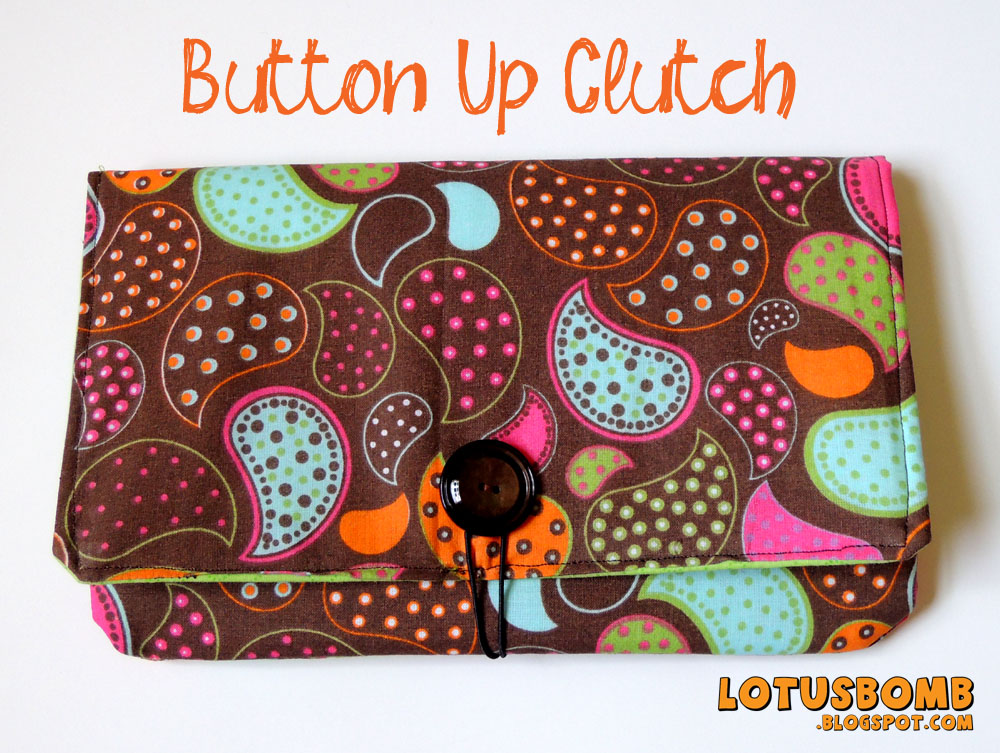
Tyrsa's Button Up Clutch


By now, I pretty much use the same basic pattern when making most of my bags or pouches.  It's clean, it's easy and it looks like nice.  So, that being said, this clutch I made for a coworker for her birthday is no different.


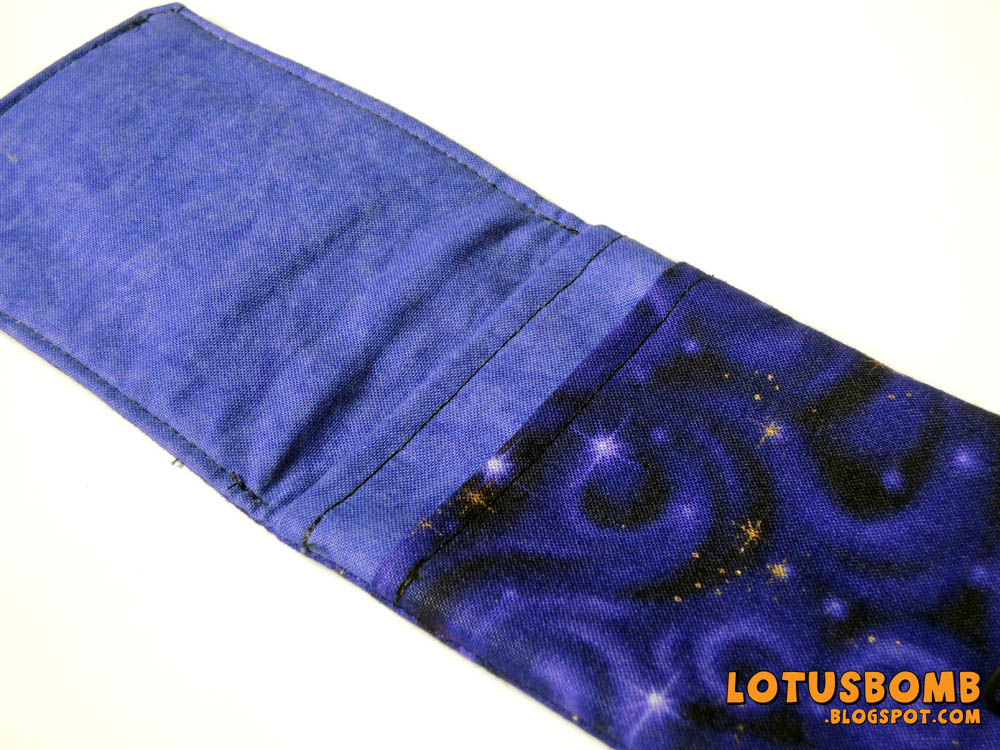
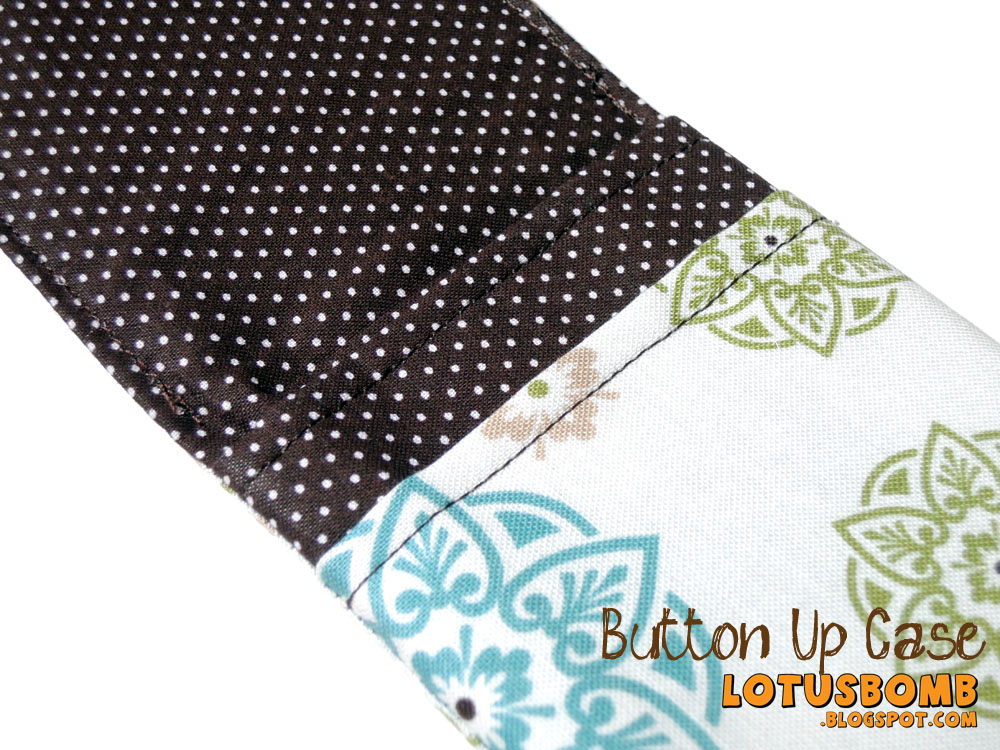
The inside boasts the main compartment and and outer pocket much like the phone cozy and ID wallets I make.


The outside has a vintage button elastic closure.  This particular vintage button is from my grandmother's collection.  I can now say I am obsessed with vintage buttons.   


I started out with the idea of making her a wristlet but somehow it became a clutch instead.  Turns out, the girl had been wanting a clutch so I must have known that unconsciously :D

 (Special thanks to my friend Genevie for modeling the clutch)


Pin It

Saturday, June 8, 2013

Button Up Phone Cases


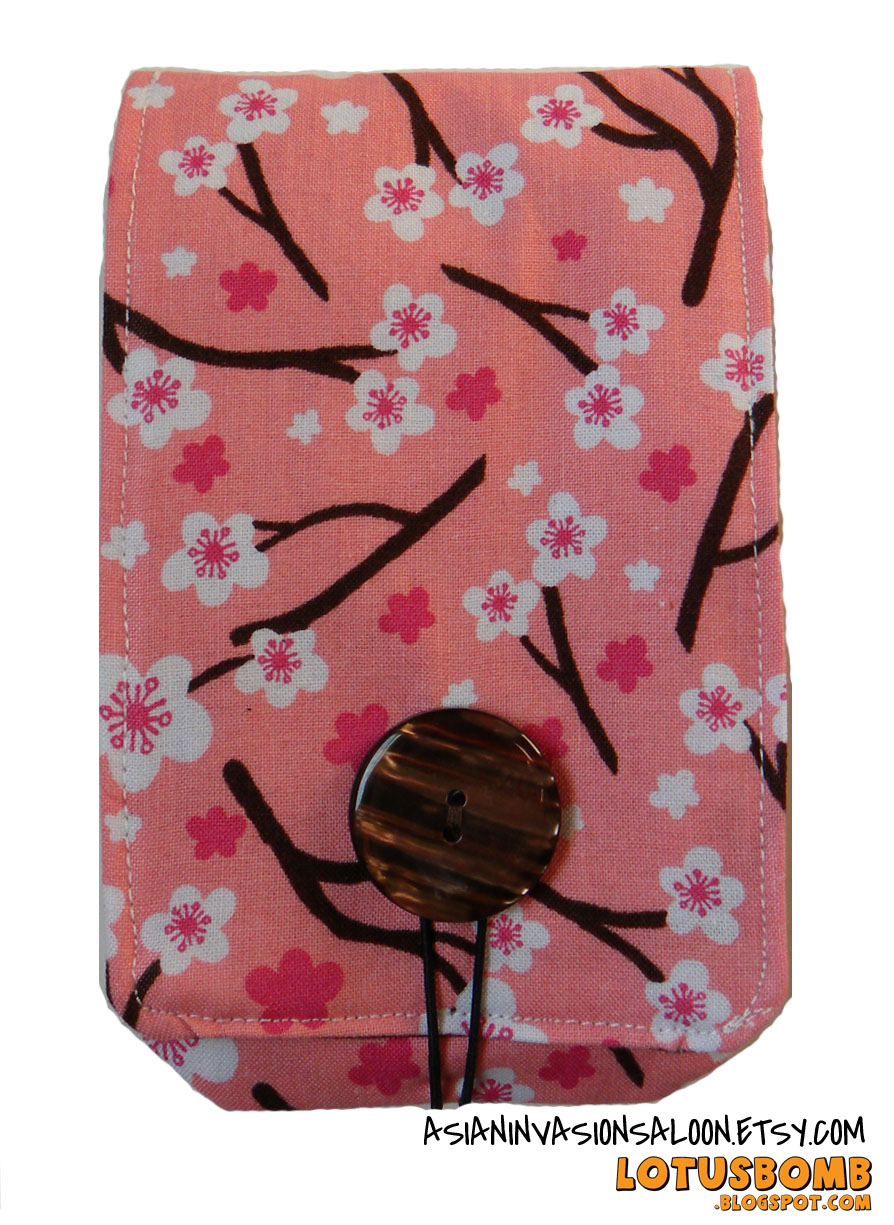
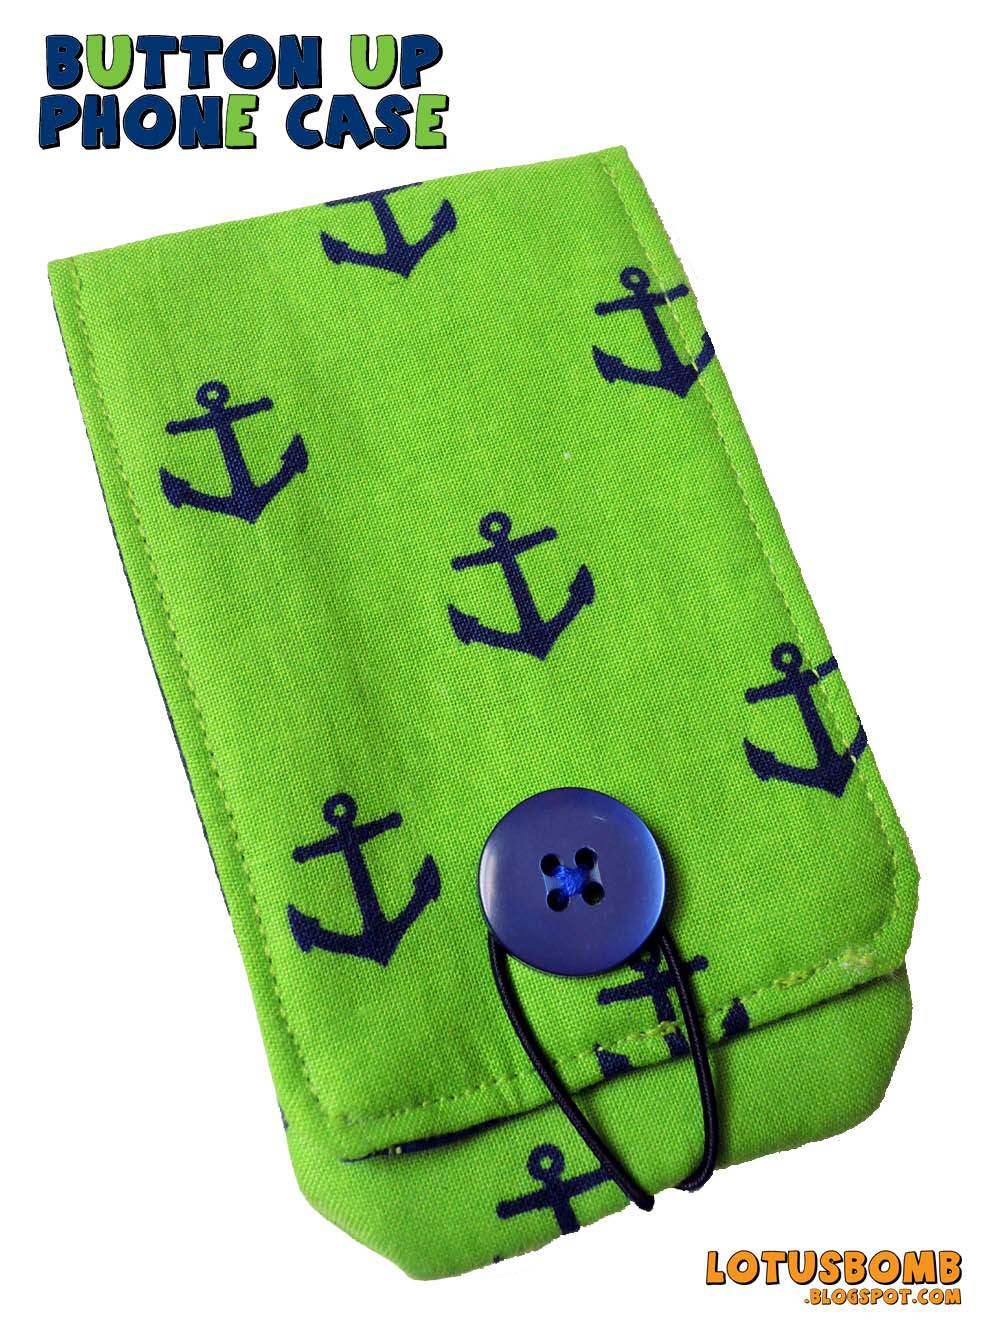
One of my best sellers are the Button Up Phone Cases I make.  I can't make them fast enough to list before they're sold.  I've experimented over the years and love the button closure opposed to the velcro tape, snap buttons,and ribbon strap.  The button closures give me an excuse to use up the buttons in my collection and gives more of a cleaner and professional look.

I always try to coordinate the outer fabric with the inner one to give it a more cohesive look rather than just randomly choosing two pieces, which would make it much easier but just not as purty!

And, not only can they be used for your phone, they can double as your point and shoot camera case too.


Here are a few others that I've made:


Pin It