Showing posts with label rockabilly. Show all posts

Wednesday, June 4, 2014

Using Peanut Butter To Take Off Sticky Residue


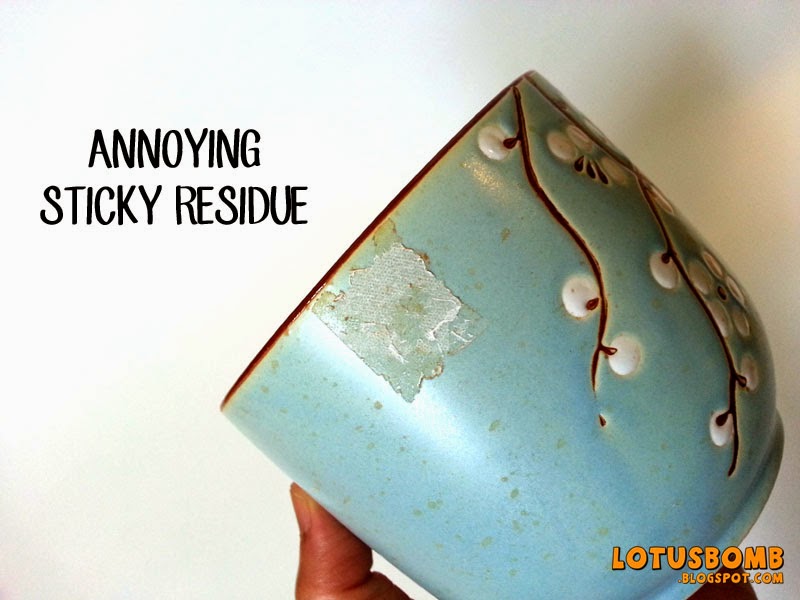
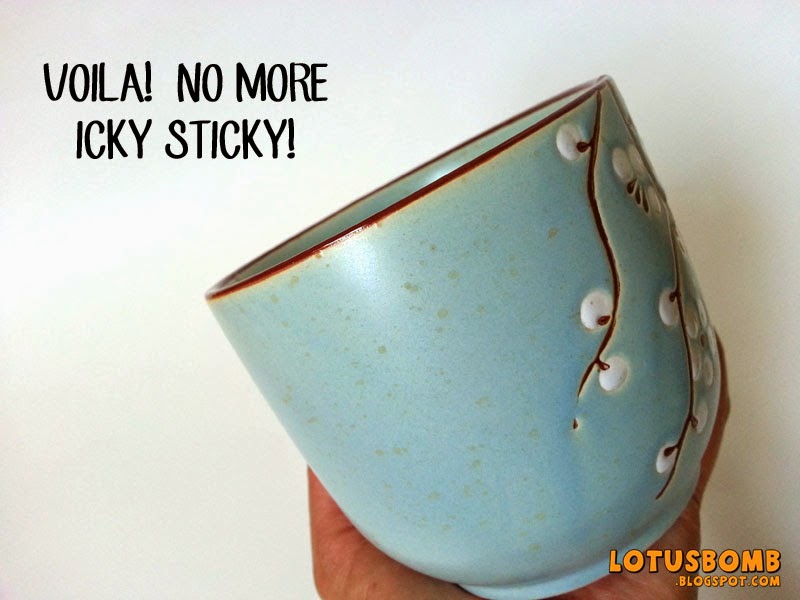
I just found the best tip ever on how to remove the annoying sticky glue from labels on mugs, cups, plates, etc.  PEANUT BUTTER.

See the label peeping out from the left near the rim?

I bought a cherry blossom mug from Chinatown today and was annoyed the label didn't come off entirely so I took to the 'net to find a solution.  I saw this post from Milehimama about using peanut butter.  I tried her easy and quick method and it worked.  No scrubbing, peeling, or scratching involved.  Just spread the PB over the residue, wait a few mins and then gently scrape off with a plastic bread tie.
If you're allergic to PB, I guess this won't work for you :(


Pin It

Wednesday, January 22, 2014

Social Distortion Refashion Tee


This is officially my new deconstructed refashion men's t-shirt.  I've been wanting to incorporate fabric into a remake but never really had the time to figure it out.  I love Social D and love how this came out.  I used a black and white striped jersey knit for the side panels and the band.  As always, I cut off the crew to make the shirt more feminine and added elastic to the inside top of the sleeveless part to make it shirred.  Yay for a new shirt!


Pin It

Saturday, September 28, 2013

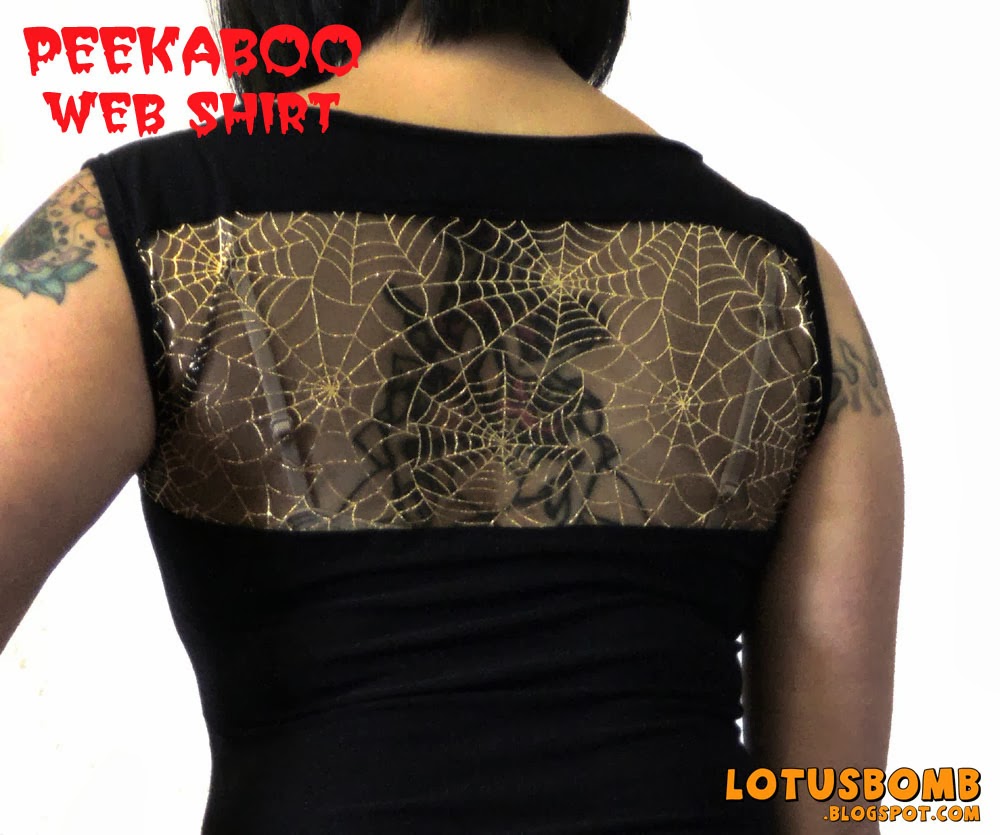
Peekaboo Lace Web Shirt


It would seem as though I made this peekaboo web lace shirt just in time for Halloween but alas, that is not the case.  Truth is, I have a shit ton of gothy lace material that I've gotten over the years but never did anything with and my brain starting putting together another idea and it just happened the timing coincided with October.  Once again, I'm uber pleased with how this came out.  I used a stretchy knit/lycra blend fabric from Joann's and a webby lace/tulle kind of material that I got from Joann's years ago.  Happy Every Day is Halloween!

Peekaboo Back!


Pin It

Friday, September 20, 2013

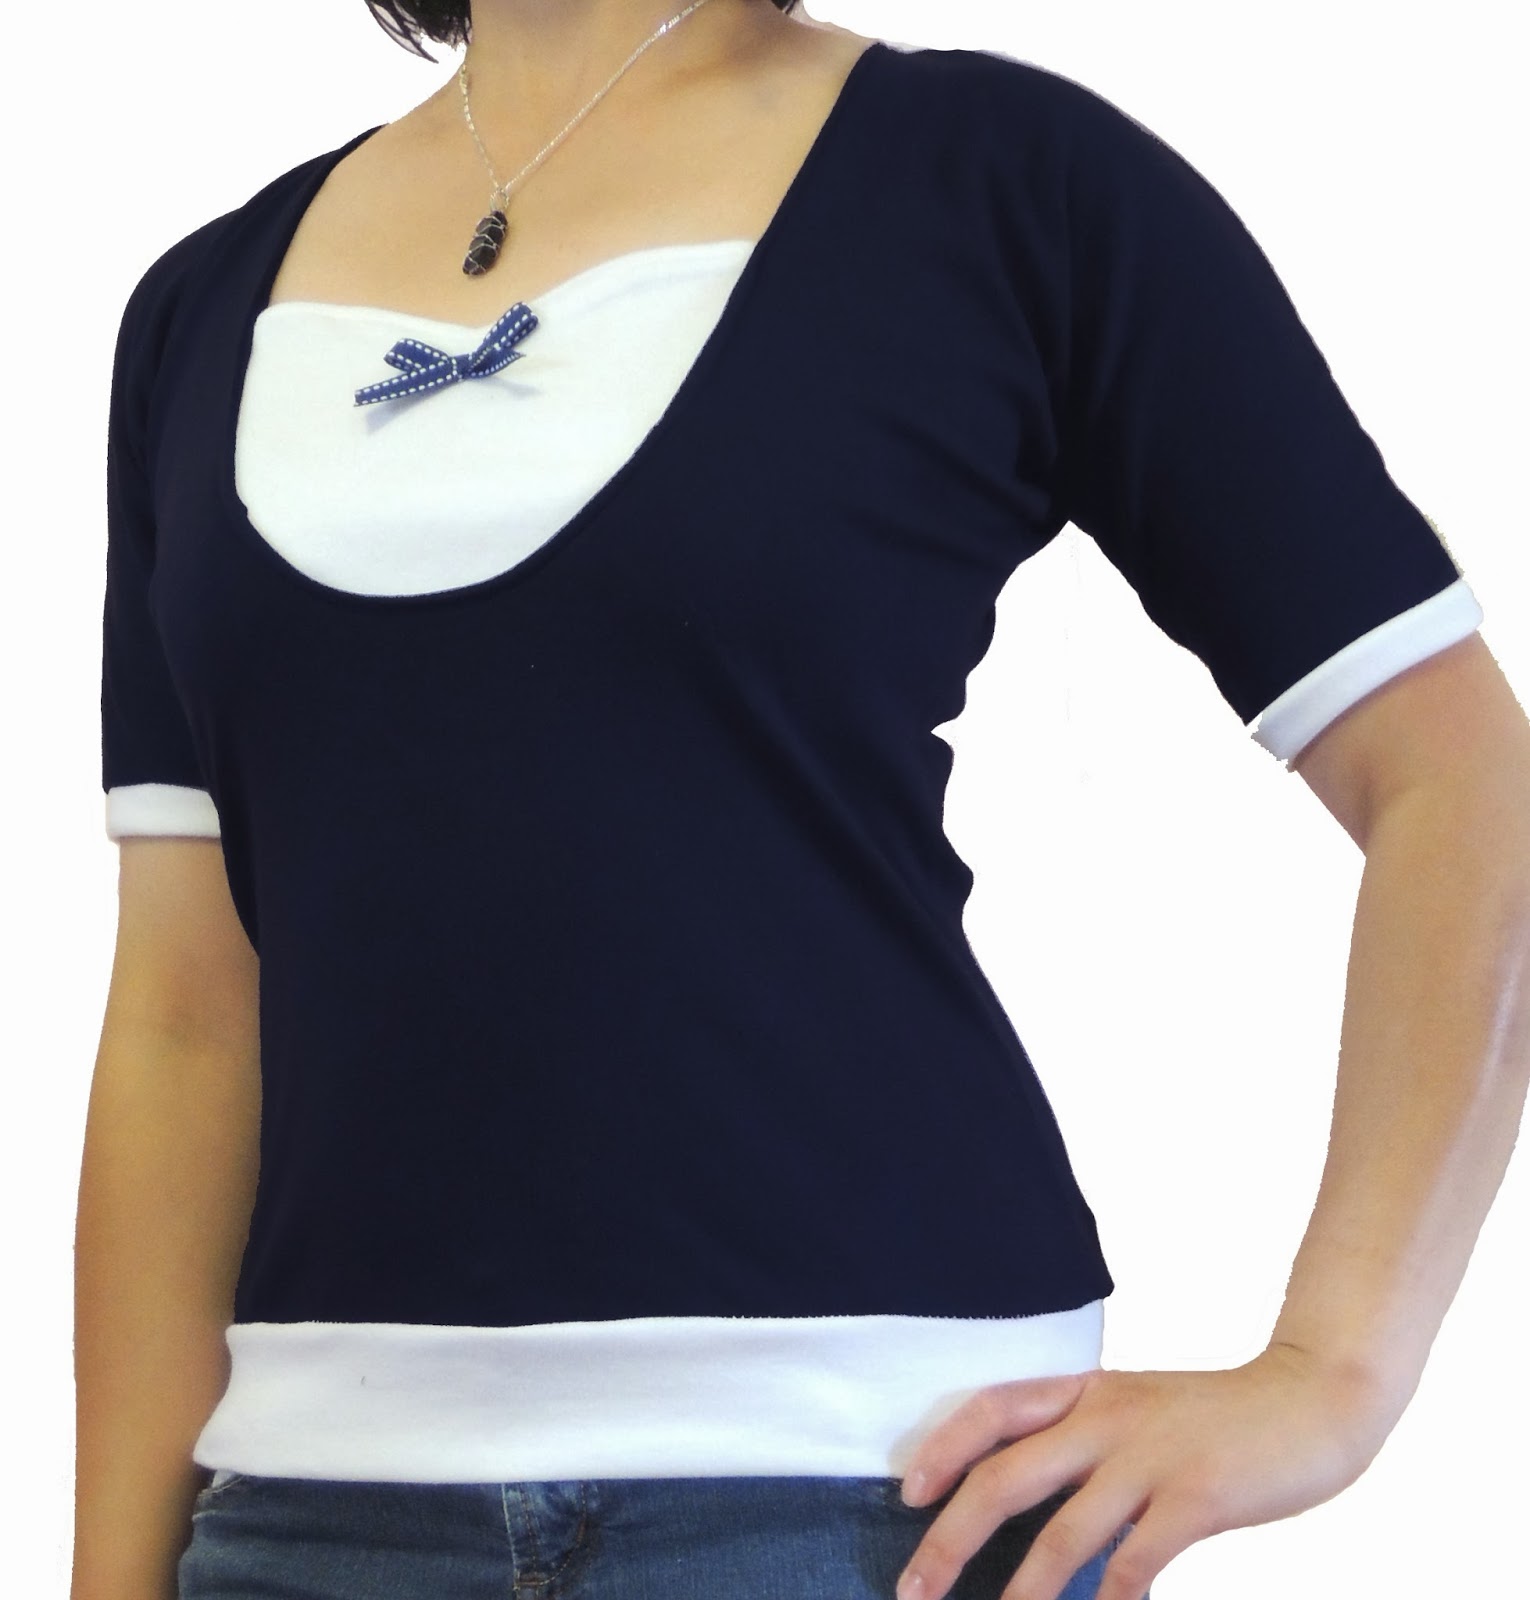
Navy and White Bow Shirt


This shirt was inspired by some nautical themed tops that I've been seeing on Pinterest.  As always, what started out as an imitation turned into my own thing.  This was the original pin that I was inspired by.  My version is similar but still different.  I made this from navy and white knit fabric and added a navy and white ribbon bow instead of buttons for the details.   I opted for the ribbon detail because I didn't have enough buttons and was too lazy dangerous to go out to get some.  Going to Joann's is a lot like going to Target.  You never walk out with just the item you originally went to get.

Anyway, I'm pretty pleased with how this turned out. Definitely comfy and a change from all the boatneck shirts I've been making. 

Bow Detail


Pin It

Thursday, August 15, 2013

Before and After: Botched Pencil Dress to Gorgeous Wiggle Dress

Something must have "clicked" over the last few months when I started sewing clothes again.  This is the second dress I've made within a 7 day period from start to finish with little mistakes.  The latest finished dress is a rockabilly style wiggle dress.  I attempted to make one last year but didn't exactly follow directions and tried to wing it and it came out bad.  Like really bad.  So I put it away and out of sight, out of mind.  I decided to pull it back out a few days ago and try to salvage it.  There's nothing worse than wasting large amounts of fabric on something not finished.  So, armed with patience and a whole lot more knowledge, I have a gorgeous wiggle dress that I can't wait to wear out!

The original disaster dress that didn't fit right because I tried to wing it.
 I didn't like how I made the bodice on the original dress so I used the skirt part to make a new one.  I originally intended for the bodice to look more like the one I made on this dress last week but I ended up changing it into a boatneck.  The scoop neck wasn't working for this dress.  I knew I wanted a wiggle dress of some sort so I did a lot of research on Modcloth and Pin Up Girl Clothing to find as inspiration.  In the end, I used black twill fabric to make the skirt portion.

The gorgeous redo.
I'm so happy with how this turned out.  It's definitely a confidence booster knowing that I can make garments that fit well. 


Pin It

Thursday, July 18, 2013

Tiki Maxi Dress


So I've never been much of a fan of maxi dresses.  The reason being is that in my mind, a maxi dress makes me look more height challenged than my 5'2" awesomeness.  Whether that is true or not, I don't care anymore.  I've seen many tutorials on Pinterest and for some reason this one resonated with me and it felt right to make one.  Maybe it was the title (Easist DIY Maxi Dress Ever).  Maybe it's because she's a fellow Asian.  Maybe it's because of her choice of fabric and how beautifully her dress came out.  Whatever it was, her tutorial was the one I chose to follow.  It really wasn't hard at all.  Considering that the style is very similar to the pillow case style dresses and shirts that I'd been making.  I've had this summery Tiki fabric in my stash for a long time and toyed with the idea of a swing dress or a wiggle dress.


In the end, the maxi dress won out.  I had to add side slits up to my knees in order to be able to walk unconstricted.  Admittedly, when I finished the dress and I tried it on, all I could see was a mumu.  Once I added on the wide belt, it was completely transformed.  This dress will definitely be making the birthday road trip with me to Arizona at the end of this month.


Pin It

Saturday, March 2, 2013

Cherry Gathered Bag


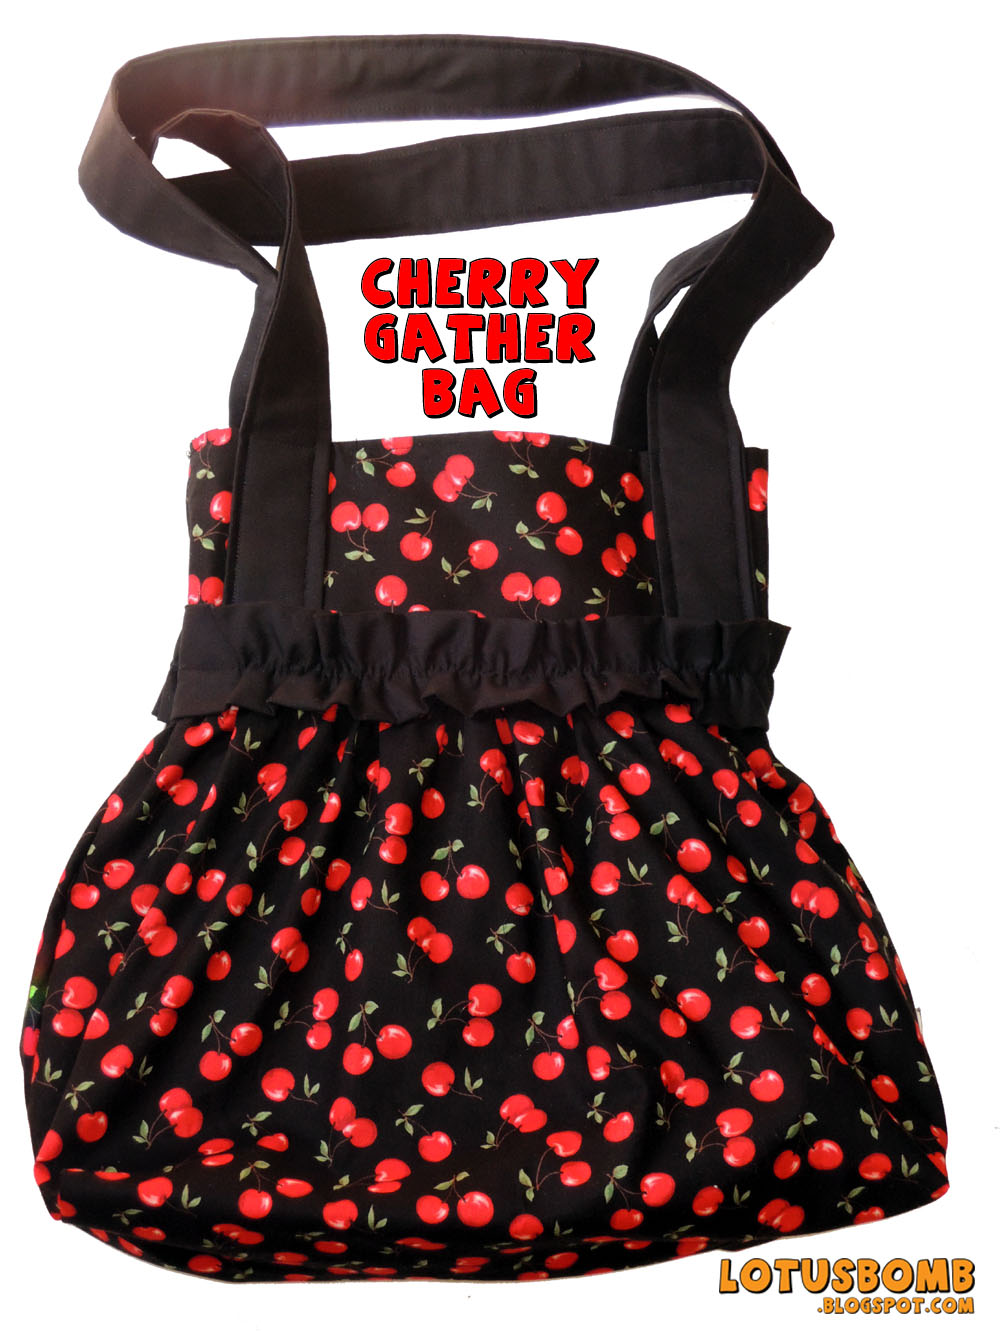
I made this cherry gathered bag for a friend's birthday last week.  It was based on this one that I made last year.  She loves cherries and I already had the fabric so it worked out perfectly.  It's about 16 inches tall, 15 inches wide at the bottom and 10.5 inches at the top.  I winged it this time and didn't bother with the pattern like I did last time. As useful as they are, for some reason, I have an aversion to them sometimes.


Pin It

Friday, January 18, 2013

Aaarrrrhhhh! Pirate Wallet

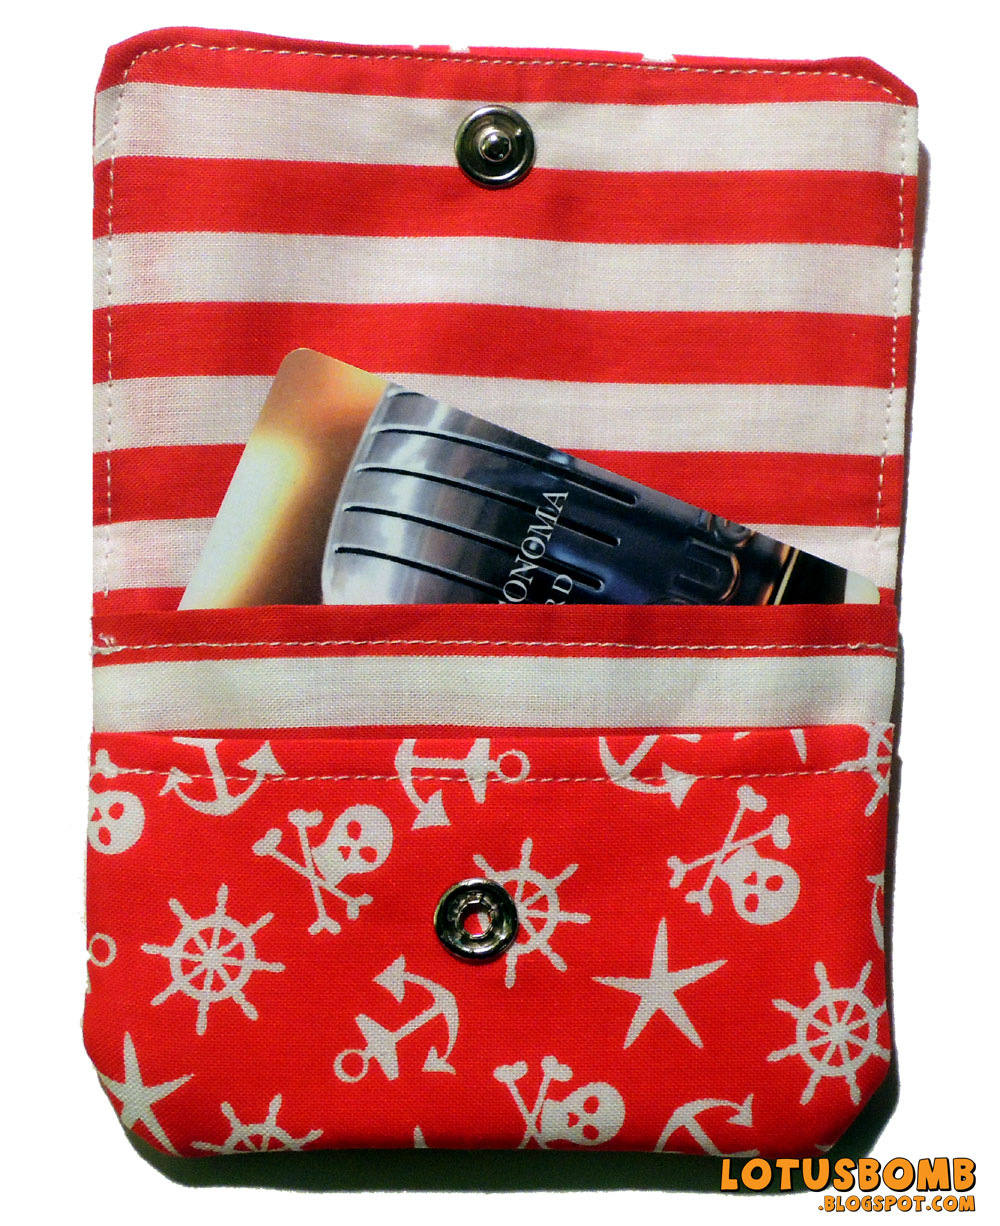
I have a habit of buying fabric and never getting around to using it and this piratey print I got at Joann's is no exception.  A while back, I was really into making these little card wallets (excuse the quality of the pictures--they were from before I learned how to take quality photos) and would pre-cut out all the pieces.   But then I would get distracted with another more fun project, and those cut pieces just sat in a drawer, forgotten.  So, as I was looking through my fabric stash for another project, I came across the pirate print and in true me form, I got distracted from the first project and decided to finally put together the wallet :)  The only thing I did differently is that I used fabric for the back pocket opposed to the vinyl I was using before.  I like the fabric pocket much better.


The back pocket.

Vinyl back pocket

Pin It

Thursday, January 10, 2013

T-Shirt Refashion: From Boxy Tee to Fitted Dolman Style


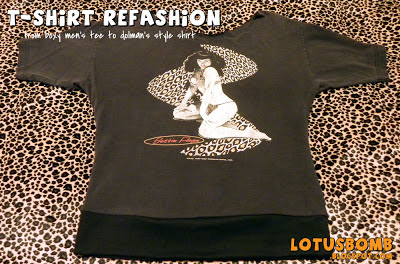
I've been wanting to refashion some boxy t-shirts for a while but never found a style that I really liked.  That is until I saw this tutorial on how to make a dolman sleeve style shirt from scratch.  Granted, I never thought much about dolman sleeves, in fact, I didn't think about them because they never really appealed to me.  But for whatever reason, the Make It & Love It tutorial gave me inspiration so I looked around on the internet to see if I could find a tutorial to make one from an existing shirt.  Enter Trash to Couture (I love her!).  When I saw her tutorial the gears in my  head started turning.  Using the Trash to Couture tutorial as a base, I cut and sewed my sleeves as she instructed.  But instead of ruching the sides, I added a banded bottom (inspired by the Make it & Love It tute) instead. I also cut the collar off a little wider to give it more of a boatneck and left it unhemmed cause I like that look.

The 15 year old BP shirt that I can now wear again..
The banded bottom.


Pin It

Saturday, September 22, 2012

Skull and Roses Messenger Bag and iPad Case Set


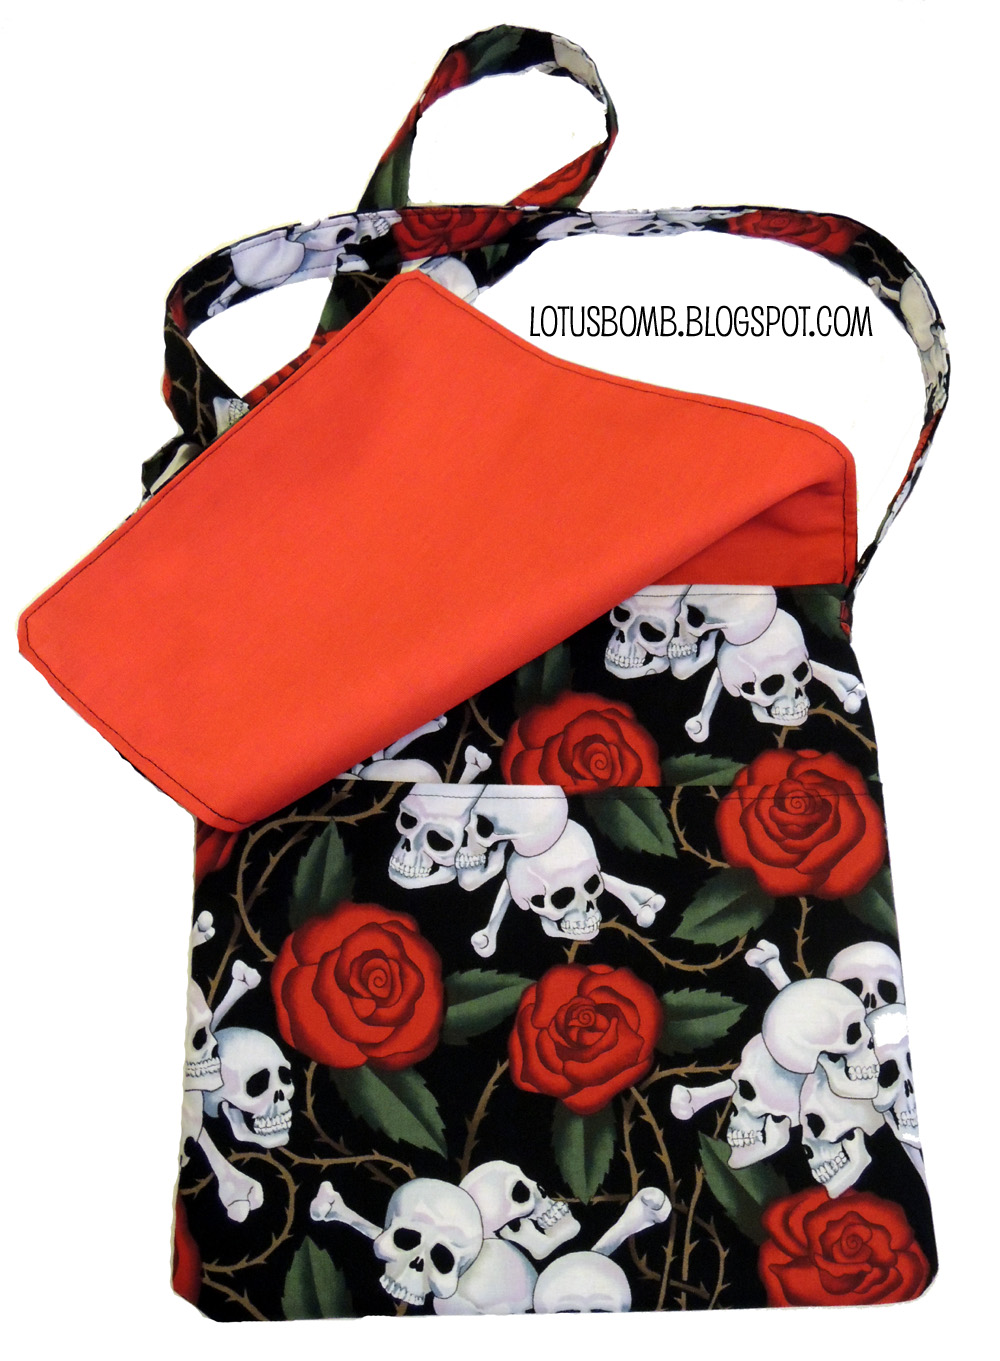
I really liked how the cupcake messenger bag I made for my now failed Craft Challenge came out so when I was asked to make one (along with an iPad case) for an order, I was excited.  The messenger bag is lined with a stiffer red fabric and interfacing to give it more stability.  Again, a front pocket was added for the smaller items. 

This was my first time making an iPad case and I made it a little differently than I did with the Kindle cases I've made in the past.  For this one, I added an outside pocket and a zipper opposed to a foldover flap for closure. Also used felt to give it added padding to help protect the iPad.

A matching tissue holder is also shown in the picture above.


Pin It

Tuesday, August 14, 2012

Day 11 of the 30 Day Pinterest Craft Challenge - Gather Skirt

 
The inspiration:  Gather Skirt (an Etsy tutorial)


My version: 

I didn't exactly follow the tutorial (no surprise there) but once again, I didn't have enough fabric so I added a white hem.  I originally added in a ruffle hem but it didn't look right.  Not to mention, the original ruffle I added was the same fabric print as the skirt but when I was near done, I realized I didn't have enough of the fabric.  So, out came the seam ripper, then added in the white ruffle, didn't like the way it looked, ripped that out and finally just added in the basic white block hem.  Although I pre-washed the fabric, it's still a little stiff so hopefully, after a couple more washes, it will soften up and lay not so poofy.  Overall, I do like the skirt and the cherry blossom print. Although the hem could use some ironing :)
  

Pin It

Friday, August 10, 2012

Day 7 of the 30 Day Pinterest Craft Challenge - Striped Dress

Funny how so far, every project for this challenge that I've embarked on has not quite come out the way as they were posted and pinned.  This project was no different.  This is the original inspiration pin from Handmade Mess:

Easiest Skirt in the World- Handmade Mess [Now I just need ... basic sewing skills...]


This is what I ended up with:


I really had all intentions of making the "easiest skirt in the world" but when I tried on the skirt, it was too long.  So I trimmed about 12 inches.  When I tried it on, it was too short.  I am way too old to be wearing a skirt 3 or 4 inches above my knees so I had to improvise.  First came the bodice, which took me a little while to figure out how I wanted to make it.  It started out as a tube top with straps but the fabric is really, really, really stretchy so that wasn't working.  The back kept bunching up, the front looked all wonky.  I then had a light bulb moment and I made some adjustments.  I cut out armholes and decided to make the top like how I made this shirt from my Day 3 Craft Challenge.  Perfect!  The back didn't bunch up anymore and the front became more flattering.  I added in a 3 inch ruffle to bring the dress down to my knees.  I didn't have the patience to pull the basting stitch to create the ruffles so I ended up using a piece of elastic I found laying around.  For the straps, I just looped in a raw strip of jersey knit from my stash.  You can't really tell the straps have raw edges but I like that look in moderation so I ended up leaving the hem of the ruffle raw as well.  

Overall, I really liked how it turned out.  I wore it out to lunch yesterday with the BFF (Marisa from Sukoshi Shop) and she was also rad enough to help me take some pix of me wearing the dress.

Here's the back view:


BTW, this dress was finished on the 8th but I had internet problems last night after I came home when I was trying to post this entry so here it is now :)

Pin It

Tuesday, August 7, 2012

Day 5 of the 30 Day Pinterest Craft Challenge - Circle Skirt


I love love love circle skirts and dresses so it was a no brainer when I saw this post from iCandy on Pinterest that I would be making this.  Drafting my own pattern was easier than I thought but this did take me longer than I expected because I'm super picky and kept trimming and trimming until I was satisfied.  Then it took me over a half hour to add on the black and white piping only to realize when I was finished that I wasn't loving it.  I didn't like how it makes the bottom of the skirt a bit wonky because it tends to curl.  And it made it a bit more fancy than I wanted for every day wear.  I think if the trim was on a stiffer cotton material opposed to the jersey knit, it would not curl as much.  I wanted to post this up to make sure I wasn't slacking for the challenge but I'll be removing the trim this week so that it will be more simple.  I'll just save the trim for another dress. 

Pin It

Sunday, July 17, 2011

Wonk Wonk Wonk


Who as a child (or adult!) didn't play PacMan in the 80s? It was (and still is) one of my favorite arcade games. I remember as a kid being at the dentist and playing PacMan until they called me in for my dreaded orthodontist appointment. They sure knew how to take a kid off her mind with an arcade machine!

Making this felt PacMan with pellet beads does take me back to the 80s. I can do without the skinny pants and should pads though :)