Showing posts with label tutorials. Show all posts

Tuesday, September 16, 2014

Easy DIY Keyboard and Mouse Wrist Rests for under $5 (Tutuorial)


I needed a wrist rest for my keyboard and mouse but was too cheap resourceful to spend too much on them.  So, I did some research and made my own DIY keyboard and mouse wrist rests.


Pretty easy if you ask me.  Most of the resources I saw used rice as the filler, which was my plan since I had an abundance, being Asian and all (ha!).  However, that plan changed when I was telling my cousin about my upcoming project.  She had mentioned one time that she found an old bag of unopened rice in their pantry and noticed wormy things worming amongst the rice grains.  Wormy and maggotty like.  Ew.  No thanks.  So, I (we) decided that beans might be a better option (I hope).
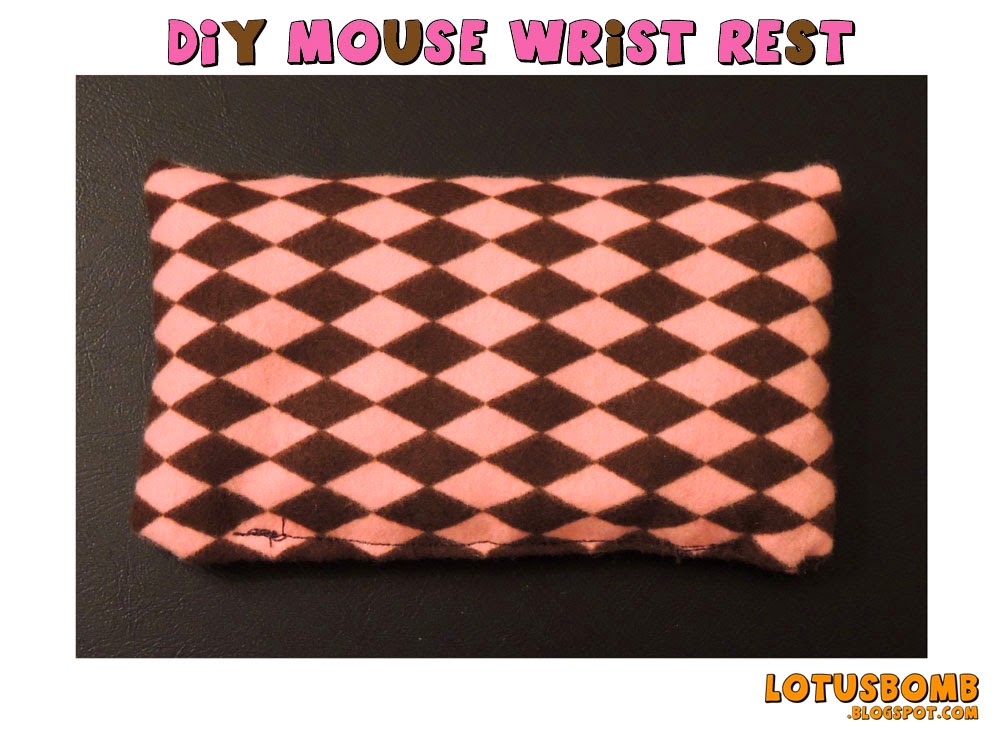
sans protective cover

I also made protective cover for the bean filled wrist rests so they can be tossed into the washer to be cleaned.  My wrist rests tend to get jenky over time and needed some deep cleaning from time to time and you can't exactly toss the squishy ones into the washer. 

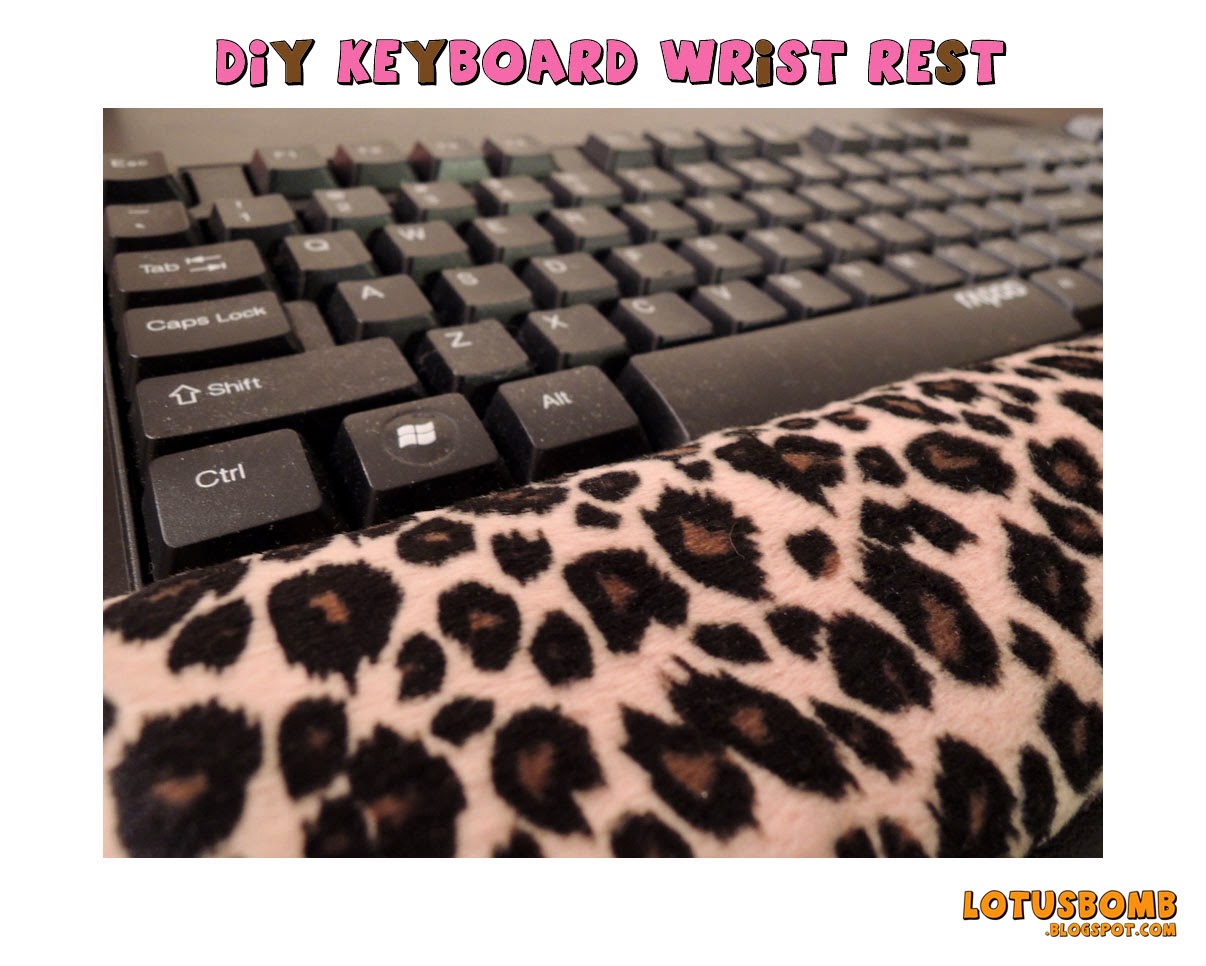
With the sexy leopard print protective cover


Materials: 
Beans of your choice - a 2lb bag was more than enough (I used pinto cause they were the cheapest)
Fabric the length of your keyboard (mine was 18") and 5 inches wide
Fabric about 5 inches long and 5 inches wide

Optional if you want the protective covers:

Fabric the same length and width as the one used for your keyboard and mouse wrist rests plus 1 inch to the length and width

Trim of your choice if you want it (I used black ric rac)


The How To: 
For each of the wrist rests, fold your fabric in half lengthwise (so you have a tube) so the printed side is touching.  You should only have two sides to sew:  one end of the short side and the remaining long side using a straight stitch.  Turn the fabric inside out (the printed fabric should be outside now and raw edges inside) and you now have a long tube for the keyboard rest and short tube for the mouse rest.

Fill with the beans (or the rice if you're brave and not squeamish) about 2/3 full.  You don't want to fill the tubes with too much beans as you want the beans to have space to spread out.  Sew the open end closed.


For the protective covers, if you are using any trim, sew your trim onto one end of the short side.  Again, fold your fabric in half lengthwise (so you have a tube) with the printed side inside and sew up the short end (not the side with the trim ;) and the remaining long side.  Flip the tube inside out and shimmy the bean filled rests into the covers.  Your covers should be a tad bigger than the rests so they can go into the covers easily. 
 
All in all, last I saw on Amazon, the keyboard wrist I saw was approximately $12 and the one for the mouse was about $4.  The beans cost me about $2.50 from Walmart and the fabrics were my stash.  So, for under $5, I now have my very own DIY wrist rests with easy to clean protective covers. 


Wednesday, December 25, 2013

"Pillowcase" Top Tutorial


Back in August of 2012, I posted a shirt (this one) I had made based on a shirt I saw on Pinterest.  I was recently asked to make a tutorial for that shirt so here it is!  Would love to see your version so please post a link in the comments.

Materials:
Knit fabric of your choice
A strip of knit fabric of your choice (about 36 inches long or more and 2 inches wide)
Your favorite shirt that fits lengthwise
Sewing machine
Matching thread.

For this shirt, I chose a slate gray jersey knit fabric and black jersey knit for the tie.

 Bodice.
 1.  Measure your bust and add 1.5 inches to both sides.  An inch will be for seam allowance and the extra is to give your shirt some room.   I have a size 32 bust and fairly petite so my shirt ended up being about 34" wide after I sized it down from the below measurements.

Take your bust size, divide by 2 and add 3.  For this tutorial, we will be using my  measurements.
32/2=16+3=19" width

For the length of the fabric, measure your favorite shirt from top of shoulder down to the bottom minus 2 inches. 

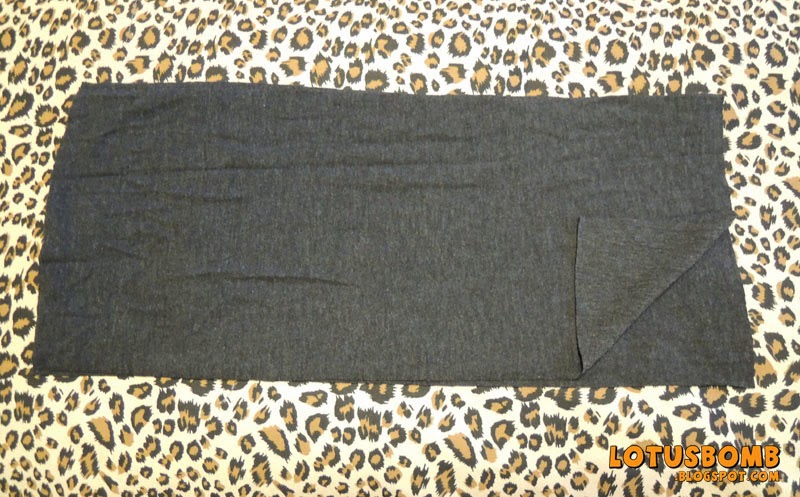
 Leaving your fabric folded in half, cut a rectangle based on your measurements so you have two pieces.  It is not necessary to cut on the fold as the two rectangles need to be separate.   


Sleeveless hem and tie casing.
2.  Measure 9 inches from the top down on both sides and mark it lengthwise with a pin.  The fabric above the pin will be for the armholes and casing for the tie.  Sew from the pin down on both sides using a straight stitch. 


3. Starting where the fabric opens up to create the sleeveless hem, fold your fabric at an angle towards the middle of the shirt and pin.  The fold should be a slight diagonal.  Do this on both sides for each piece of fabric.  Using a 1/4" seam allowance, sew each hem.  For the beginning sewer, you will be sewing four times so be careful to not sew the folded hems to one another :)


4.  Once the sleeveless hems are sewn, for the casing, fold the top of the shirt down an inch and pin.  Do the same for the other side.  Using a straight stitch and leaving 3/4" from the top, sew across lengthwise.  You want to be sure to leave about 3/4 open for the tie to be pulled through.  


Bottom (banded) hem.
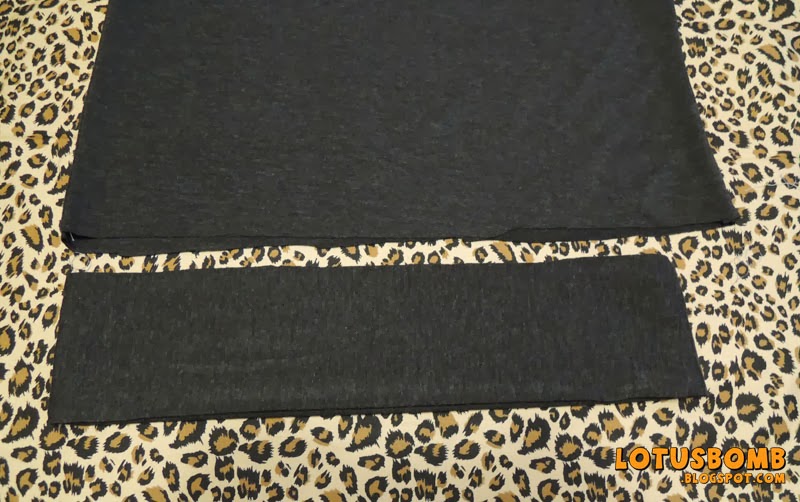
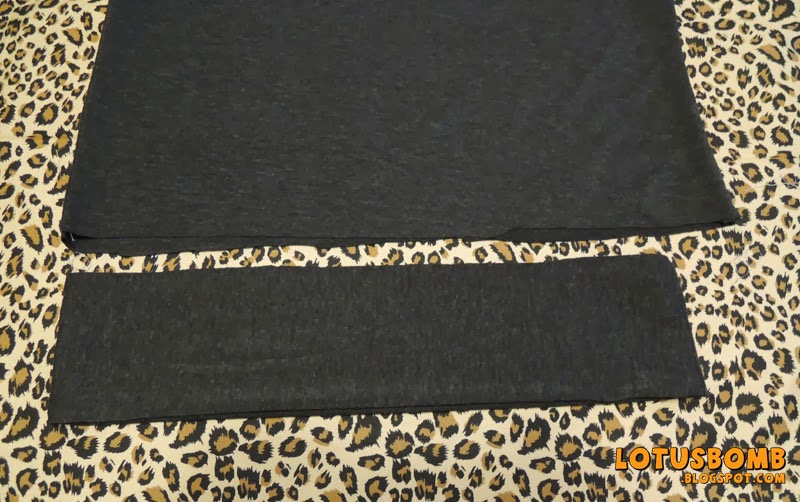
5.  Cut two pieces of fabric about five inches tall and two inches smaller than the width of your shirt.  For my shirt, the width was 19 inches so I cut this fabric 17 inches.

The two pieces needed for the banded hem.


6.  Sew up each side so you end up with a tube.  Now, take the top part of the tube and bring it down so that it meets the bottom part so the seams are inside.


7.  Your banded hem should look like this now. 


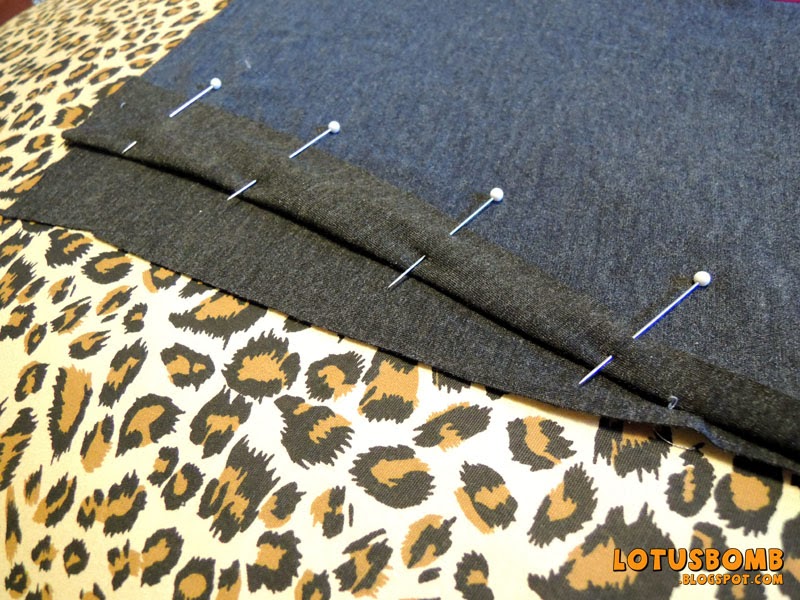
8.  Slide the tube over the shirt matching the raw edges together so the tube is "hugging" the shirt.  Pin the tube side seam to side seam with the shirt and center to center.  You should have some loose fabric from the shirt in between the pins.  Using a zigzag stitch, sew the edges together, while stretching the band to "fit" the shirt. 

I forgot to take a pic of the next step so luckily I had a pic from a previous shirt project. 

The banded hem should be "hugging" the shirt.


Once the banded hem is on, your shirt should look similar to this (once again I forgot to take a pic so this pic is from another project).


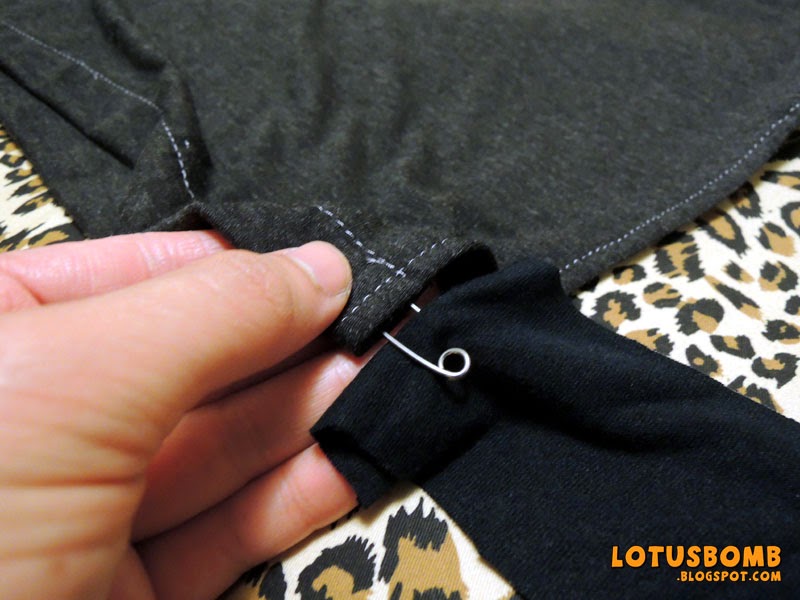
9.  Using a safety pin, pin one end of the strip of fabric and pull it through both of the casings. 


Tie the ends together into a bow or if you don't like the bow, adjust the length to your preference and sew the ends together and pull it through the casing to hide the seams.

And you're done!

I hope the instructions were clear but if you have any questions, let me know.  It's a pretty simple project but I may have given too much details :) 

Pin It

Thursday, July 5, 2012

Decoupaged Pinup Girl Soap/Lotion Dispenser Tutorial


I made this soap dispenser from an empty hand sanitizer bottle from work.  I work as a massage therapist and we go through hand sanitizer like crazy so I like to rescue the bottles to pretty them up to resuse at home or to give away.   I'm in love with Gil Elvgren's pinup girls so I used a one of his reproductions from an old "one-a-day" calendar.  Since I planned on using this bottle in the bathroom, I thought this picture of the pinup girl in a robe with a towel wrapped over her hair was perfect for this bottle. 


Materials Needed:  
Empty bottle (pump is optional)
Mod Podge
Artwork or whatever picture you want
Faux Gems
Glue (I used Elmer's)
tweezer (for the gems)


1.  Starting with a clean bottle, remove the labels.  If any of the gummy adhesive will not come off, you can use a bit of Goo Gone to remove the residue.  Be sure to clean the Goo Gone off the bottle really well otherwise, the  Mod Podge and artwork will not adhere. 

2.  Cut your artwork to size. 


3.  Once the bottle is clean and dried, spread the Mod Podge with a brush over the front of the bottle.  


4.  Place the artwork or picture over the adhesive and smooth from the center out to the edges with your fingers to remove any air bubbles and wrinkles.  Once the bubbles and wrinkles are removed, spread a layer of the Mod Podge over the artwork.  Once again, smooth it out.  If there are any wrinkles on the edges, it's not a big deal if you plan on using the faux gems, as the gems can cover up the wrinkles. Give it a few minutes and let it dry.  Put a second layer of Mod Podge.  Let it dry.  


 5.  Using the Elmer's glue (or whatever you are using), glue the gems onto the artwork in whatever design you want.  I used tweezer to help make the placement easier. 

Depending on how much glue you used, it may need a few hours (or overnight) to dry.  Once it is completely dry, put one more coat of Mod Podge over the art and gem stones.  This last layer is optional but is suggested if you're using the bottle as a soap dispenser.  The Mod Podge won't make your artwork waterproof but multiple layers will help to keep the artwork from being "melted" by any water splashing onto the bottle.  The final layer will also help the gems to stay put (unless pried off).  

If you do plan on dispensing soap, make sure your artwork and gems do not go to the bottom edge of the bottle in case your bottle is standing in a puddle of water.

Let me know if you make your own as I would love to see yours!


Pin It