Showing posts with label diy. Show all posts

Tuesday, September 16, 2014

Easy DIY Keyboard and Mouse Wrist Rests for under $5 (Tutuorial)


I needed a wrist rest for my keyboard and mouse but was too cheap resourceful to spend too much on them.  So, I did some research and made my own DIY keyboard and mouse wrist rests.


Pretty easy if you ask me.  Most of the resources I saw used rice as the filler, which was my plan since I had an abundance, being Asian and all (ha!).  However, that plan changed when I was telling my cousin about my upcoming project.  She had mentioned one time that she found an old bag of unopened rice in their pantry and noticed wormy things worming amongst the rice grains.  Wormy and maggotty like.  Ew.  No thanks.  So, I (we) decided that beans might be a better option (I hope).
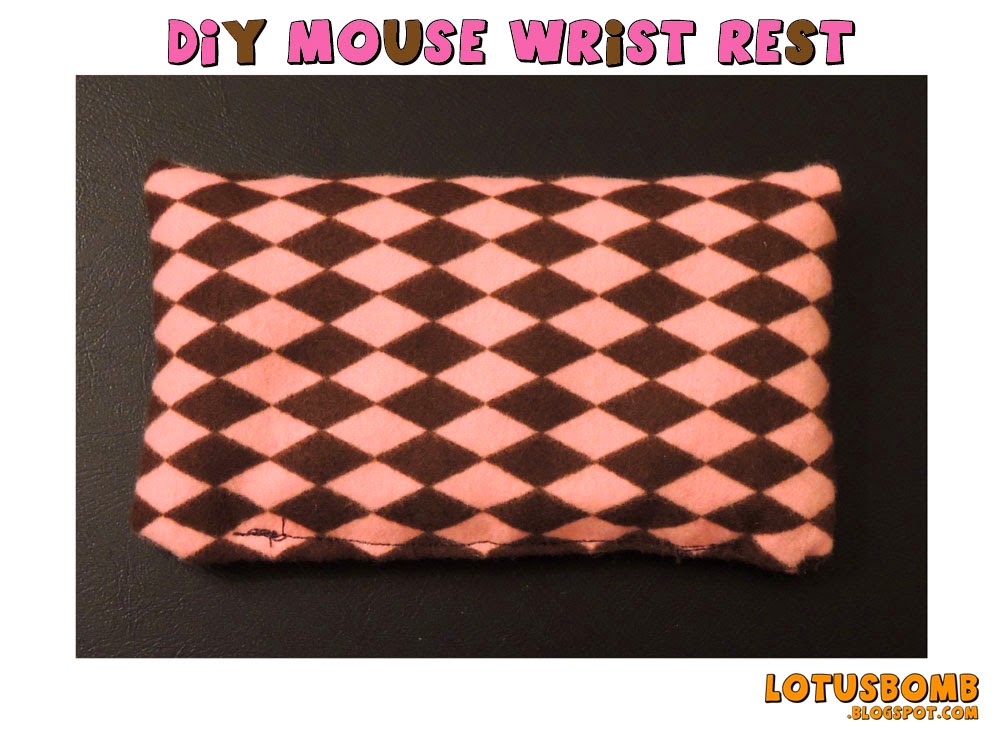
sans protective cover

I also made protective cover for the bean filled wrist rests so they can be tossed into the washer to be cleaned.  My wrist rests tend to get jenky over time and needed some deep cleaning from time to time and you can't exactly toss the squishy ones into the washer. 

With the sexy leopard print protective cover


Materials: 
Beans of your choice - a 2lb bag was more than enough (I used pinto cause they were the cheapest)
Fabric the length of your keyboard (mine was 18") and 5 inches wide
Fabric about 5 inches long and 5 inches wide

Optional if you want the protective covers:

Fabric the same length and width as the one used for your keyboard and mouse wrist rests plus 1 inch to the length and width

Trim of your choice if you want it (I used black ric rac)


The How To: 
For each of the wrist rests, fold your fabric in half lengthwise (so you have a tube) so the printed side is touching.  You should only have two sides to sew:  one end of the short side and the remaining long side using a straight stitch.  Turn the fabric inside out (the printed fabric should be outside now and raw edges inside) and you now have a long tube for the keyboard rest and short tube for the mouse rest.

Fill with the beans (or the rice if you're brave and not squeamish) about 2/3 full.  You don't want to fill the tubes with too much beans as you want the beans to have space to spread out.  Sew the open end closed.


For the protective covers, if you are using any trim, sew your trim onto one end of the short side.  Again, fold your fabric in half lengthwise (so you have a tube) with the printed side inside and sew up the short end (not the side with the trim ;) and the remaining long side.  Flip the tube inside out and shimmy the bean filled rests into the covers.  Your covers should be a tad bigger than the rests so they can go into the covers easily. 
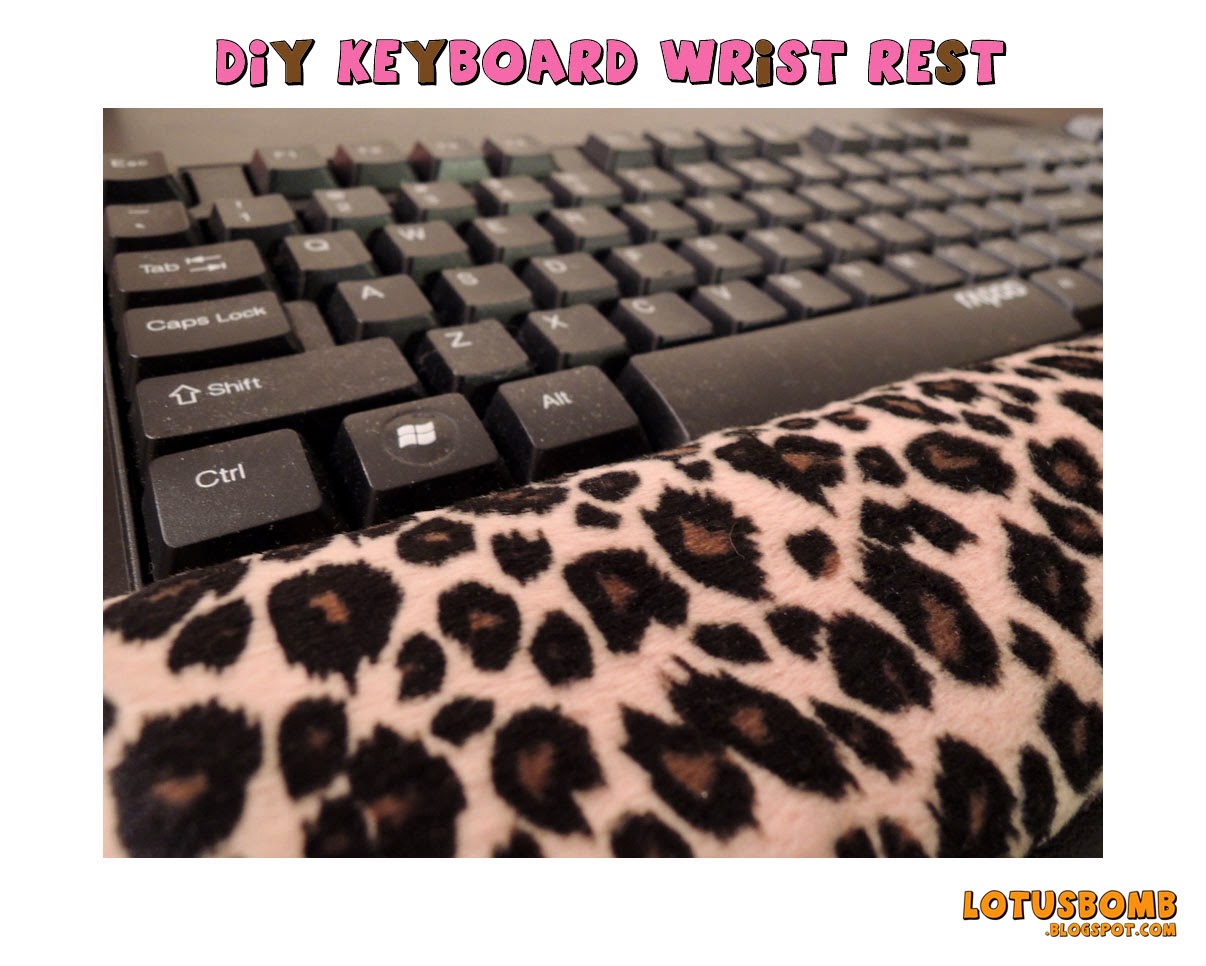
 
All in all, last I saw on Amazon, the keyboard wrist I saw was approximately $12 and the one for the mouse was about $4.  The beans cost me about $2.50 from Walmart and the fabrics were my stash.  So, for under $5, I now have my very own DIY wrist rests with easy to clean protective covers. 


Saturday, September 28, 2013

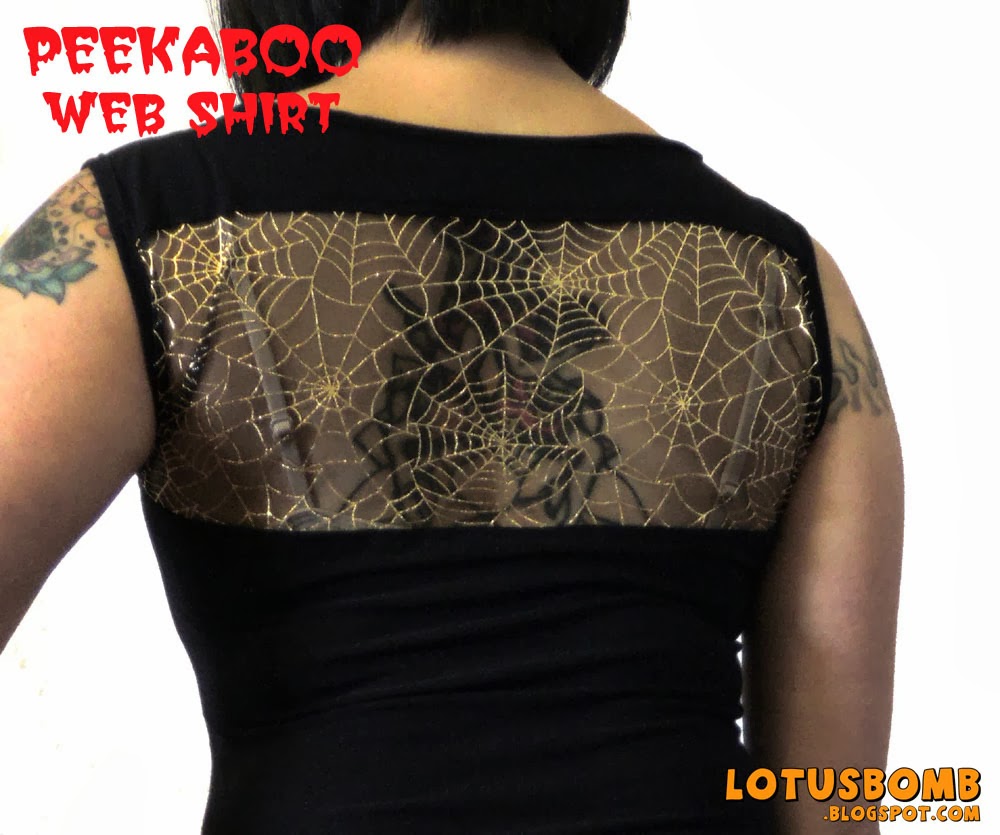
Peekaboo Lace Web Shirt


It would seem as though I made this peekaboo web lace shirt just in time for Halloween but alas, that is not the case.  Truth is, I have a shit ton of gothy lace material that I've gotten over the years but never did anything with and my brain starting putting together another idea and it just happened the timing coincided with October.  Once again, I'm uber pleased with how this came out.  I used a stretchy knit/lycra blend fabric from Joann's and a webby lace/tulle kind of material that I got from Joann's years ago.  Happy Every Day is Halloween!

Peekaboo Back!


Pin It

Friday, September 20, 2013

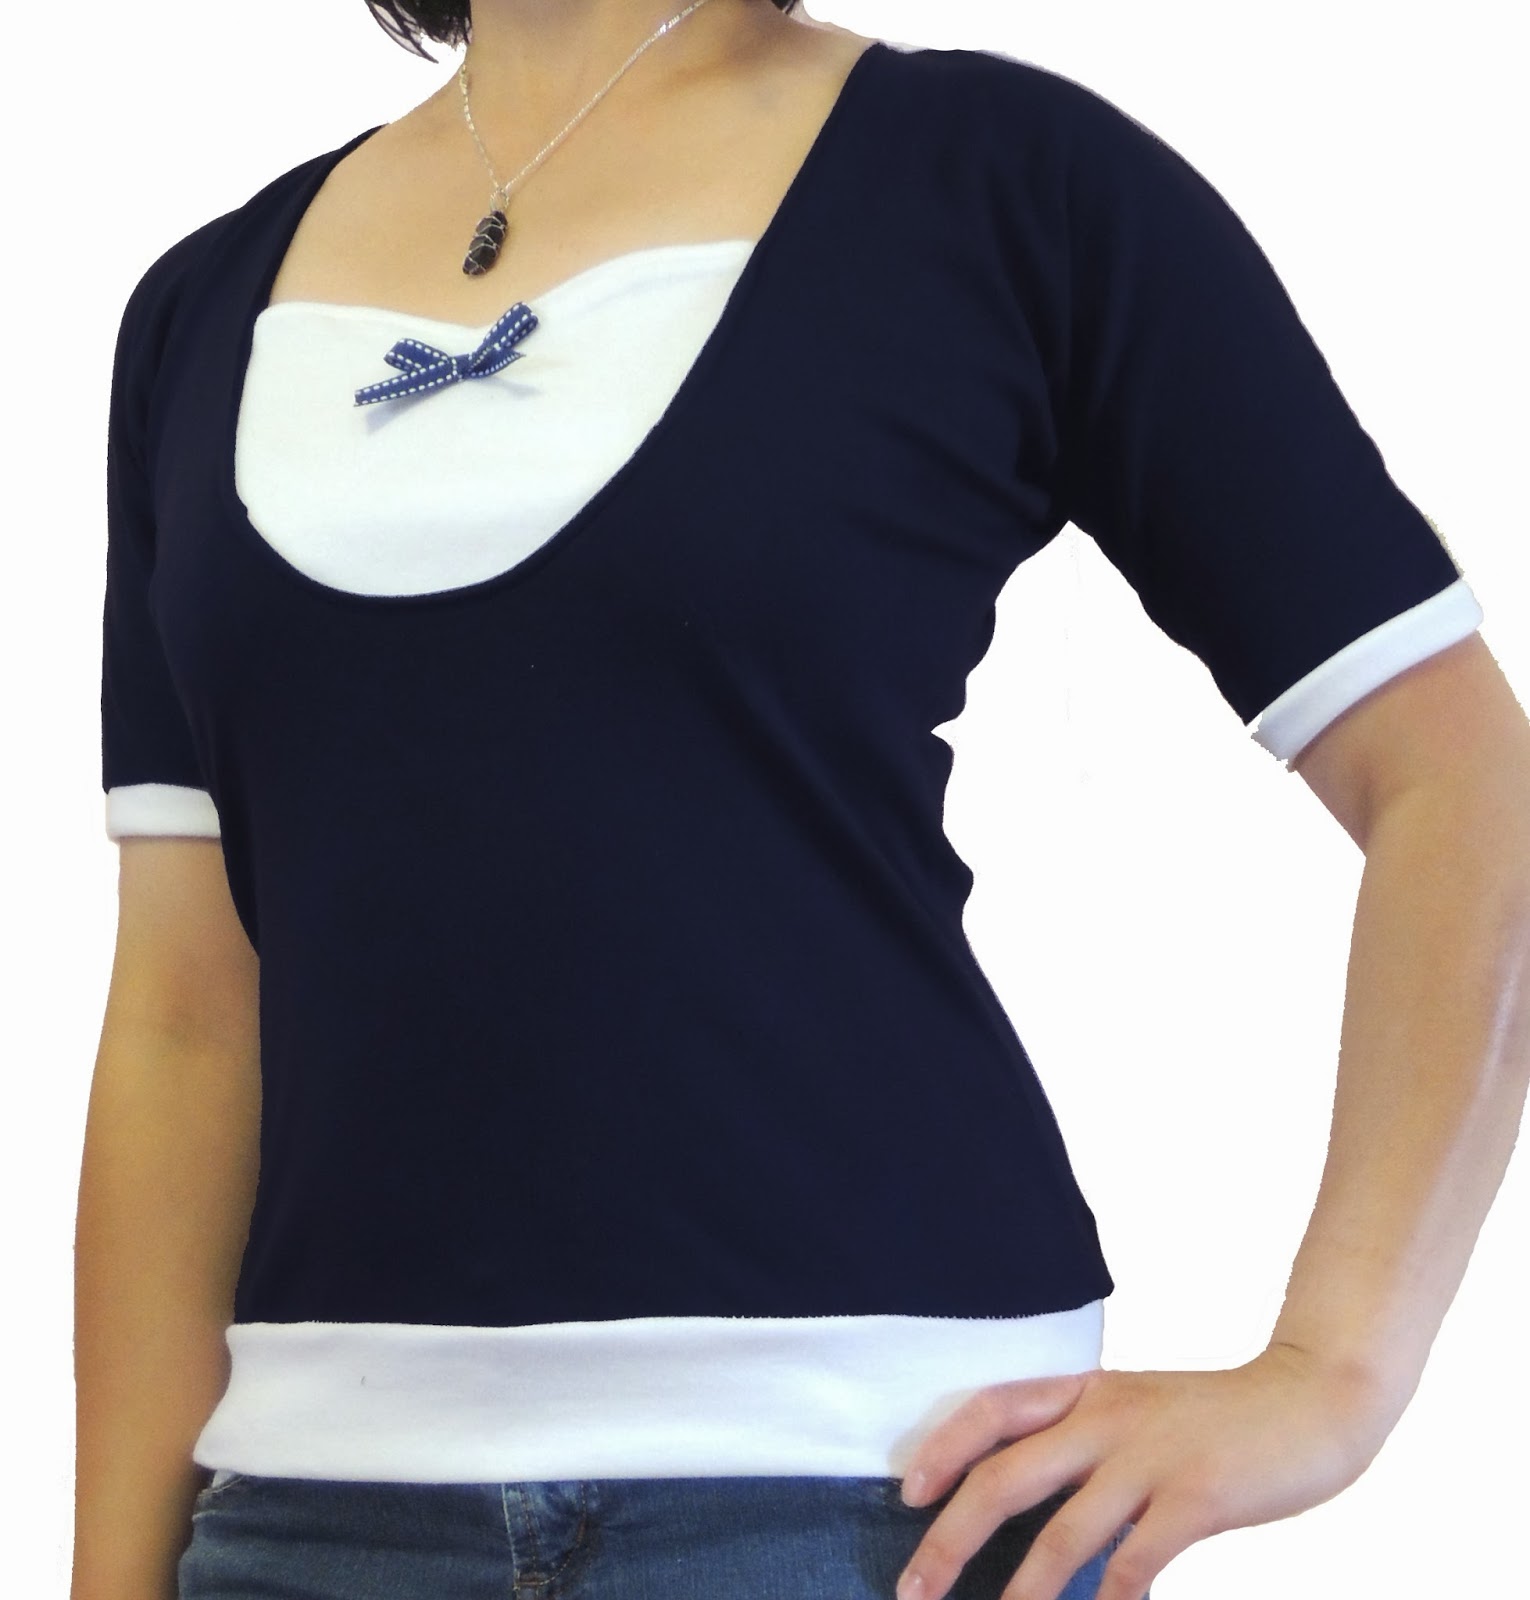
Navy and White Bow Shirt


This shirt was inspired by some nautical themed tops that I've been seeing on Pinterest.  As always, what started out as an imitation turned into my own thing.  This was the original pin that I was inspired by.  My version is similar but still different.  I made this from navy and white knit fabric and added a navy and white ribbon bow instead of buttons for the details.   I opted for the ribbon detail because I didn't have enough buttons and was too lazy dangerous to go out to get some.  Going to Joann's is a lot like going to Target.  You never walk out with just the item you originally went to get.

Anyway, I'm pretty pleased with how this turned out. Definitely comfy and a change from all the boatneck shirts I've been making. 

Bow Detail


Pin It

Friday, August 9, 2013

DIY Tunic Top

During my sewing spree the other day, I whipped up this shirt in about an hour with this fantastic shiny, fancy fabric I found for $5 at Michael Levine.  I love that I can wear this two different ways:  belted or loose.  It looks great either way.


Pin It

Thursday, June 20, 2013

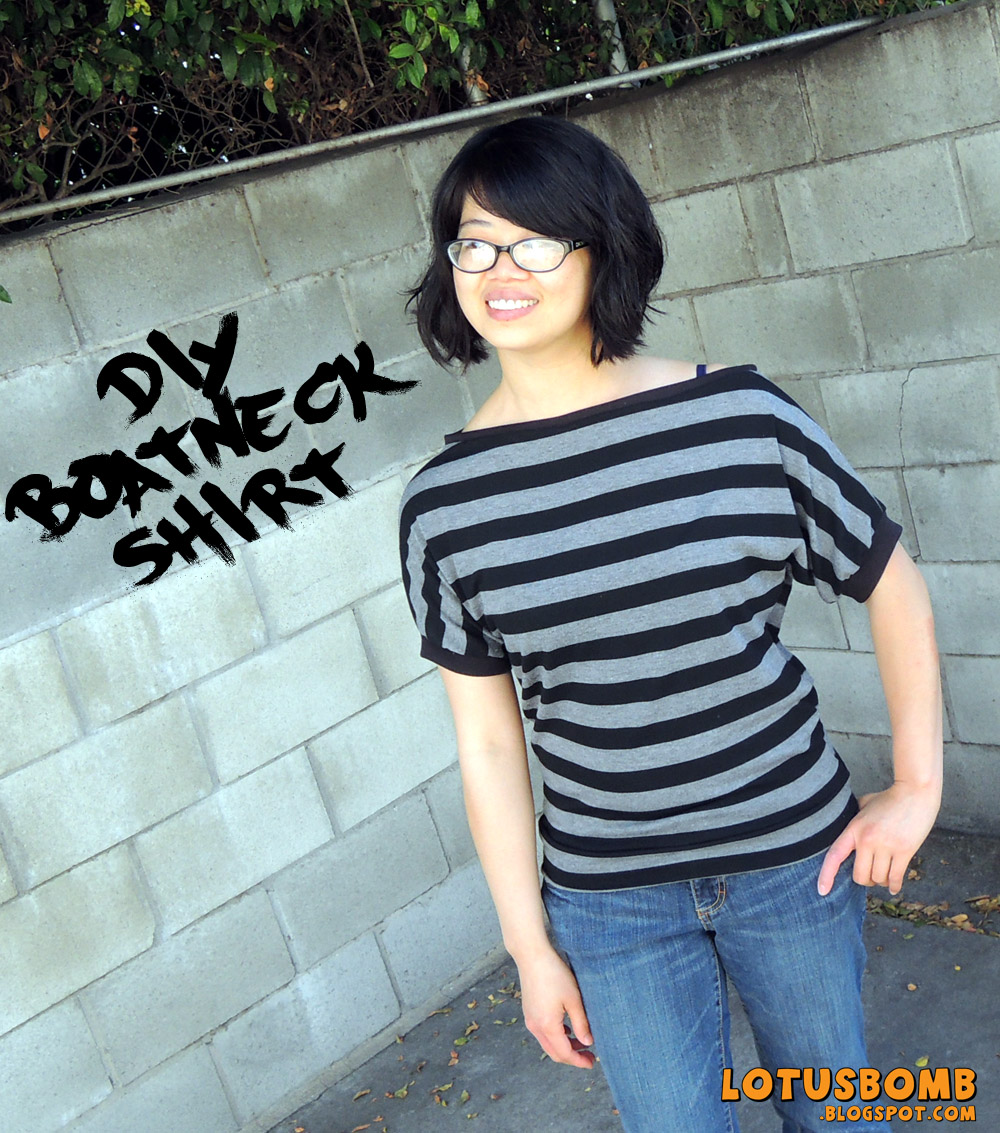
DIY Boatneck Shirt from Scratch!


A couple of weeks ago, I decided that I wanted to make a shirt from scratch.  Using one of my XL t-shirts that I sleep in, I basically cut out  a "T" from this awesome gray and black striped knit fabric that I got from Michael Levine in downtown L.A.  Using the same method as when I'm refashioning my concert shirts, I opted for a boatneck and banded bottom (what can I say?!  I just love this style!).  I also added cuffs to the sleeves and added a hem to the collar to give it a cleaner look.  Once again, I'm very pleased with the outcome and the knit shirt is so incredibly comfortable.


Pin It

Tuesday, June 18, 2013

DIY Custom Labels


For a while,   I've been putting off getting custom labels made for my sewing projects.  I know I desperately needed to brand my items but I didn't have any artwork ready and continued to put it off.  The other day, I decided to get my artwork together for my labels and hunted on Etsy for a vendor.  I really don't have patience to put my projects on hold while I waited weeks for my labels.  Then I decided to see how hard was it to make my own.  It wasn't.  Considering that I already had everything except the twill tape, which I got here.
 
Twill tape, Fray Check, transfer paper and parchment paper (not shown) are needed for the labels.

Really, if you can put together some artwork, print it out backwards on the transfer paper and iron, you're all set.  You might have to add some finishing touches like sealing the ends with Fray Check.  Other than that, it's pretty simple. 

Don't forget to print out your artwork backwards.
 Here is the tutorial I followed to my make own.  And no having to wait weeks for them to be ready.  Unless you're putting them off.    


Pin It

Friday, January 4, 2013

Color Block Tank


This is a color block tank I made that actually started out as a skirt.  Well, it was actually a very matronly skirt (it didn't come out the way I expected) that I made for the Craft Challenge that I decided I didn't like how it fit.  The more I cut to try to "fix" it, the smaller and smaller it became until it fit like a mini skirt.  I can't do minis (I'm not 20 anymore) unless I rock them with fishnets and boots so this mini instead became a tank.  A color block tank specifically because I needed something other than another black tank and something that would look nicer than a wife beater tank.  Ok.  So, it's not much of a color block but it has some color now.  I'm in love with banded bottoms so naturally, I had to add one to this tank.

I used two different knits for the tank because I really don't like the original knit I got.  It's too clingy and works better as a shirt opposed to a tank.  The banded bottom and the teal is a heavier knit but not clingy.

Here's the closeup of the top part.


I think this would look adorable under a 3/4 sleeve cardigan with the color peeping out from the open top of the sweater.  It would also work by itself and looks nicer than a regular tank if you needed a nicer looking top. Which I do.  Did.  Mission accomplished.


Pin It

Wednesday, July 18, 2012

30 Day Pinterest Craft Challenge


I am going to put this out here before I chicken out and change my mind :)  Starting Aug 1, I will be challenging myself with a 30 Day Pinterest Craft Challenge.  August has 31 days so I will allow myself one free day since I do work full time and pick up extra massage work on my days off :)  For the entire month of August, I will pick a pin from my Future Projects board and make my version of it.  I will post my results on my blog and will link the posts here as well.  Wish me luck!  Follow me if you would like to see what projects I have in store for myself :)

http://pinterest.com/lotusbomb/future-projects/

Dec 2012 update:
The 30 Day Pnterest Craft Challenge was a fail lol.  I only managed to make stuff for roughly half the month but I enjoyed the challenge so much that I decided to make this an ongoing thing and not just limited to 30 days.  To see what I've made from the Pinterest pins I found, go here :)

Thursday, July 5, 2012

Decoupaged Pinup Girl Soap/Lotion Dispenser Tutorial


I made this soap dispenser from an empty hand sanitizer bottle from work.  I work as a massage therapist and we go through hand sanitizer like crazy so I like to rescue the bottles to pretty them up to resuse at home or to give away.   I'm in love with Gil Elvgren's pinup girls so I used a one of his reproductions from an old "one-a-day" calendar.  Since I planned on using this bottle in the bathroom, I thought this picture of the pinup girl in a robe with a towel wrapped over her hair was perfect for this bottle. 


Materials Needed:  
Empty bottle (pump is optional)
Mod Podge
Artwork or whatever picture you want
Faux Gems
Glue (I used Elmer's)
tweezer (for the gems)


1.  Starting with a clean bottle, remove the labels.  If any of the gummy adhesive will not come off, you can use a bit of Goo Gone to remove the residue.  Be sure to clean the Goo Gone off the bottle really well otherwise, the  Mod Podge and artwork will not adhere. 

2.  Cut your artwork to size. 


3.  Once the bottle is clean and dried, spread the Mod Podge with a brush over the front of the bottle.  


4.  Place the artwork or picture over the adhesive and smooth from the center out to the edges with your fingers to remove any air bubbles and wrinkles.  Once the bubbles and wrinkles are removed, spread a layer of the Mod Podge over the artwork.  Once again, smooth it out.  If there are any wrinkles on the edges, it's not a big deal if you plan on using the faux gems, as the gems can cover up the wrinkles. Give it a few minutes and let it dry.  Put a second layer of Mod Podge.  Let it dry.  


 5.  Using the Elmer's glue (or whatever you are using), glue the gems onto the artwork in whatever design you want.  I used tweezer to help make the placement easier. 

Depending on how much glue you used, it may need a few hours (or overnight) to dry.  Once it is completely dry, put one more coat of Mod Podge over the art and gem stones.  This last layer is optional but is suggested if you're using the bottle as a soap dispenser.  The Mod Podge won't make your artwork waterproof but multiple layers will help to keep the artwork from being "melted" by any water splashing onto the bottle.  The final layer will also help the gems to stay put (unless pried off).  

If you do plan on dispensing soap, make sure your artwork and gems do not go to the bottom edge of the bottle in case your bottle is standing in a puddle of water.

Let me know if you make your own as I would love to see yours!


Pin It