Showing posts with label punk. Show all posts

Wednesday, January 22, 2014

Social Distortion Refashion Tee


This is officially my new deconstructed refashion men's t-shirt.  I've been wanting to incorporate fabric into a remake but never really had the time to figure it out.  I love Social D and love how this came out.  I used a black and white striped jersey knit for the side panels and the band.  As always, I cut off the crew to make the shirt more feminine and added elastic to the inside top of the sleeveless part to make it shirred.  Yay for a new shirt!


Pin It

Saturday, November 23, 2013

Shirt Refashion: Mod Inspired Dress from a Polo Shirt.


I was cleaning out my closet the other day when I came across some black polo shirts I had used for work before they issued us uniform shirts.  My first thought was to donate them and then my second thought was "wait, I can make something out of these".  Voila!  What came about was a mod inspired dress.  In a nutshell, the shirt was too short to wear as a dress so I added some dark gray jersey knit fabric to add some length, took in the shirt and sleeve some so it hugged my body more and added in a peter pan collar.  It was a fairly easy revamp. 

I am working on a tutorial so I willl hopefully have that up soon.  In the meantime, please do like my facebook page as that will be the first place I will update with the tutorial. 


Pin It

Saturday, September 28, 2013

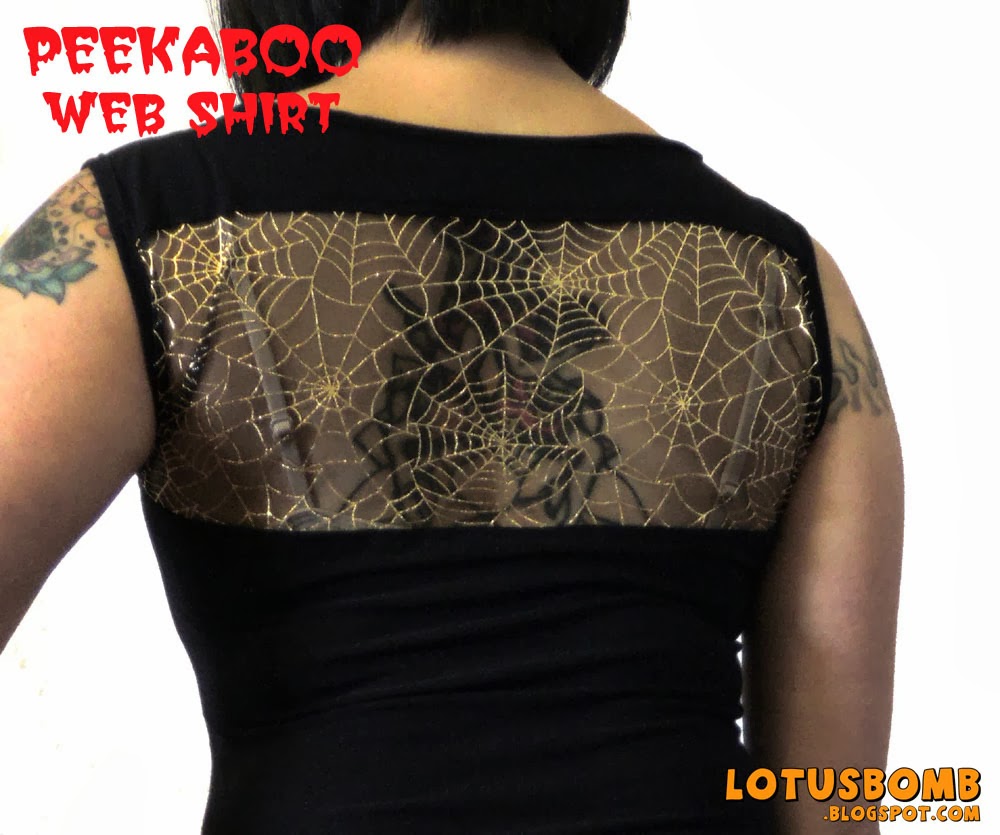
Peekaboo Lace Web Shirt


It would seem as though I made this peekaboo web lace shirt just in time for Halloween but alas, that is not the case.  Truth is, I have a shit ton of gothy lace material that I've gotten over the years but never did anything with and my brain starting putting together another idea and it just happened the timing coincided with October.  Once again, I'm uber pleased with how this came out.  I used a stretchy knit/lycra blend fabric from Joann's and a webby lace/tulle kind of material that I got from Joann's years ago.  Happy Every Day is Halloween!

Peekaboo Back!


Pin It

Saturday, March 2, 2013

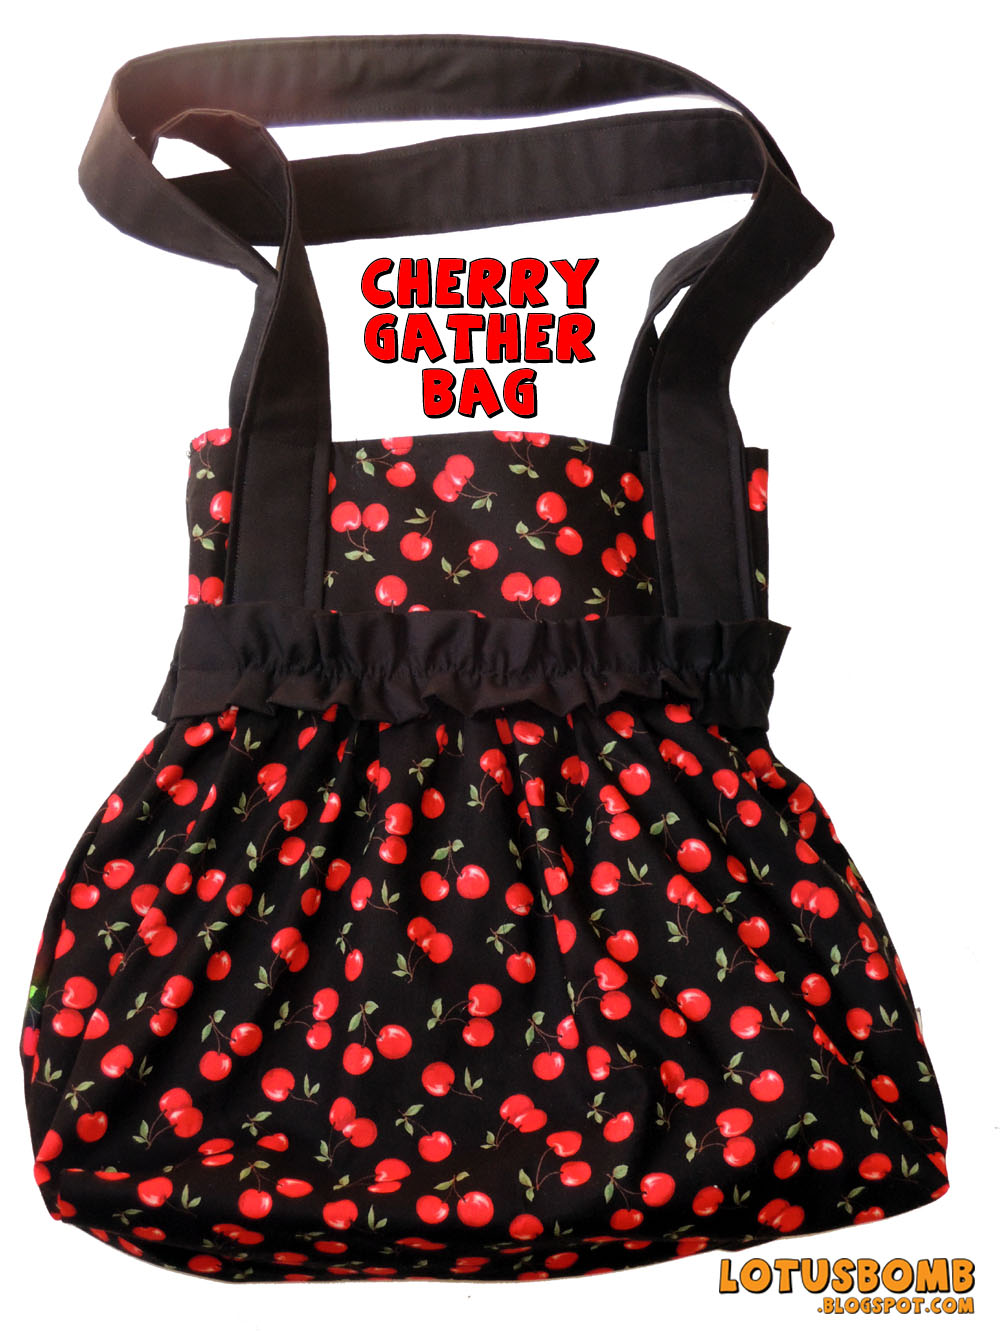
Cherry Gathered Bag


I made this cherry gathered bag for a friend's birthday last week.  It was based on this one that I made last year.  She loves cherries and I already had the fabric so it worked out perfectly.  It's about 16 inches tall, 15 inches wide at the bottom and 10.5 inches at the top.  I winged it this time and didn't bother with the pattern like I did last time. As useful as they are, for some reason, I have an aversion to them sometimes.


Pin It

Friday, January 18, 2013

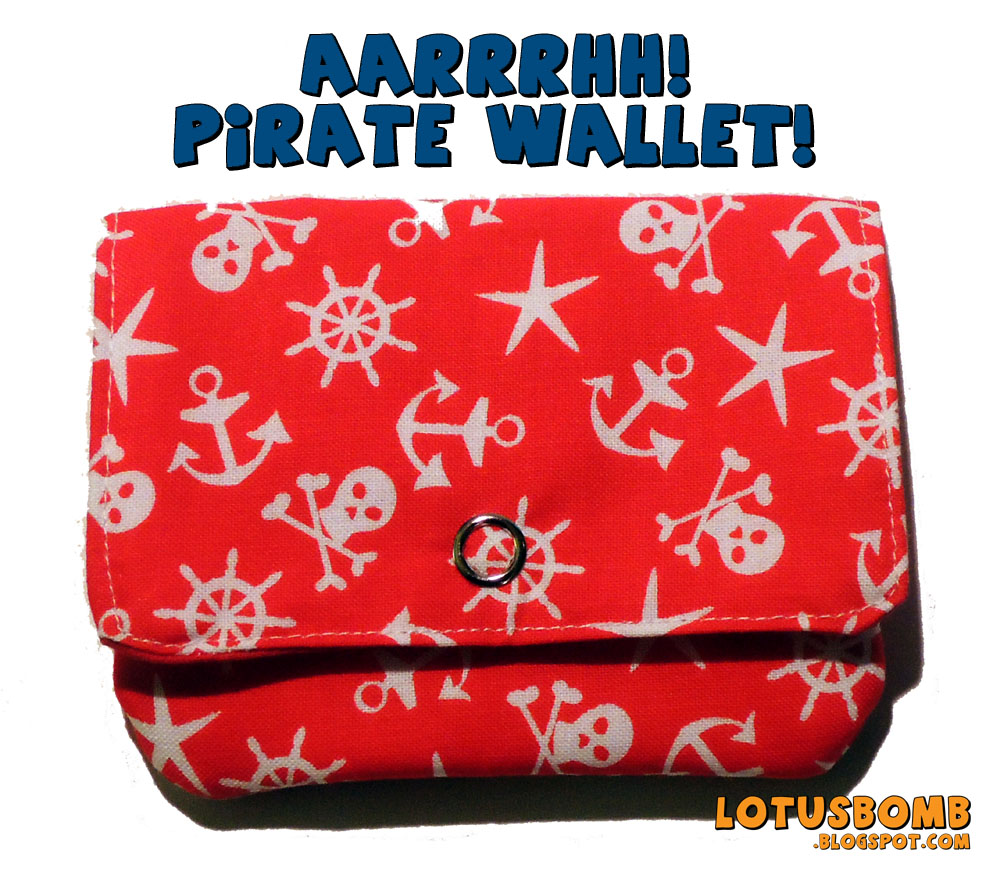
Aaarrrrhhhh! Pirate Wallet

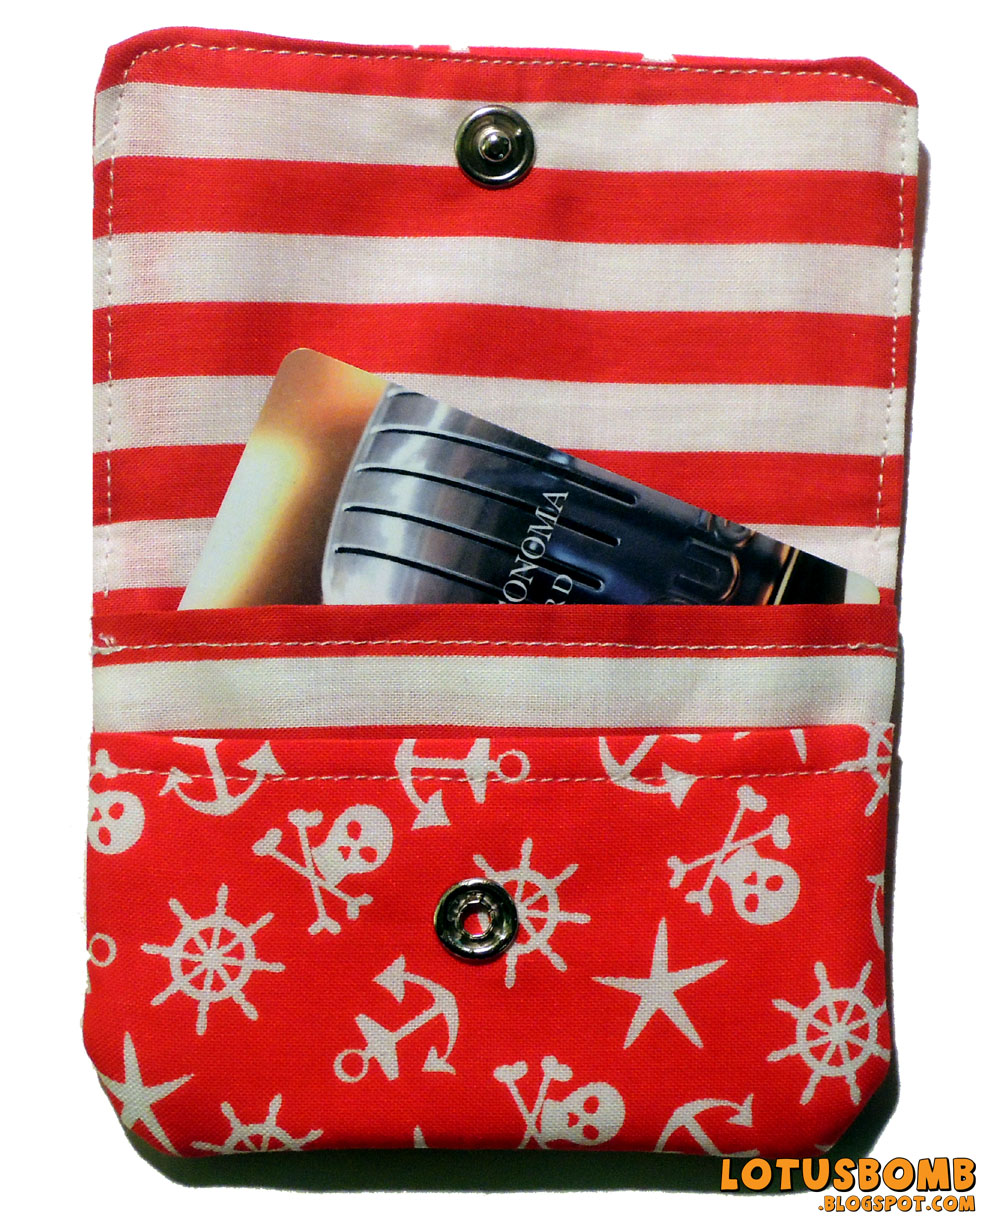
I have a habit of buying fabric and never getting around to using it and this piratey print I got at Joann's is no exception.  A while back, I was really into making these little card wallets (excuse the quality of the pictures--they were from before I learned how to take quality photos) and would pre-cut out all the pieces.   But then I would get distracted with another more fun project, and those cut pieces just sat in a drawer, forgotten.  So, as I was looking through my fabric stash for another project, I came across the pirate print and in true me form, I got distracted from the first project and decided to finally put together the wallet :)  The only thing I did differently is that I used fabric for the back pocket opposed to the vinyl I was using before.  I like the fabric pocket much better.


The back pocket.

Vinyl back pocket

Pin It

Thursday, January 10, 2013

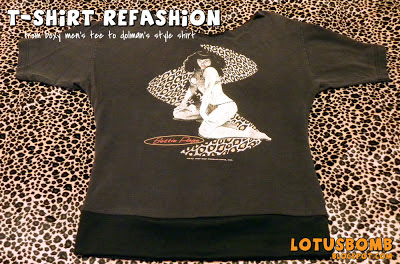
T-Shirt Refashion: From Boxy Tee to Fitted Dolman Style


I've been wanting to refashion some boxy t-shirts for a while but never found a style that I really liked.  That is until I saw this tutorial on how to make a dolman sleeve style shirt from scratch.  Granted, I never thought much about dolman sleeves, in fact, I didn't think about them because they never really appealed to me.  But for whatever reason, the Make It & Love It tutorial gave me inspiration so I looked around on the internet to see if I could find a tutorial to make one from an existing shirt.  Enter Trash to Couture (I love her!).  When I saw her tutorial the gears in my  head started turning.  Using the Trash to Couture tutorial as a base, I cut and sewed my sleeves as she instructed.  But instead of ruching the sides, I added a banded bottom (inspired by the Make it & Love It tute) instead. I also cut the collar off a little wider to give it more of a boatneck and left it unhemmed cause I like that look.

The 15 year old BP shirt that I can now wear again..
The banded bottom.


Pin It

Saturday, September 22, 2012

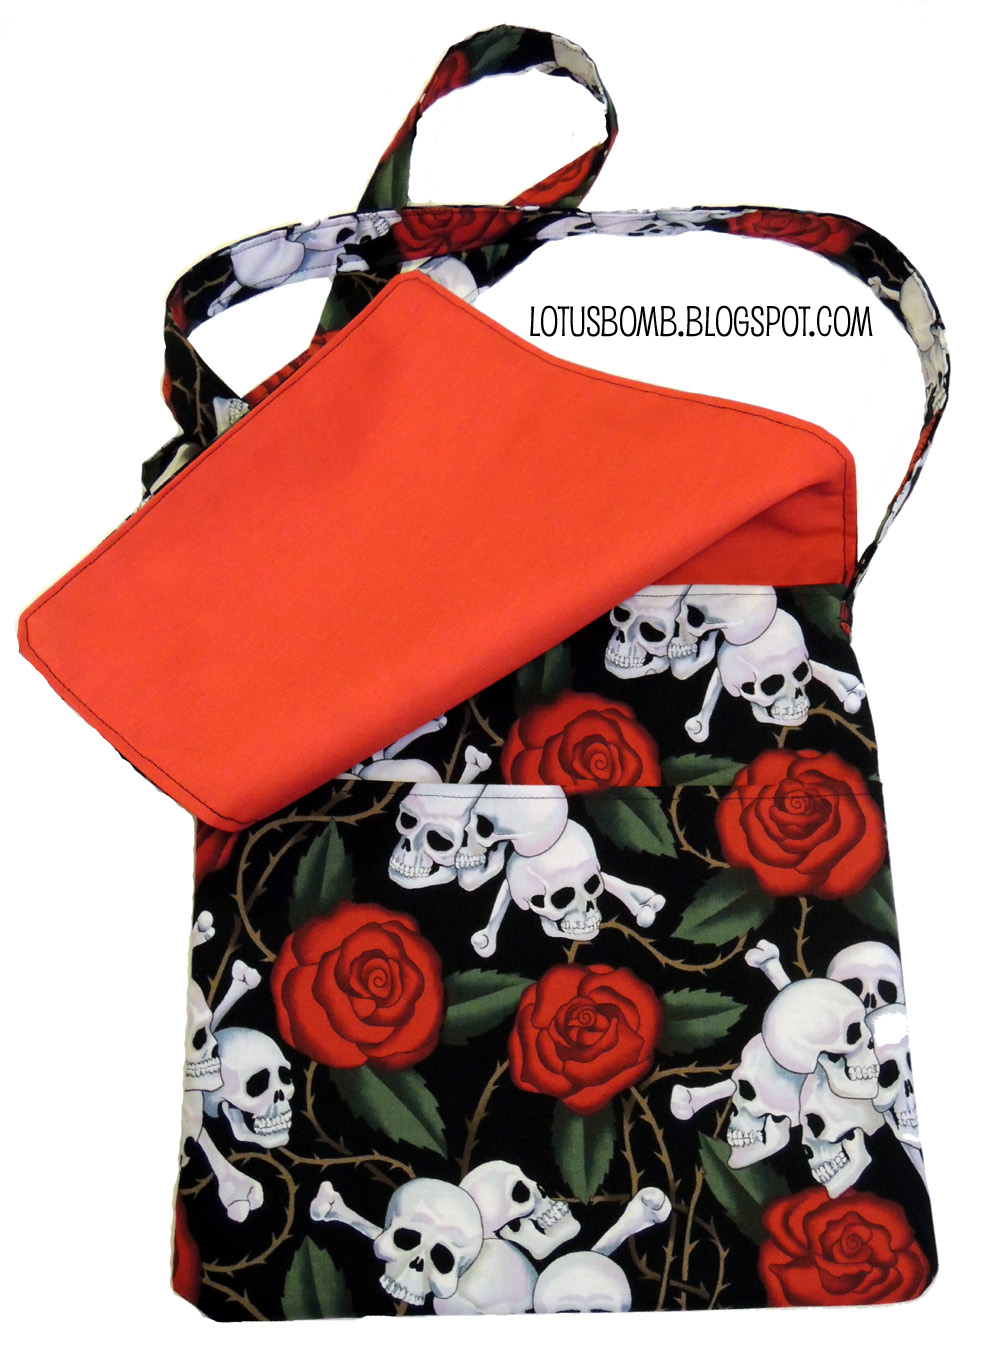
Skull and Roses Messenger Bag and iPad Case Set


I really liked how the cupcake messenger bag I made for my now failed Craft Challenge came out so when I was asked to make one (along with an iPad case) for an order, I was excited.  The messenger bag is lined with a stiffer red fabric and interfacing to give it more stability.  Again, a front pocket was added for the smaller items. 

This was my first time making an iPad case and I made it a little differently than I did with the Kindle cases I've made in the past.  For this one, I added an outside pocket and a zipper opposed to a foldover flap for closure. Also used felt to give it added padding to help protect the iPad.

A matching tissue holder is also shown in the picture above.


Pin It

Friday, August 10, 2012

Day 7 of the 30 Day Pinterest Craft Challenge - Striped Dress

Funny how so far, every project for this challenge that I've embarked on has not quite come out the way as they were posted and pinned.  This project was no different.  This is the original inspiration pin from Handmade Mess:

Easiest Skirt in the World- Handmade Mess [Now I just need ... basic sewing skills...]


This is what I ended up with:


I really had all intentions of making the "easiest skirt in the world" but when I tried on the skirt, it was too long.  So I trimmed about 12 inches.  When I tried it on, it was too short.  I am way too old to be wearing a skirt 3 or 4 inches above my knees so I had to improvise.  First came the bodice, which took me a little while to figure out how I wanted to make it.  It started out as a tube top with straps but the fabric is really, really, really stretchy so that wasn't working.  The back kept bunching up, the front looked all wonky.  I then had a light bulb moment and I made some adjustments.  I cut out armholes and decided to make the top like how I made this shirt from my Day 3 Craft Challenge.  Perfect!  The back didn't bunch up anymore and the front became more flattering.  I added in a 3 inch ruffle to bring the dress down to my knees.  I didn't have the patience to pull the basting stitch to create the ruffles so I ended up using a piece of elastic I found laying around.  For the straps, I just looped in a raw strip of jersey knit from my stash.  You can't really tell the straps have raw edges but I like that look in moderation so I ended up leaving the hem of the ruffle raw as well.  

Overall, I really liked how it turned out.  I wore it out to lunch yesterday with the BFF (Marisa from Sukoshi Shop) and she was also rad enough to help me take some pix of me wearing the dress.

Here's the back view:


BTW, this dress was finished on the 8th but I had internet problems last night after I came home when I was trying to post this entry so here it is now :)


Pin It

Sunday, July 17, 2011

Wonk Wonk Wonk


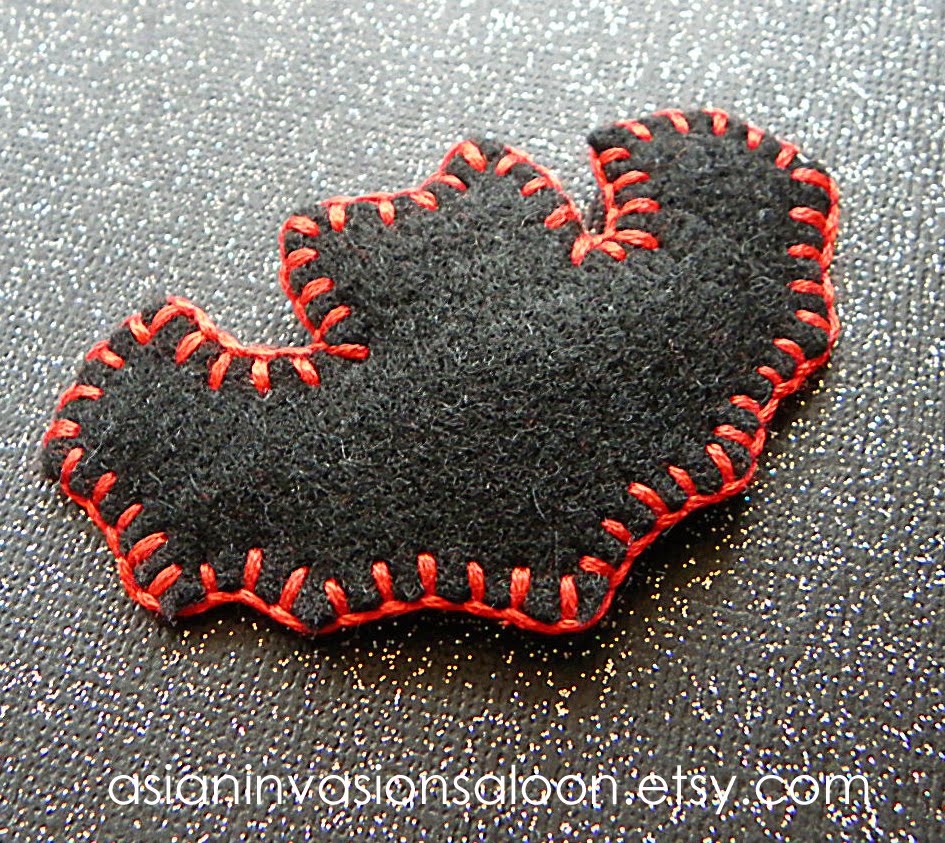
Who as a child (or adult!) didn't play PacMan in the 80s? It was (and still is) one of my favorite arcade games. I remember as a kid being at the dentist and playing PacMan until they called me in for my dreaded orthodontist appointment. They sure knew how to take a kid off her mind with an arcade machine!

Making this felt PacMan with pellet beads does take me back to the 80s. I can do without the skinny pants and should pads though :)

Saturday, April 18, 2009

Wallets

Made some pretty rad (if I may say so myself) ID wallets recently using this tutorial. Once I got the hang of it, they were pretty fun to make. Each wallet was lined with a coordinating fabric, has two internal pockets, an outer vinyl pocket for your driver license/ID and a keychain tab.

My personal favorite is the pink and green watermelon wallet.