Labels

Showing posts with label Pinterest craft challenge. Show all posts

Thursday, October 3, 2013

Son of a Beach! (in a jar)


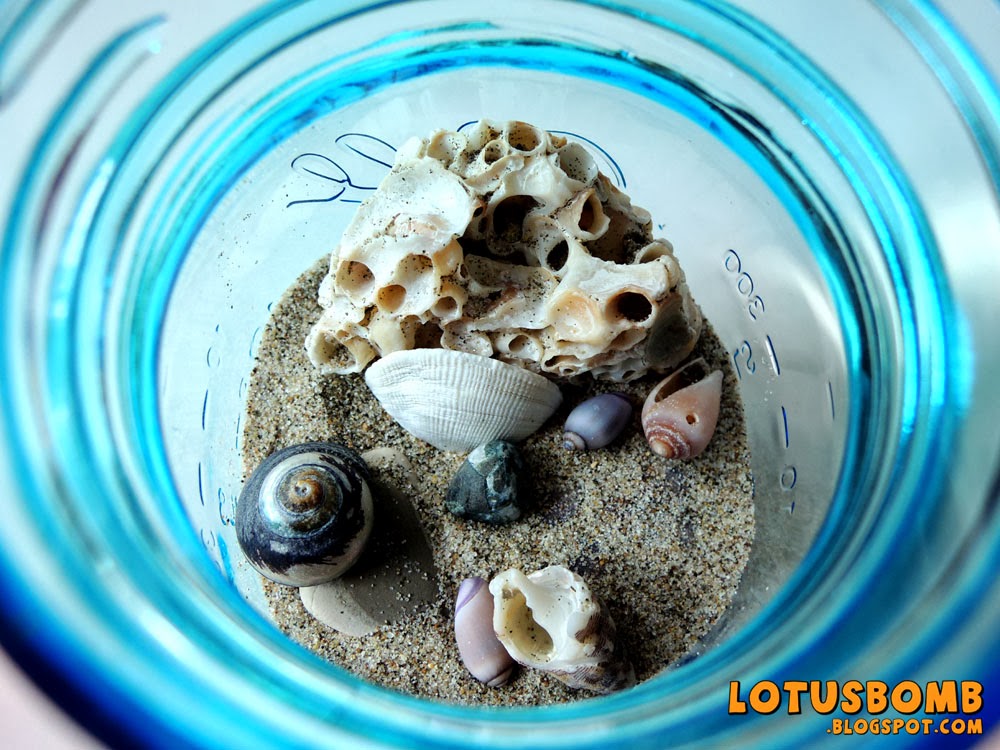
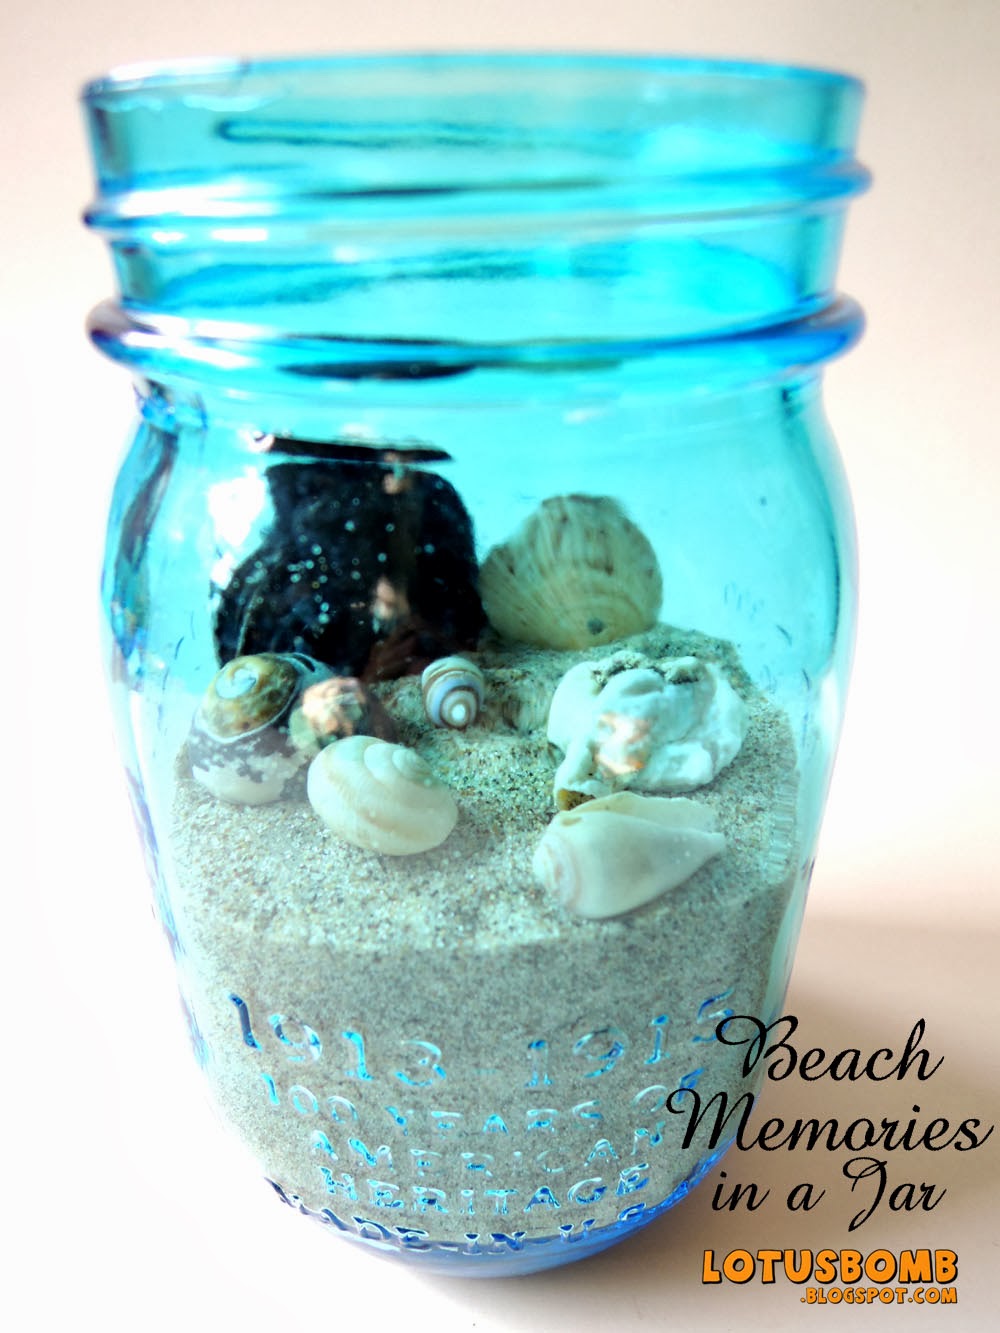
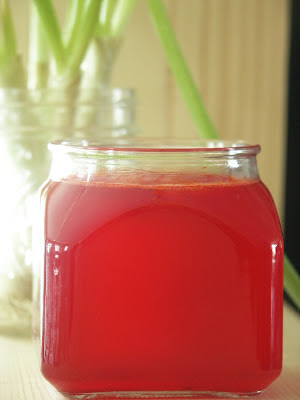
After I made my decision a few months ago that I wanted to move back to Georgia to be closer to family, I decided to bring as much of California back with me as possible.  Mainly the beaches because I love being near the ocean (nevermind that I can't swim).  When Ball Canning had their vintage blue mason jars reproduced, I ordered a case because the blue was perfect for my Beach Memories in a Jar and started my research on Pinterest.

For this project, I made two jars: one for me and one for my friend using the shells and rocks she collected.  For my jar, I put in a broken oyster shell, a large flat rock to keep the the shells from being submerged too much underneath the sand and a few shells collected from El Matador Beach near Malibu.  Originally, I wanted to put in a toothpick sign I made but there really wasn't any room in the jar to do so and the signs, well, they sucked.  I ended up using kraft cardstock and cutting a circle template and labeling the beach and year said sand and shells came from and inserted in on top of the metal circle of the lid.  Which, I actually like much better than the original sign idea.


The toothpick signs I ended up not using.
 

Pin It

Friday, June 21, 2013

Fabric Basket - Pinterest Craft Challenge


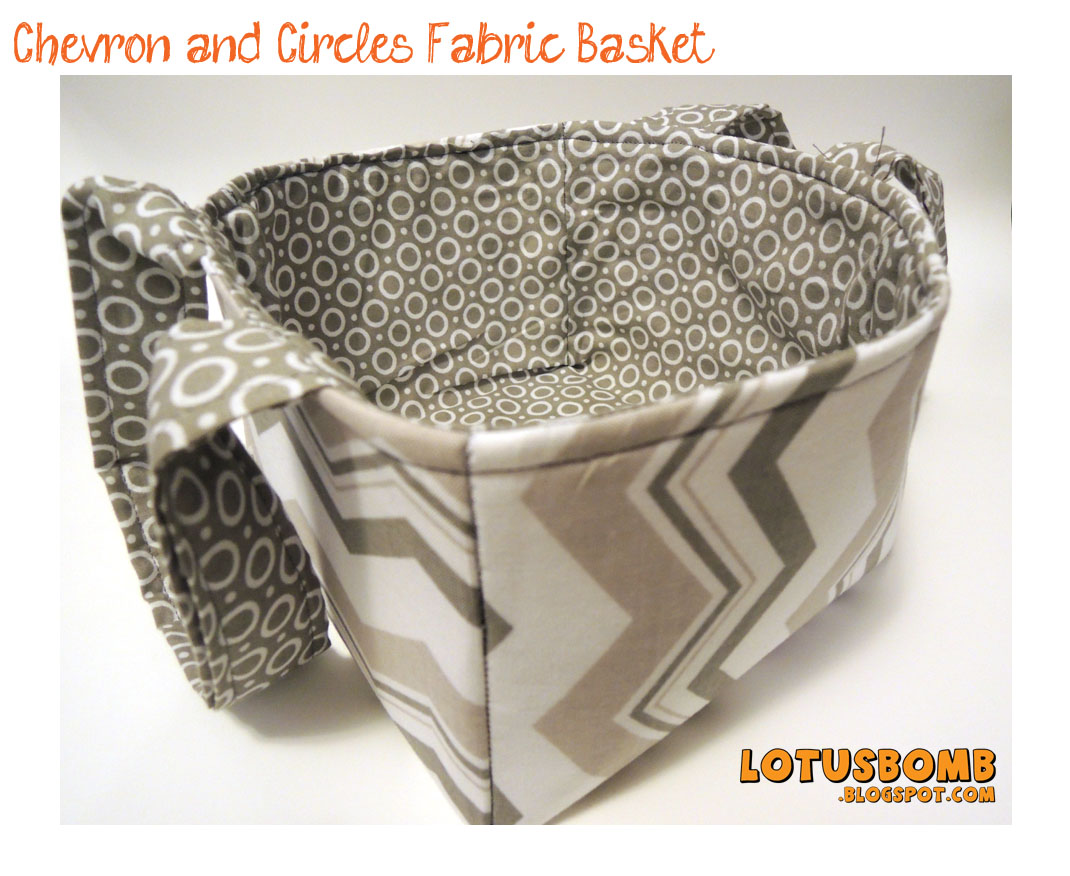
I found this fabulous fabric basket tutorial months ago on Pinterest and didn't have a chance to tackle the project until my friend mentioned she wanted one.  She just happened to have a birthday around the same time she mentioned it so I decided to make her one as a surprise (along with some fabric napkins and fabric kitchen towels we were trading services for).  This is the pin of the website I saw and the directions are fantastically easy.  I found some awesome gray and white chevron fabric and matching geometric circles at Joann's.   

Here are some pics from different angles of the basket.  In one of the pics, I filled the basket with the napkins I made for her.  I'll have a separate post for the napkins later.


Pin It

Monday, May 27, 2013

Nautical Ruffled Tote


Every time I agree to make one of these bags,  I always procrastinate because of the amount of work it takes.  But every time I finish one, I am so proud of how it turns out and this nautical themed ruffled bag is no exception.  This was a custom request for a friend and she loves it! 

To see the other ones I've made go here for the first one I made and here to see the cherry themed one.

To make your own, this is the tutorial I originally saw on Pinterest and based it on but tweaked,  Or if you would rather pay me to make you one, I will :)

Pin It

Wednesday, January 16, 2013

Smoooches! Lips Shaped Wristlet


I love making shaped pouches.  That's why I'm partly so obsessed with working with felt (it has more stability and I can be more creative with it).  But this is not a felt awesomeness project.  This is just plain sewing awesomeness.  I made this saucy red lips wristlet for a 16 year old after I looked through Pinterest for inspiration.  Originally, I wanted to make her a make up bag to house the Victoria Secret's lotion and body spray I bought as part of her birthday gift.  But I couldn't find the "right one' to make.  Don't get me wrong....I pinned a lot of the make up bags I saw for me.  This kid has her own style, so not just any type of bag will do.  That is until I saw this pin and I knew....*this* was the one (if only finding m soulmate would be just as easy :)

I drew out a template, used red vinyl and a red zipper I already had and went to town.  Less than an hour later, the lips were done.  I didn't add a lining to it because I couldn't really figure it out it didn't really need it (the vinyl is sturdy enough and the inside looks fine the way it is). 

The wristlet can be used to hold makeup or as a clutch purse.  Definitely roomy enough to hold at least a cell phone, lipstick, keys and the cash and card stash. 

When I'm not feeling so lazy tired, I'm going to put together a tutorial.

Pin It

Wednesday, December 5, 2012

More Rick Rack Rose Rings!


A while back for my now failed craft challenge, I made some rick rack ribbon rose rings based on a tutorial I found on Pinterest.  You can see my original post here. For a custom order, I wanted to experiment with mixing different colors.  I have to say, I'm really love the black and white one!

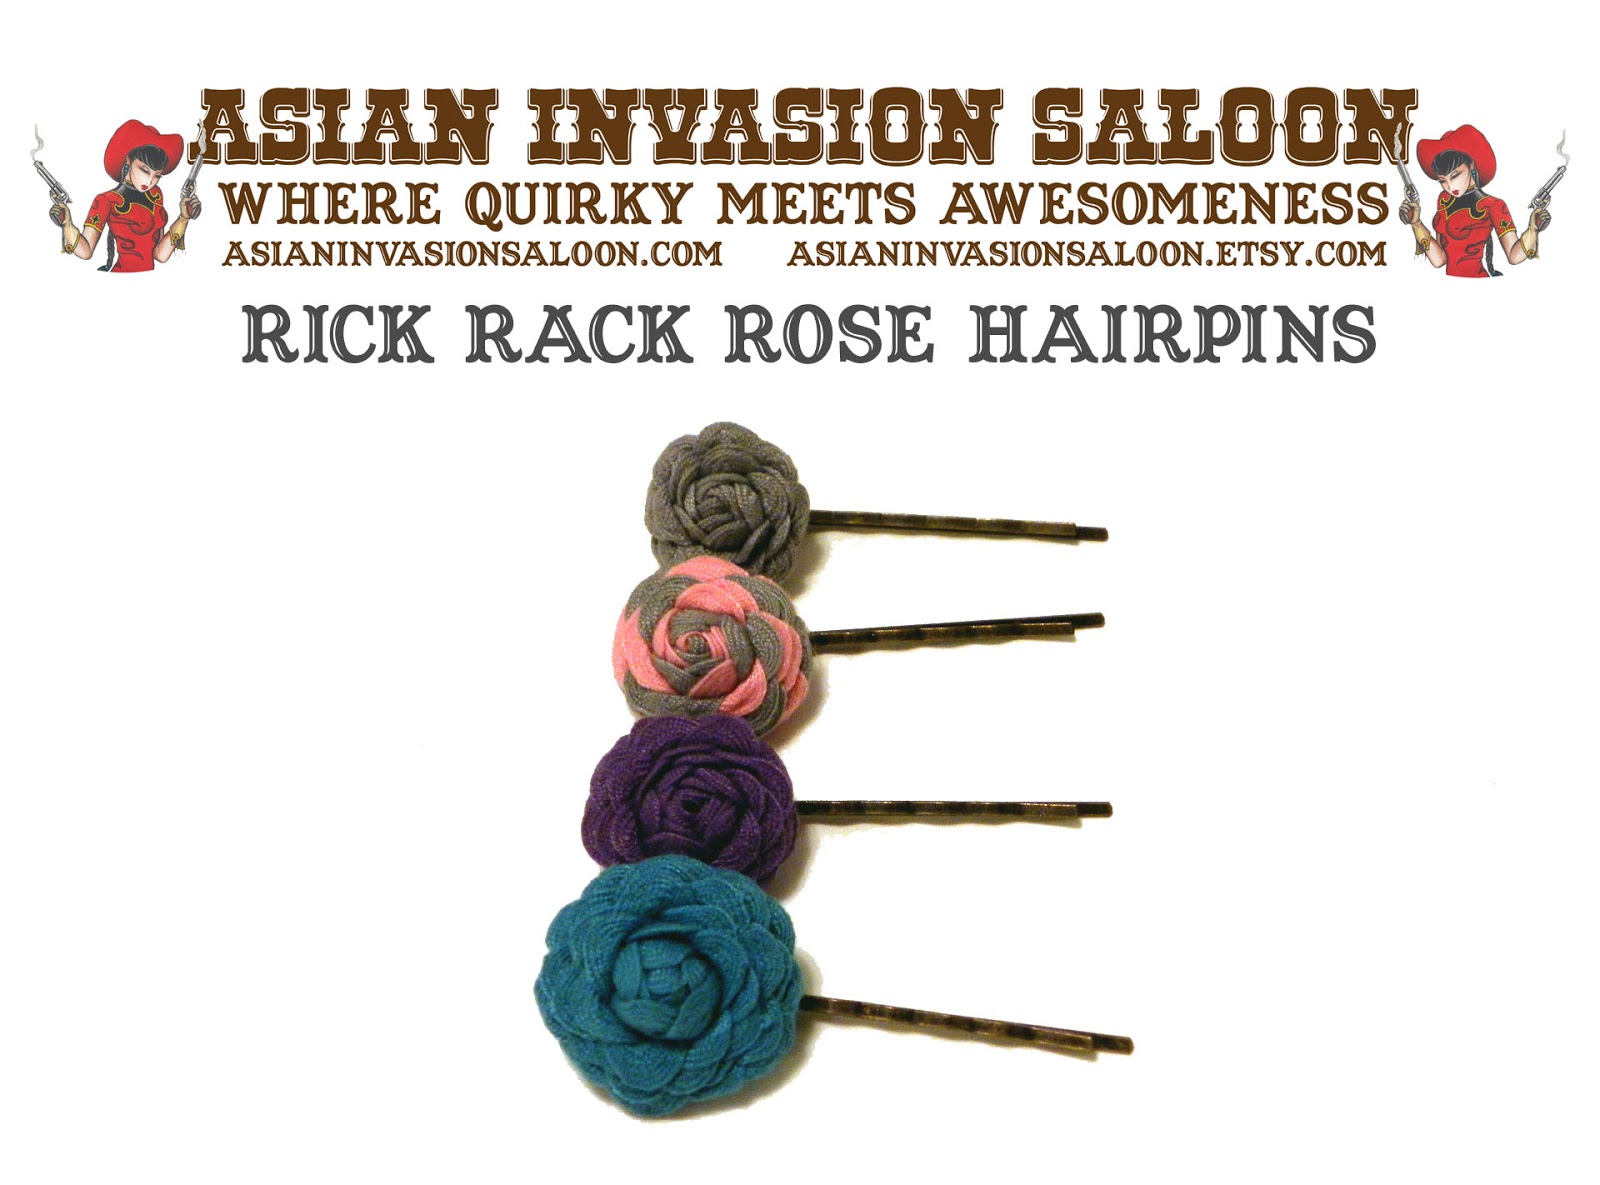
I also made some smaller ones and glued them onto flatbback hair pins.


Pin It

Friday, August 31, 2012

Rick Rack Rose Rings


I have to admit that the 30 Day Pinterest Craft Challenge didn't go as well as I had hoped.  Out of the 30 days of crafts, I managed to do 15 (not including two or three unfinished projects).  I guess it's still not too shabby considering that I work full time among some other stuff I had been dealing with.  I definitely learned a lot, making things I might never have, content with staring at the projects on the screen.  I also learned a bit more with sewing and rediscovered my love and joy of making a new garment or bag.  

To conclude this Craft Challenge, I am ending it with the rick rack rose rings I made.  The tutorial from The Ribbon Retreat can be found here.  I've actually (and am also in the process of making more) made a few more which I will post later (I haven't taken any pics yet).  But overall, I loved how they turned out and already sold a few.  

BTW, it's never too early to start shopping for Christmas! :)

Pin It

Thursday, August 23, 2012

Project #14 - Craft Challenge - Hanging Dish Towel


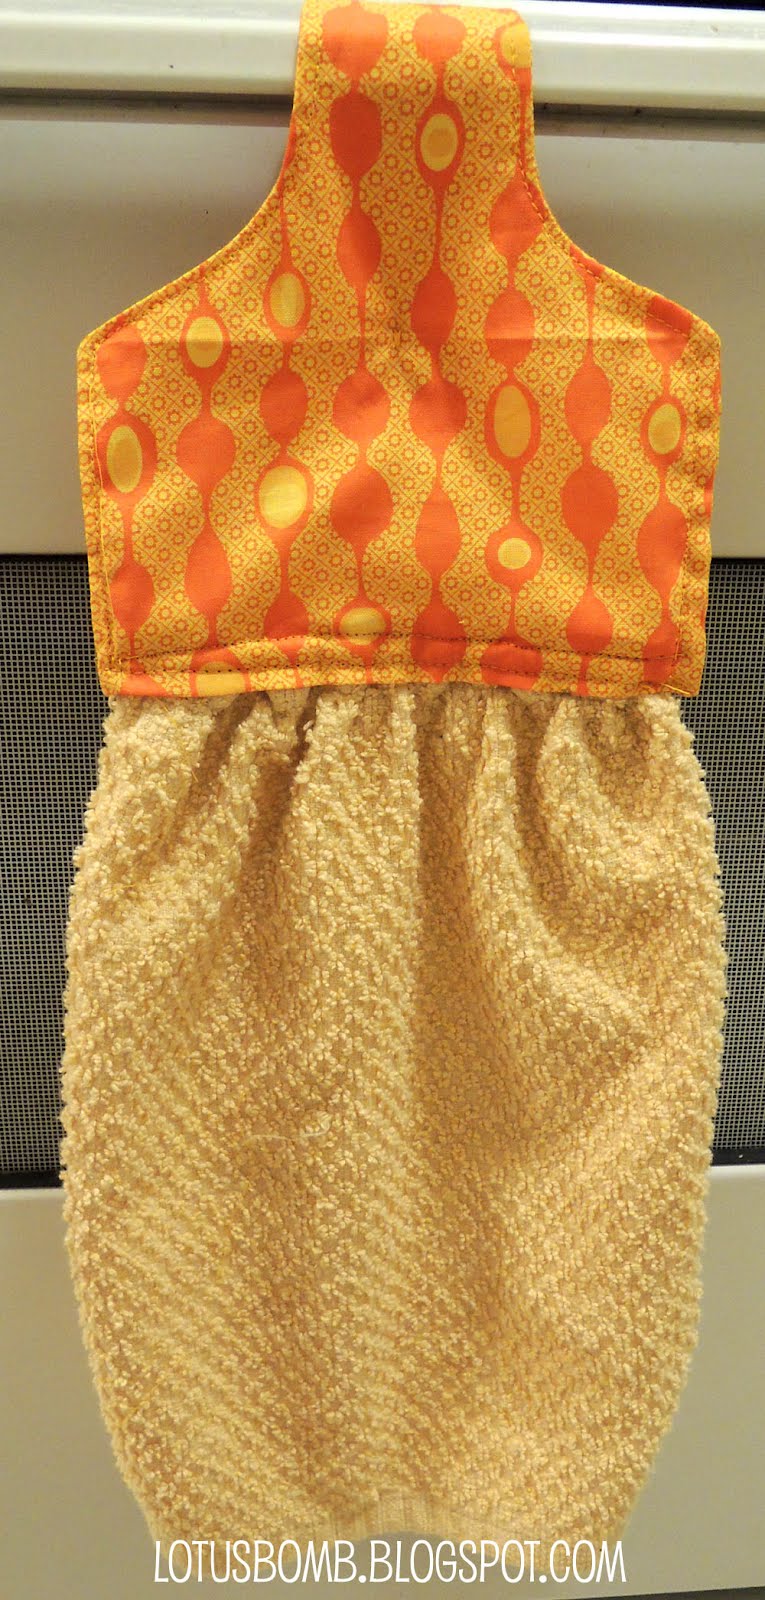
Already had the hand towels (*ahem* washcloths) and the fabric so naturally when I saw the pin to make your own hanging dishtowels, I was stoked.  I only had enough attention span to make one but I would like to make a couple more to rotate around when they get dirty.  It was a pretty easy project and hardly took any time.  This is the pin/post I used for reference but as usual, I didn't follow it and did my own thing (even tho it still looked like I followed directions :)

Yay for hanging dish towels! 

Pin It

Sunday, August 19, 2012

Craft #13 of the Pinterest Craft Challenge - decorated keys

Decoupaged, glittered and baubled keys
 So, this is one of the easiest projects for the craft challenge, but yet, somehow I kept putting it off because although I liked it at the time pinned it, I just didn't love it.  But once I started glittering, I started getting all these different ideas.  I have a bunch of keys that I salvaged off of broken train cases that I used to decorate which was perfect for this project.  Although the keys are non-functional, they would look great with a ballchain to use as a pendant.  I'm not crazy about the glitter one I made, but I'm in love with the bauble one (surprisingly) and of course the pinup ones.  I plan on making more.  I still have a plethora of ideas :)

Which ones do you like and what would you like to see on the key?  One day, when I have time, I'll actually freehand some art on art it. 


The Inspiration:


Pin It

Thursday, August 16, 2012

#12 of the Pinterest Craft Challenge - clutch purse

I'm going to stop referring to days since I'm obviously behind and can't seem to catch up on my 30 day Craft Challenge due to work and other priorities that come up.  I'm still committed to doing 30 craft projects but until/unless I catch up, it's not likely it will be within the 30 days I had planned.  With that being said, here is #12: a clutch purse and the original inspiration.


Once again, as you can see, I did my own thing.  I added in an extra pocket and made my clutch more round. You would think I would have remembered just last week when I made this round zippered pouch that sewing round and round and I do not get along at the moment.  Definitely not perfectly round and definitely not perfect.  I can see all the flaws and I'm sure you can point out one or two to me.  However, once the challenge is over, I will be remaking another one more to my liking.  To think, this one was already my second attempt.  I really do like this and chances are, no one will notice the flaws anyway, but we are our own worst critic :)

Something pretty rad that I just noticed that was completely unplanned is that when the clutch is closed, the stripes seem to match up almost perfectly. 


Pin It

Tuesday, August 14, 2012

Day 11 of the 30 Day Pinterest Craft Challenge - Gather Skirt

 
The inspiration:  Gather Skirt (an Etsy tutorial)


My version: 

I didn't exactly follow the tutorial (no surprise there) but once again, I didn't have enough fabric so I added a white hem.  I originally added in a ruffle hem but it didn't look right.  Not to mention, the original ruffle I added was the same fabric print as the skirt but when I was near done, I realized I didn't have enough of the fabric.  So, out came the seam ripper, then added in the white ruffle, didn't like the way it looked, ripped that out and finally just added in the basic white block hem.  Although I pre-washed the fabric, it's still a little stiff so hopefully, after a couple more washes, it will soften up and lay not so poofy.  Overall, I do like the skirt and the cherry blossom print. Although the hem could use some ironing :)
  

Pin It

Monday, August 13, 2012

Day 10 of the 30 Day Pinterest Craft Challenge - Fabric Scrap Gadget Pouch

The inspiration from RaeGun Ramblings:

iphone case from fabric scraps


 My version:


I made my phone/ipod/camera pouch slightly different where I opted for a band closure opposed to a button closure.  I also added in an extra pocket to store the earbuds or charger.  Now that I think about it, I don't think I actually used her directions, lol. Raegun was definitely the inspiration but I ended up making the pouch my own way.

The pouch is the perfect size for an android or iphone even with it's protective case.  I think I am going to keep this pouch as I love the pattern combo I used!


Pin It

Sunday, August 12, 2012

Day 9 of the 30 Day Pinterest Craft Challenge - Felt Flower Hair Barrette


The inspiration:  felt flower hair barrette by A Hoot And A Holler.

Img_3900_2 


My Version: 
I didn't deviate too much from the original design but I think next time, I shall loosen up the petals so they fall more flat than round.  I kinda like how the petals are clustered together but I also like when they lay more flat.  I didn't have any wool poms for the center, so I just cut mine from a piece of felt.
Overall, I think it's just darlin' if I do say so myself.


Pin It

Friday, August 10, 2012

Day 8 of the 30 Day Pinterest Craft Challenge - Smelly Jelly Shark Bowl

The inspiration:  Homemade air freshener by Foodie With Family.


 My version: 


During my day with the BFF, we put a spin on the homemade essential oil air freshener pin (click on the first picture to take you to the post by Foodie With Family) we saw on Pinterest.  

We really didn't know how much gelatin we would end up with so we stopped by the dollar store to get an extra jar.  We knew when we saw the mini fishbowl shaped bowls that we wanted to embed the gel with a fish or two.  Off to the toy aisle to go fishing!  

We mixed the gelatin per the directions on  Foodie With Family's post.  Man, we were not expecting the gelatin to um, smell not-so-pleasantly.  If I had to describe the odor, it would be something like pickled fish.  Luckily, the smell dissipated and didn't linger.  We put 2 drops of blue food coloring into our respective jars and about 20 drops of essential oil.  We then filled the jars halfway with the hot gelatin and stirred to mix in the color and essential oil.  Once it cooled down some, we put the jars into the fridge for it to set but we were impatient.  Once it was in there for about 30 minutes, we took it out, saw that it wasn't quite ready yet so we put it in the freezer to speed up the setting.  Once it was somewhat set, we set the shark in my jar and a dolphin in Marisa's jar and poured the rest of the gel into the containers and stuck them back into the freezer.  Once they were done, they looked so awesome.  From the top.  From the side, there was 1 drop too many of the food coloring so you can barely see the shark/dolphin.  But if you looked at it from another standpoint, it was cool to see something lurking in the murky "water".  

I was having a hard time trying to get the lighting right for my sharkbowl. Not to mention my reflection in the jar was annoying so all you get is just the top view of our Craft Challenge project ;)


Pin It

Day 7 of the 30 Day Pinterest Craft Challenge - Striped Dress

Funny how so far, every project for this challenge that I've embarked on has not quite come out the way as they were posted and pinned.  This project was no different.  This is the original inspiration pin from Handmade Mess:

Easiest Skirt in the World- Handmade Mess [Now I just need ... basic sewing skills...]


This is what I ended up with:


I really had all intentions of making the "easiest skirt in the world" but when I tried on the skirt, it was too long.  So I trimmed about 12 inches.  When I tried it on, it was too short.  I am way too old to be wearing a skirt 3 or 4 inches above my knees so I had to improvise.  First came the bodice, which took me a little while to figure out how I wanted to make it.  It started out as a tube top with straps but the fabric is really, really, really stretchy so that wasn't working.  The back kept bunching up, the front looked all wonky.  I then had a light bulb moment and I made some adjustments.  I cut out armholes and decided to make the top like how I made this shirt from my Day 3 Craft Challenge.  Perfect!  The back didn't bunch up anymore and the front became more flattering.  I added in a 3 inch ruffle to bring the dress down to my knees.  I didn't have the patience to pull the basting stitch to create the ruffles so I ended up using a piece of elastic I found laying around.  For the straps, I just looped in a raw strip of jersey knit from my stash.  You can't really tell the straps have raw edges but I like that look in moderation so I ended up leaving the hem of the ruffle raw as well.  

Overall, I really liked how it turned out.  I wore it out to lunch yesterday with the BFF (Marisa from Sukoshi Shop) and she was also rad enough to help me take some pix of me wearing the dress.

Here's the back view:


BTW, this dress was finished on the 8th but I had internet problems last night after I came home when I was trying to post this entry so here it is now :)

Pin It

Wednesday, August 8, 2012

Day 6 of the 30 Day Pinterest Craft Challenge - Thank you Tip Jar


I made this tip jar for the Craft Challenge to use for my massage practice.  This was the inspiration post/pin I kept seeing on Pinterest.  I also embellished the front like I did with the reclaimed pump bottles I got from work.  I used a mason jar I already had, silver paint and heavy scrapbook paper (from the Rock Queen Mat Stack collection) for the top. 

This is definitely much more pleasing to the eye than a white envelope taped to the door for my tips :)

Pin It