Back in August of 2012, I posted a shirt (
this one) I had made based on a shirt I saw on Pinterest. I was recently asked to make a tutorial for that shirt so here it is! Would love to see your version so please post a link in the comments.
Materials:
Knit fabric of your choice
A strip of knit fabric of your choice (about 36 inches long or more and 2 inches wide)
Your favorite shirt that fits lengthwise
Sewing machine
Matching thread.
For this shirt, I chose a slate gray jersey knit fabric and black jersey knit for the tie.
Bodice.
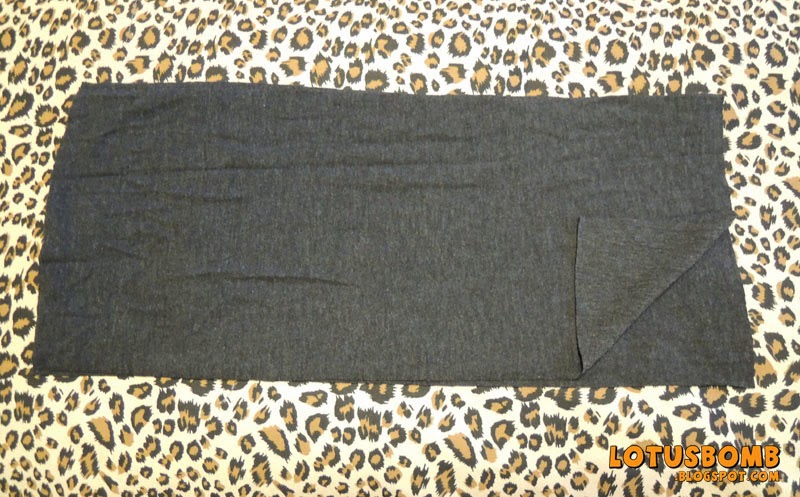
1. Measure your bust and add 1.5 inches to both sides. An inch will be for seam allowance and the extra is to give your shirt some room. I have a size 32 bust and fairly petite so my shirt ended up being about 34" wide after I sized it down from the below measurements.
Take your bust size, divide by 2 and add 3. For this tutorial, we will be using my measurements.
32/2=16+3=19" width
For the length of the fabric, measure your favorite shirt from top of shoulder down to the bottom minus 2 inches.
Leaving your fabric folded in half, cut a rectangle based on your measurements so you have two pieces. It is not necessary to cut on the fold as the two rectangles need to be separate.
Sleeveless hem and tie casing.
2. Measure 9 inches from the top down on both sides and mark it lengthwise with a pin. The fabric above the pin will be for the armholes and casing for the tie. Sew from the pin down on both sides using a straight stitch.
3. Starting where the fabric opens up to create the sleeveless hem, fold your fabric at an angle towards the middle of the shirt and pin. The fold should be a slight diagonal. Do this on both sides for each piece of fabric. Using a 1/4" seam allowance, sew each hem. For the beginning sewer, you will be sewing four times so be careful to not sew the folded hems to one another :)
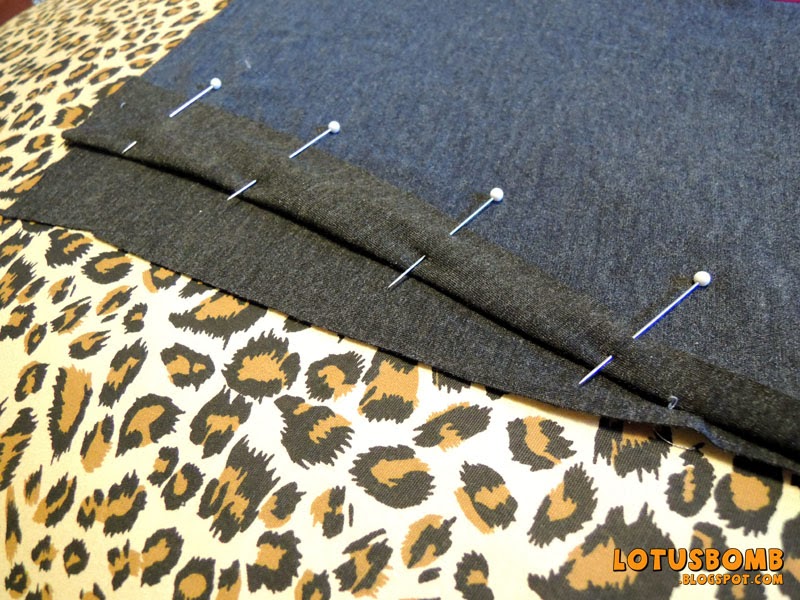
4. Once the sleeveless hems are sewn, for the casing, fold the top of the shirt down an inch and pin. Do the same for the other side. Using a straight stitch and leaving 3/4" from the top, sew across lengthwise. You want to be sure to leave about 3/4 open for the tie to be pulled through.
Bottom (banded) hem.
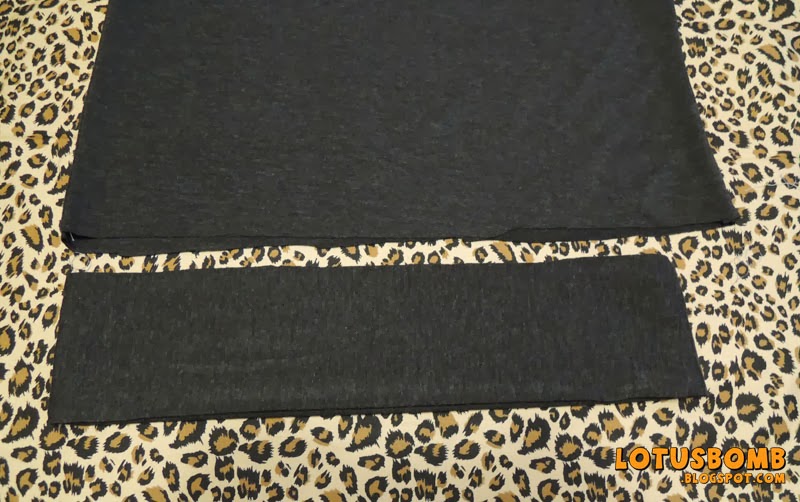
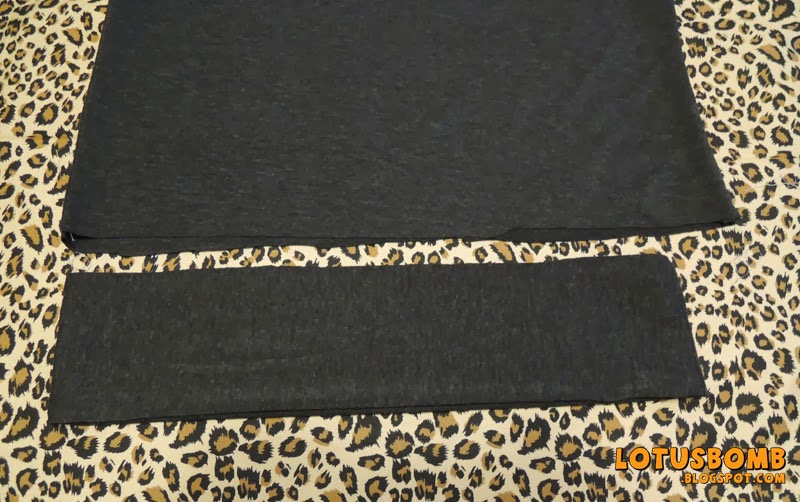
5. Cut two pieces of fabric about five inches tall and two inches smaller than the width of your shirt. For my shirt, the width was 19 inches so I cut this fabric 17 inches.
 |
| The two pieces needed for the banded hem. |
6. Sew up each side so you end up with a tube. Now, take the top part of the tube and bring it down so that it meets the bottom part so the seams are inside.
7. Your banded hem should look like this now.
8. Slide the tube over the shirt matching the raw edges together so the tube is "hugging" the shirt. Pin the tube side seam to side seam with the shirt and center to center. You
should have some loose fabric from the shirt in between the pins. Using
a zigzag stitch, sew the edges together, while stretching the band to
"fit" the shirt.
I forgot to take a pic of the next step so luckily I had a pic from a previous shirt project.
 |
| The banded hem should be "hugging" the shirt. |
Once the banded hem is on, your shirt should look similar to this (once again I forgot to take a pic so this pic is from another project).
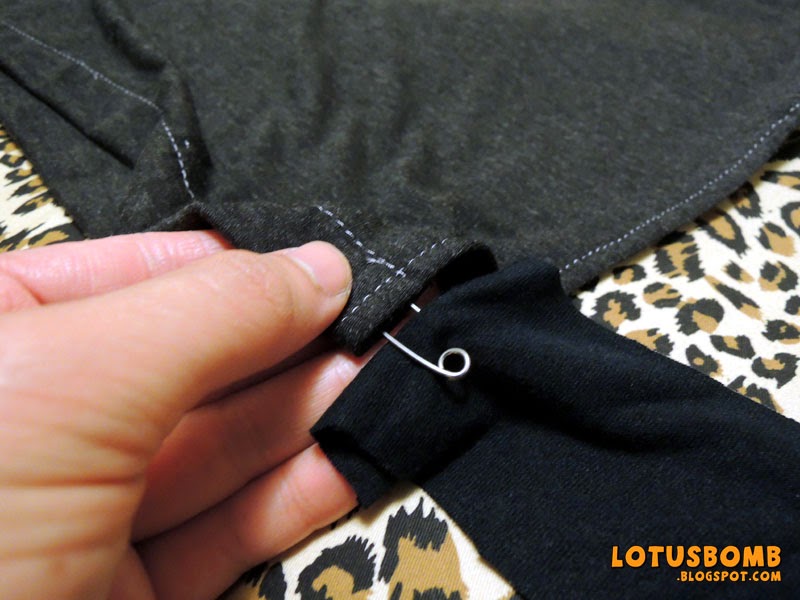
9. Using a safety pin, pin one end of the strip of fabric and pull it through both of the casings.
Tie the ends together into a bow or if you don't like the bow, adjust the length to your preference and sew the ends together and pull it through the casing to hide the seams.
And you're done!
I hope the instructions were clear but if you have any questions, let me know. It's a pretty simple project but I may have given too much details :)