I made this super duper cute Kawaii Sweets magnet set several weeks ago. It stemmed from a request of a pastry tart and then my mind started wandering and the next you know, a new magnet set was born! The best thing about this collection that includes a frosted pastry, a chocolate chip cookie, an ice cream cone, a doughnut and a cupcake is that it contains ZERO calories!
Wednesday, March 12, 2014
Kawaii Sweets Magnet Set
I made this super duper cute Kawaii Sweets magnet set several weeks ago. It stemmed from a request of a pastry tart and then my mind started wandering and the next you know, a new magnet set was born! The best thing about this collection that includes a frosted pastry, a chocolate chip cookie, an ice cream cone, a doughnut and a cupcake is that it contains ZERO calories!
Labels:
blue,
bright,
chocolate chip cookie,
cupcake,
doughnut,
felt awesomeness,
felt magnets,
frosted pastry,
ice cream,
pink,
pop tart,
purple
Wednesday, January 22, 2014
Social Distortion Refashion Tee
This is officially my new deconstructed refashion men's t-shirt. I've been wanting to incorporate fabric into a remake but never really had the time to figure it out. I love Social D and love how this came out. I used a black and white striped jersey knit for the side panels and the band. As always, I cut off the crew to make the shirt more feminine and added elastic to the inside top of the sleeveless part to make it shirred. Yay for a new shirt!
Thursday, January 9, 2014
Dual Tone Infinity Scarf
Infinity scarves aren't really my thing but I wanted to make one for my friend for Christmas. Her favorite color is gray and teal so I made one for her in those colors. They are really easy to make and do not take much time at all. Guess what y'all are getting for your birthday? ;)
Labels:
accessories,
grey,
infini,
scarf,
sewing,
sewing crafts,
teal and gray,
turquoise
Wednesday, December 25, 2013
"Pillowcase" Top Tutorial
Back in August of 2012, I posted a shirt (this one) I had made based on a shirt I saw on Pinterest. I was recently asked to make a tutorial for that shirt so here it is! Would love to see your version so please post a link in the comments.
Materials:
Knit fabric of your choice
A strip of knit fabric of your choice (about 36 inches long or more and 2 inches wide)
Your favorite shirt that fits lengthwise
Sewing machine
Matching thread.
For this shirt, I chose a slate gray jersey knit fabric and black jersey knit for the tie.
Bodice.
1. Measure your bust and add 1.5 inches to both sides. An inch will be for seam allowance and the extra is to give your shirt some room. I have a size 32 bust and fairly petite so my shirt ended up being about 34" wide after I sized it down from the below measurements.
Take your bust size, divide by 2 and add 3. For this tutorial, we will be using my measurements.
32/2=16+3=19" width
For the length of the fabric, measure your favorite shirt from top of shoulder down to the bottom minus 2 inches.
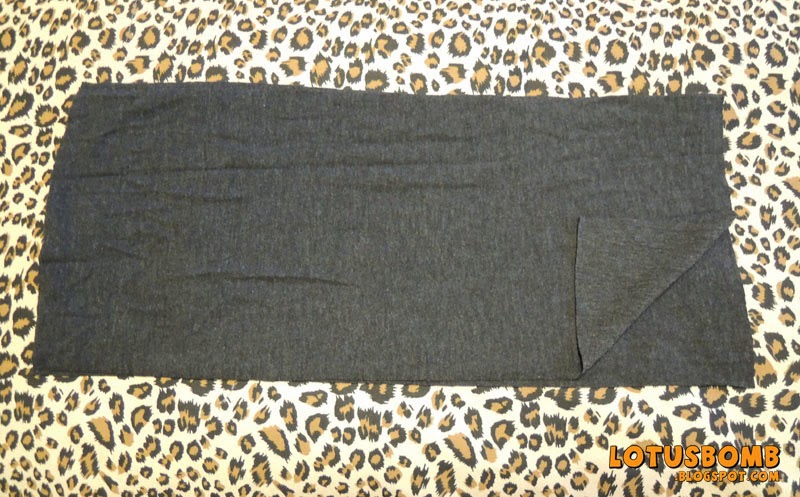
Leaving your fabric folded in half, cut a rectangle based on your measurements so you have two pieces. It is not necessary to cut on the fold as the two rectangles need to be separate.
Sleeveless hem and tie casing.
2. Measure 9 inches from the top down on both sides and mark it lengthwise with a pin. The fabric above the pin will be for the armholes and casing for the tie. Sew from the pin down on both sides using a straight stitch.
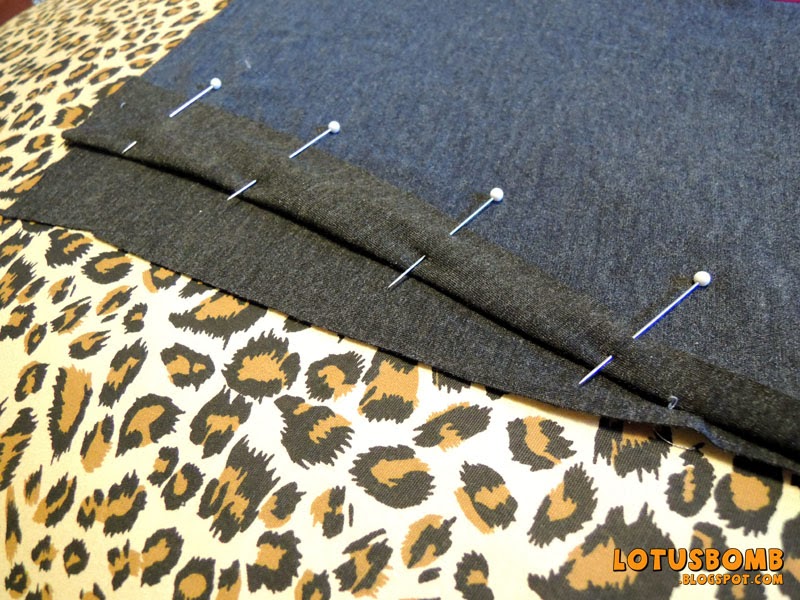
3. Starting where the fabric opens up to create the sleeveless hem, fold your fabric at an angle towards the middle of the shirt and pin. The fold should be a slight diagonal. Do this on both sides for each piece of fabric. Using a 1/4" seam allowance, sew each hem. For the beginning sewer, you will be sewing four times so be careful to not sew the folded hems to one another :)
4. Once the sleeveless hems are sewn, for the casing, fold the top of the shirt down an inch and pin. Do the same for the other side. Using a straight stitch and leaving 3/4" from the top, sew across lengthwise. You want to be sure to leave about 3/4 open for the tie to be pulled through.
Bottom (banded) hem.
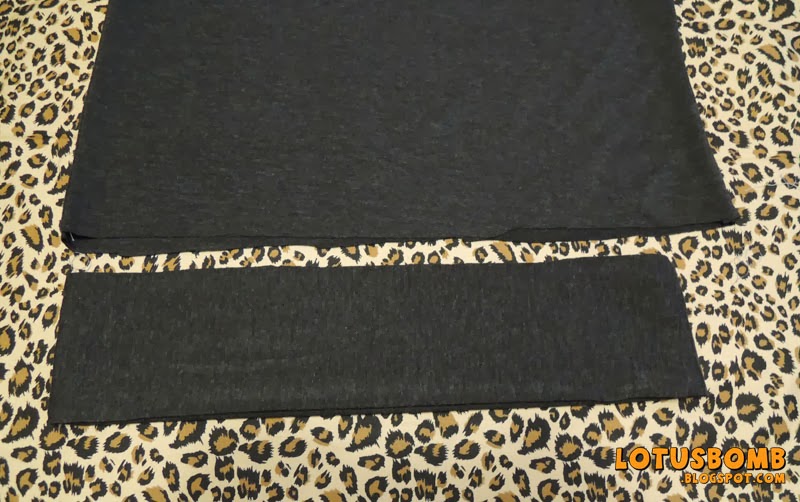
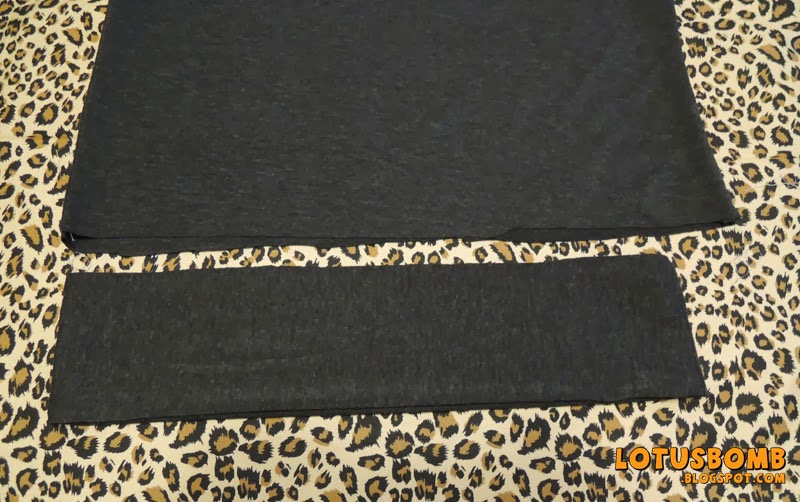
5. Cut two pieces of fabric about five inches tall and two inches smaller than the width of your shirt. For my shirt, the width was 19 inches so I cut this fabric 17 inches.
| The two pieces needed for the banded hem. |
6. Sew up each side so you end up with a tube. Now, take the top part of the tube and bring it down so that it meets the bottom part so the seams are inside.
7. Your banded hem should look like this now.
8. Slide the tube over the shirt matching the raw edges together so the tube is "hugging" the shirt. Pin the tube side seam to side seam with the shirt and center to center. You should have some loose fabric from the shirt in between the pins. Using a zigzag stitch, sew the edges together, while stretching the band to "fit" the shirt.
I forgot to take a pic of the next step so luckily I had a pic from a previous shirt project.
![]() |
| The banded hem should be "hugging" the shirt. |
Once the banded hem is on, your shirt should look similar to this (once again I forgot to take a pic so this pic is from another project).
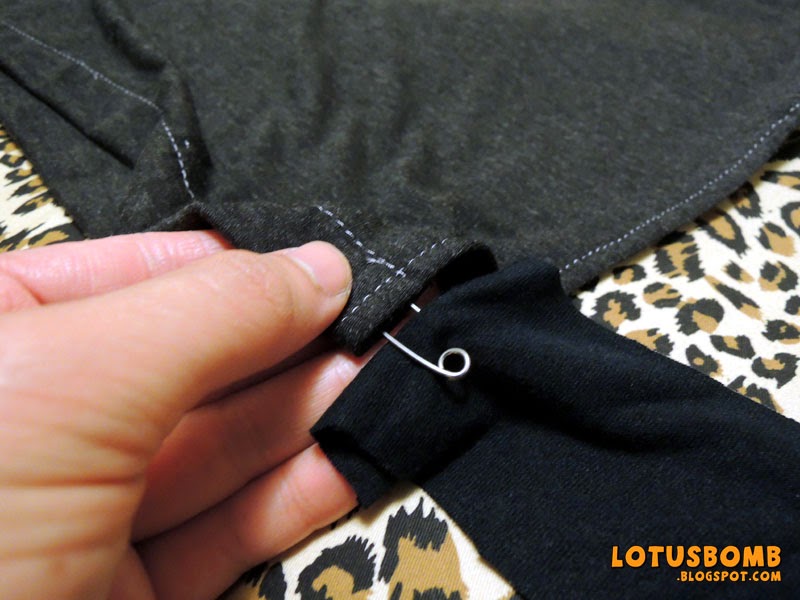
9. Using a safety pin, pin one end of the strip of fabric and pull it through both of the casings.
Tie the ends together into a bow or if you don't like the bow, adjust the length to your preference and sew the ends together and pull it through the casing to hide the seams.
And you're done!
I hope the instructions were clear but if you have any questions, let me know. It's a pretty simple project but I may have given too much details :)

Labels:
clothing,
diy shirt,
fashion,
pillow case,
pillowcase,
sewing,
shirt,
tube top,
tutorials,
woman's shirt
Saturday, November 23, 2013
Shirt Refashion: Mod Inspired Dress from a Polo Shirt.
I was cleaning out my closet the other day when I came across some black polo shirts I had used for work before they issued us uniform shirts. My first thought was to donate them and then my second thought was "wait, I can make something out of these". Voila! What came about was a mod inspired dress. In a nutshell, the shirt was too short to wear as a dress so I added some dark gray jersey knit fabric to add some length, took in the shirt and sleeve some so it hugged my body more and added in a peter pan collar. It was a fairly easy revamp.
I am working on a tutorial so I willl hopefully have that up soon. In the meantime, please do like my facebook page as that will be the first place I will update with the tutorial.
Thursday, October 3, 2013
Son of a Beach! (in a jar)
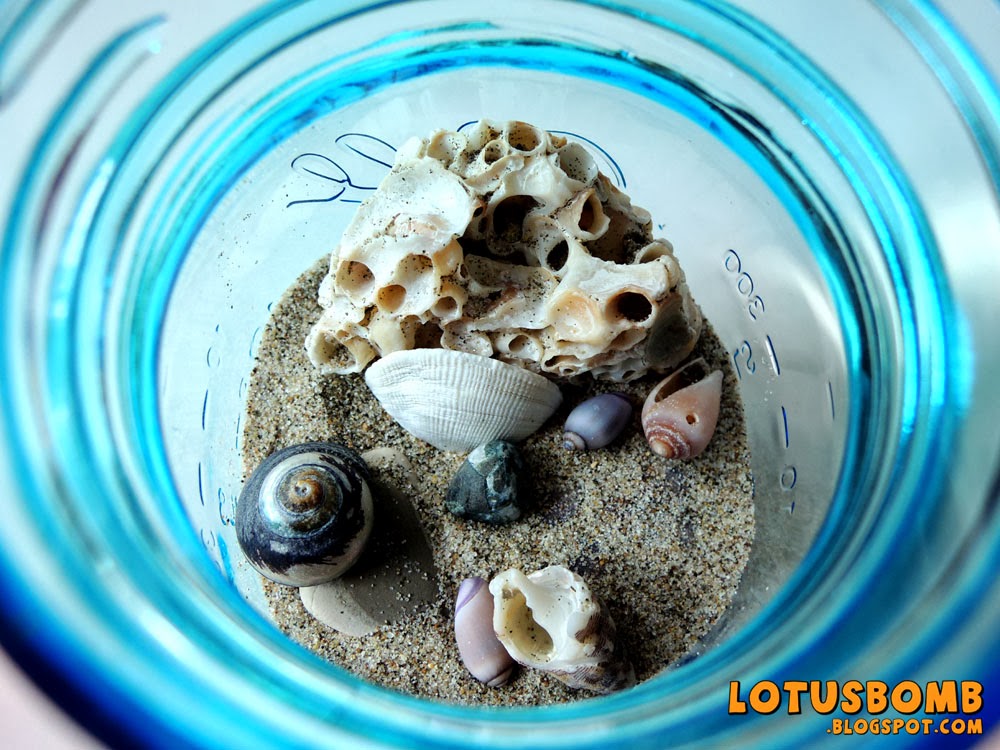
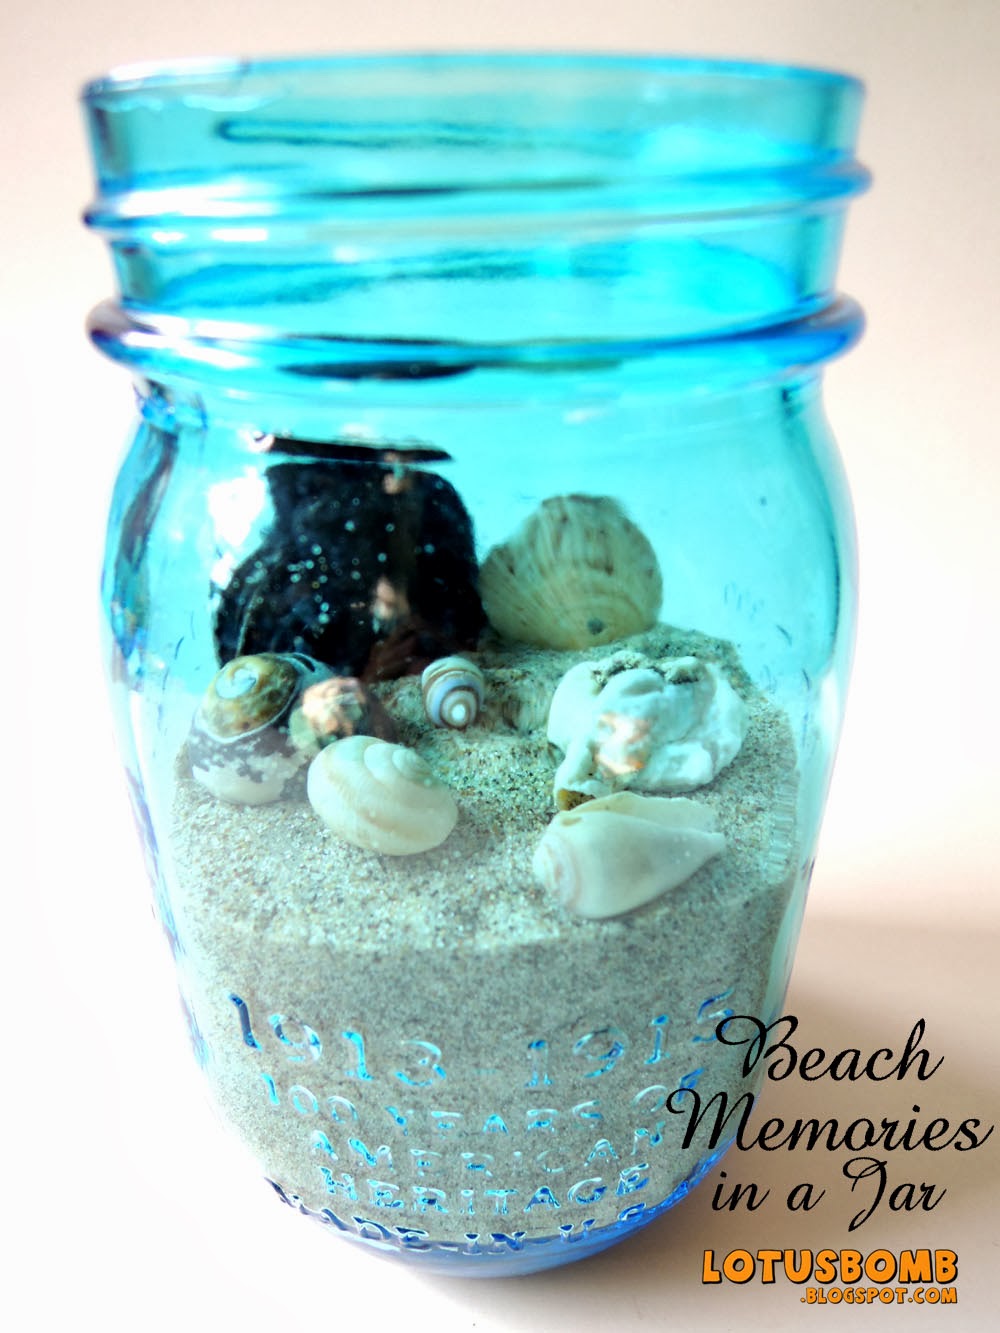
After I made my decision a few months ago that I wanted to move back to Georgia to be closer to family, I decided to bring as much of California back with me as possible. Mainly the beaches because I love being near the ocean (nevermind that I can't swim). When Ball Canning had their vintage blue mason jars reproduced, I ordered a case because the blue was perfect for my Beach Memories in a Jar and started my research on Pinterest.
For this project, I made two jars: one for me and one for my friend using the shells and rocks she collected. For my jar, I put in a broken oyster shell, a large flat rock to keep the the shells from being submerged too much underneath the sand and a few shells collected from El Matador Beach near Malibu. Originally, I wanted to put in a toothpick sign I made but there really wasn't any room in the jar to do so and the signs, well, they sucked. I ended up using kraft cardstock and cutting a circle template and labeling the beach and year said sand and shells came from and inserted in on top of the metal circle of the lid. Which, I actually like much better than the original sign idea.
![]() | |
| The toothpick signs I ended up not using. |
Labels:
ball jars,
beach,
california,
el matador,
malibu,
mason jar,
memories,
Pinterest craft challenge,
rocks,
sand,
shells,
socal,
tiffany,
vintage blue
Saturday, September 28, 2013
Peekaboo Lace Web Shirt
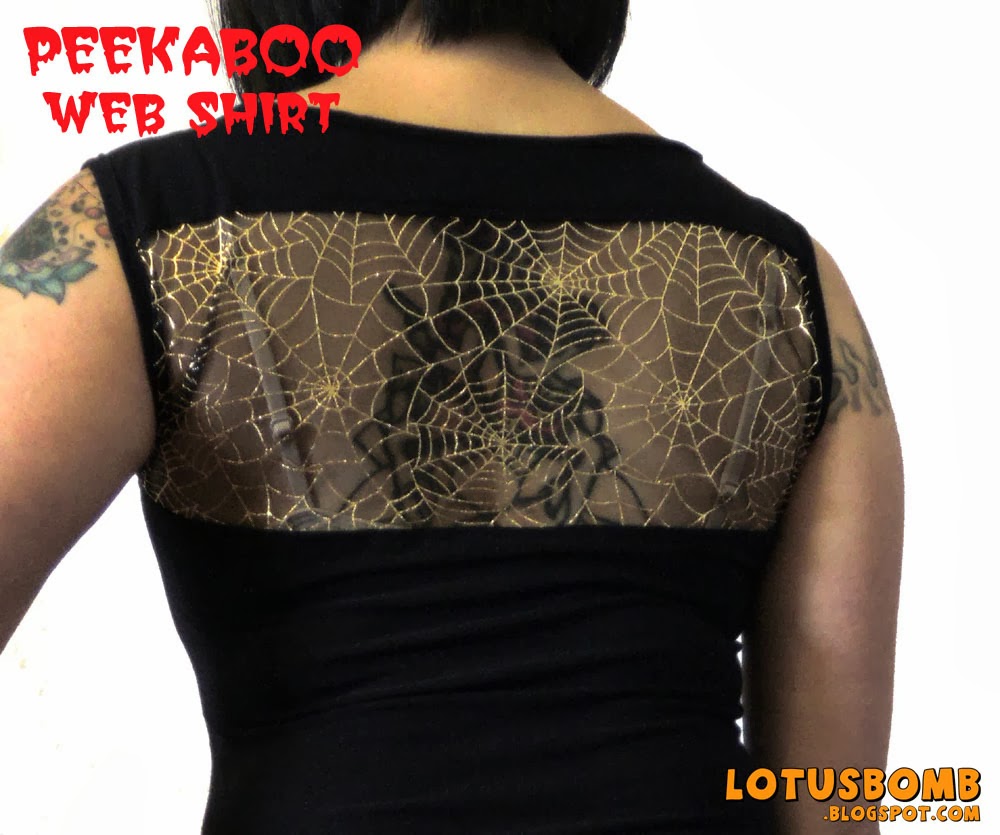
It would seem as though I made this peekaboo web lace shirt just in time for Halloween but alas, that is not the case. Truth is, I have a shit ton of gothy lace material that I've gotten over the years but never did anything with and my brain starting putting together another idea and it just happened the timing coincided with October. Once again, I'm uber pleased with how this came out. I used a stretchy knit/lycra blend fabric from Joann's and a webby lace/tulle kind of material that I got from Joann's years ago. Happy Every Day is Halloween!
![]() |
| Peekaboo Back! |
Subscribe to:
Posts (Atom)